This site contains affiliate links to products. A commission may be received for purchases made through these links. This site is also a participant in the Amazon Services LLC Associates Program, an affiliate advertising program designed to provide a means for us to earn fees by linking to Amazon.com and affiliated sites.
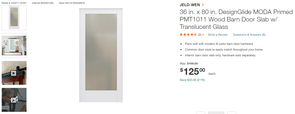
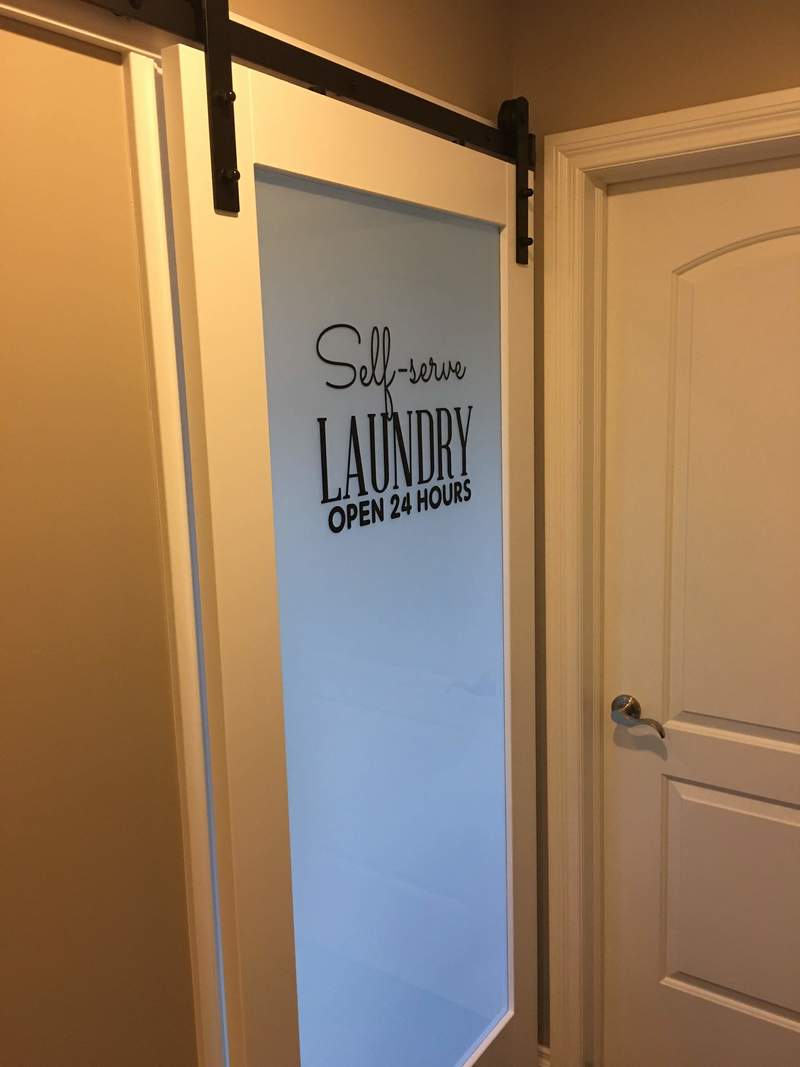
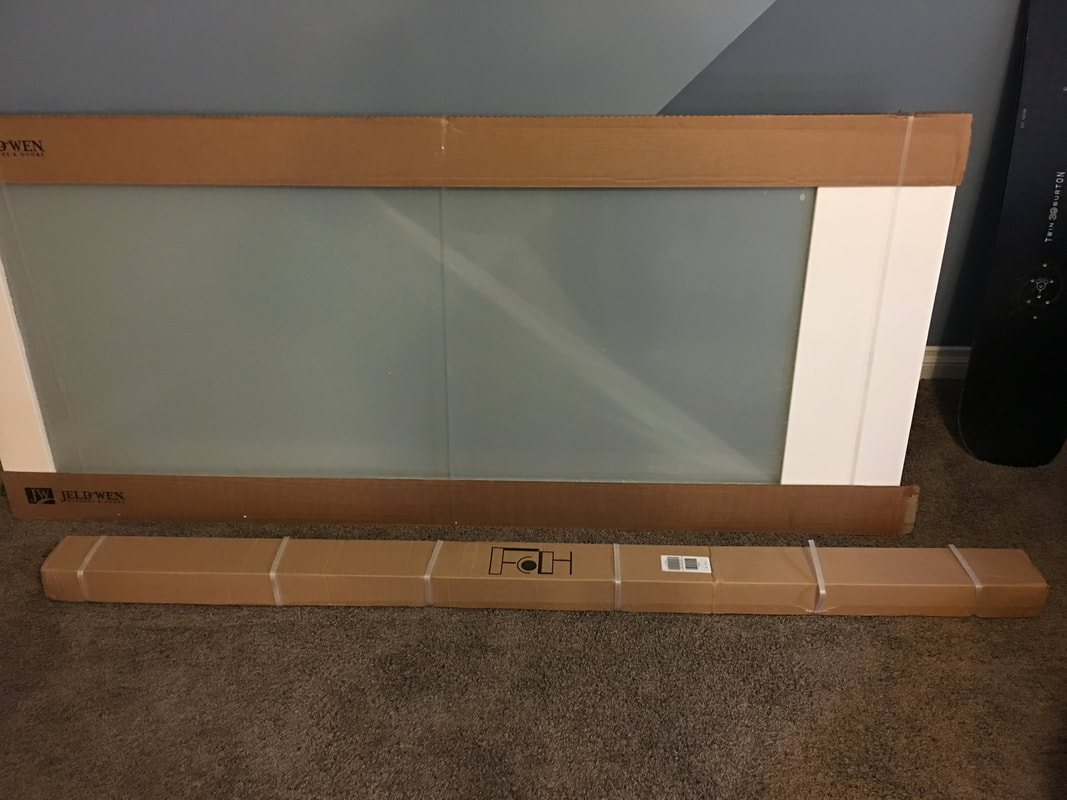
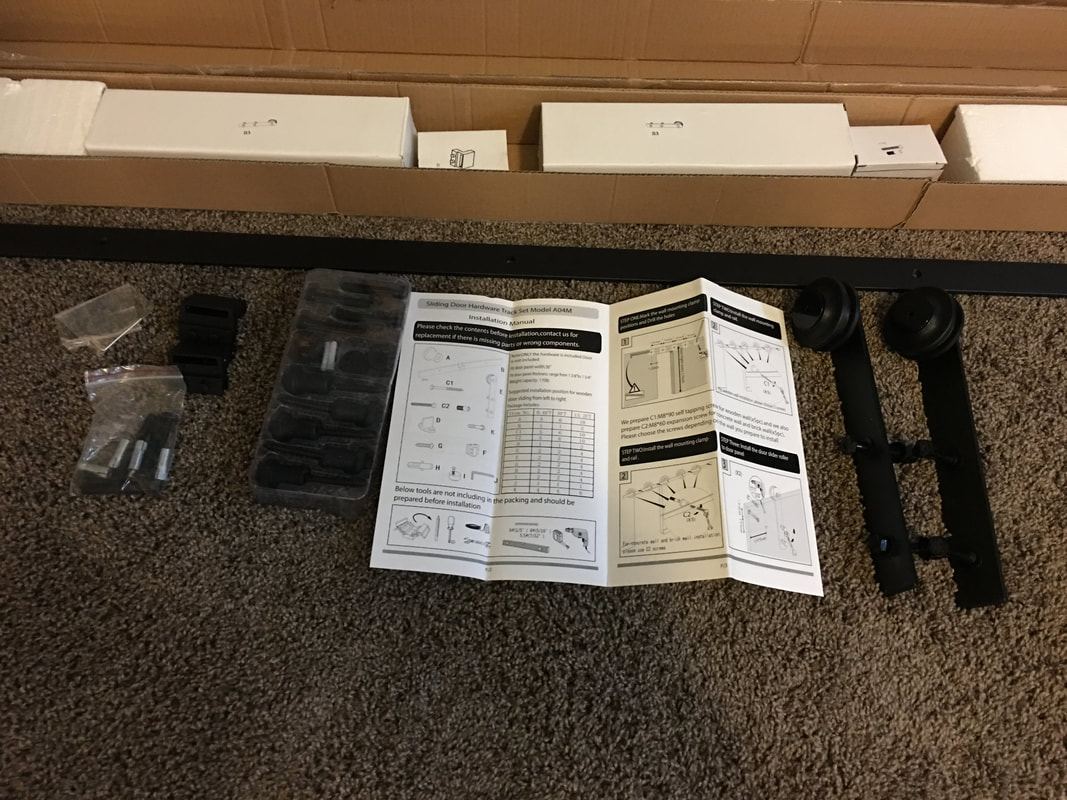
My wife really wanted a frosted glass door so we could apply lettering. We found one at HD at a very reasonable price. I found the bard door hardware at Amazon. Be careful when you buy the hardware. Some of the rails are not 1 piece. The kit I bought had a 6.6 ft rail that was 1 piece.
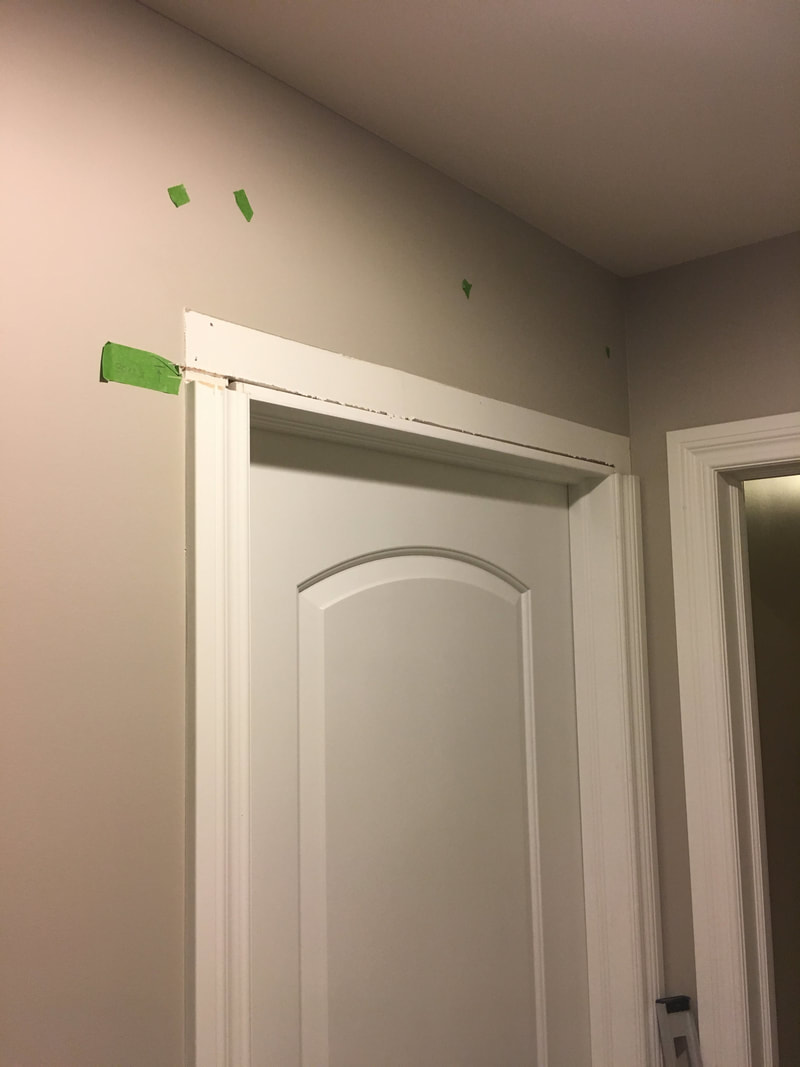
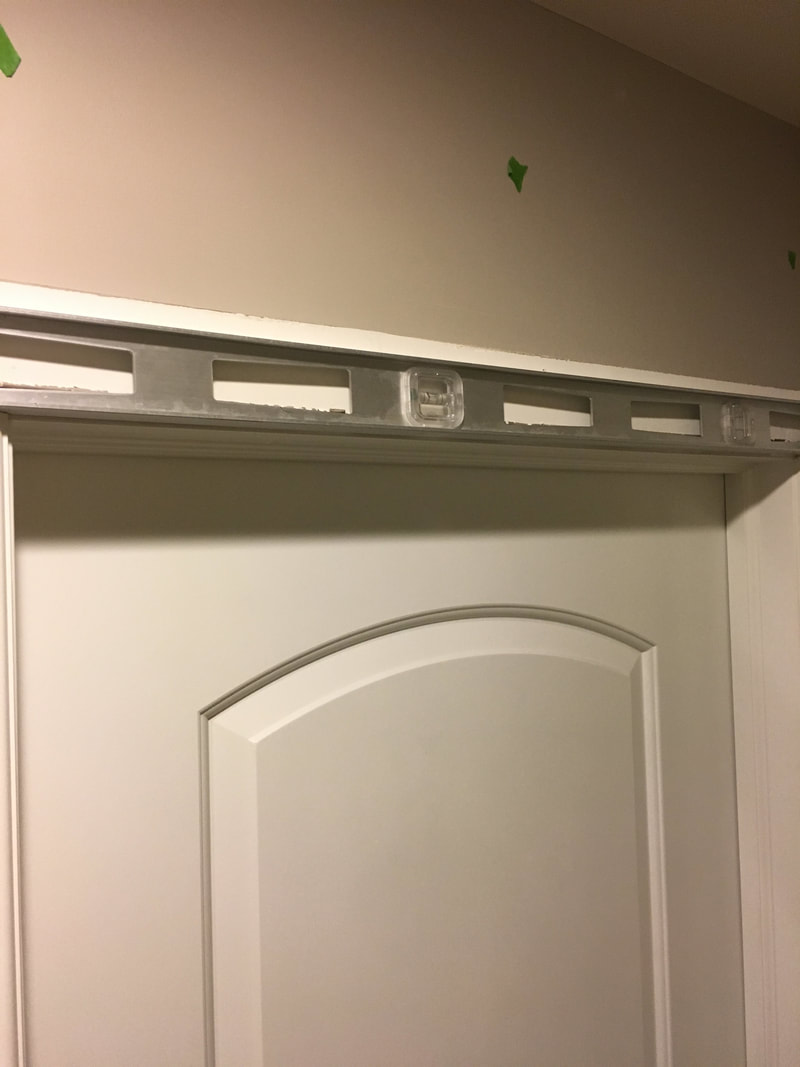
Due to the location of my door, it was not possible to line up the holes in the rail with studs. Because of this, I needed to use a mounting board for the rail. The height you install the mounting board and rail depends on how tall your door is. You need to measure from the bottom of the door to the bottom of where the roller would be + 1/2" for clearance. This will give you the height of the top of the rail. Since my door was only 80", It was necessary for me to remove my top trim piece and replace it with the mounting board.
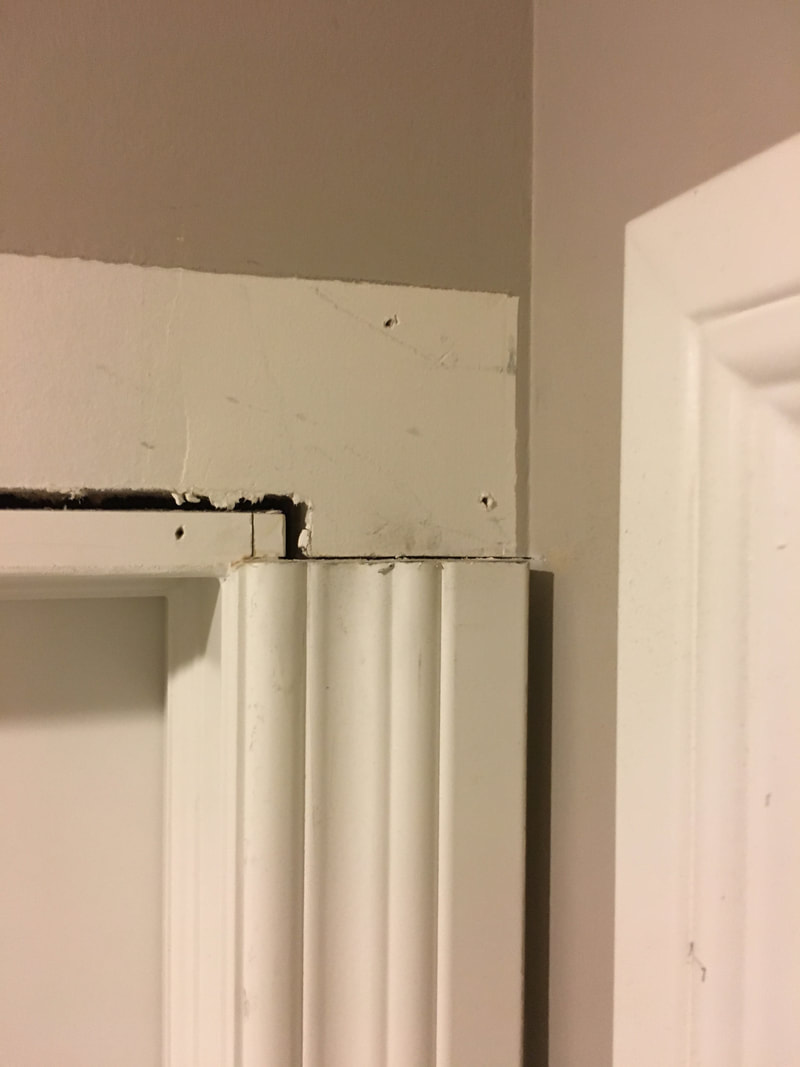
The trim is mitered at the corners so you will have to cut the remaining side trim pieces square and level. Use a level across both trim pieces so you know the mounting board will be level. My trim is painted white so any gaps can be filled in with caulk.
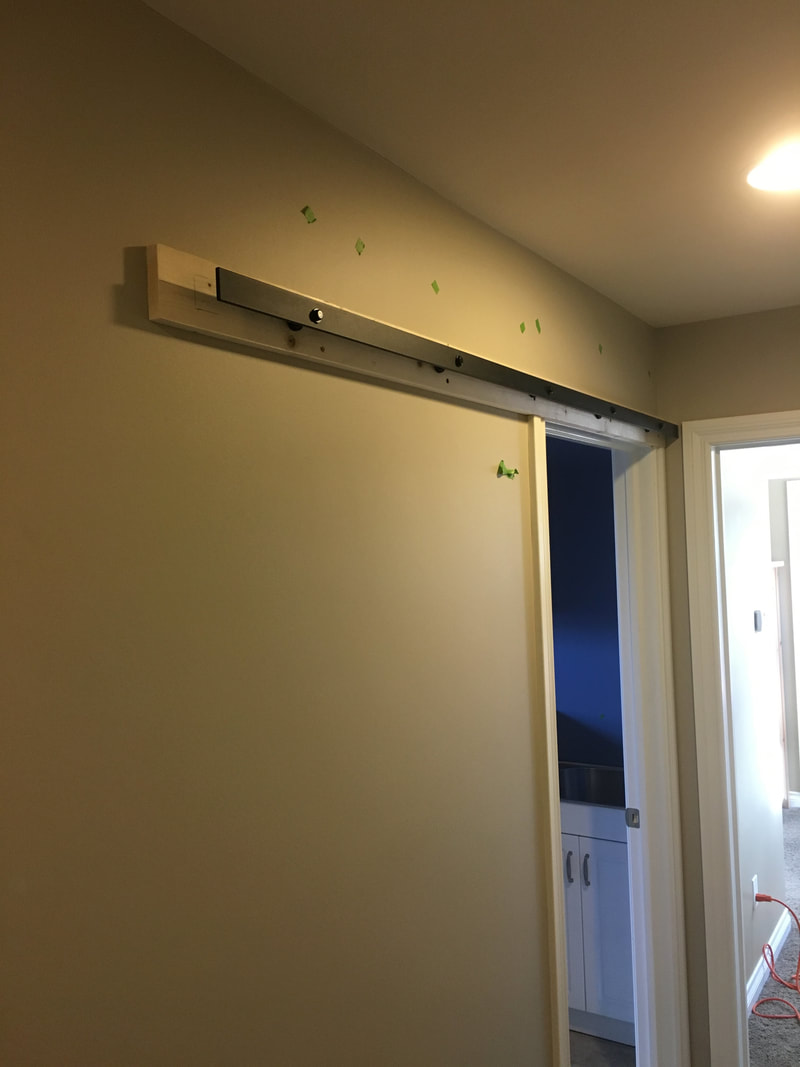
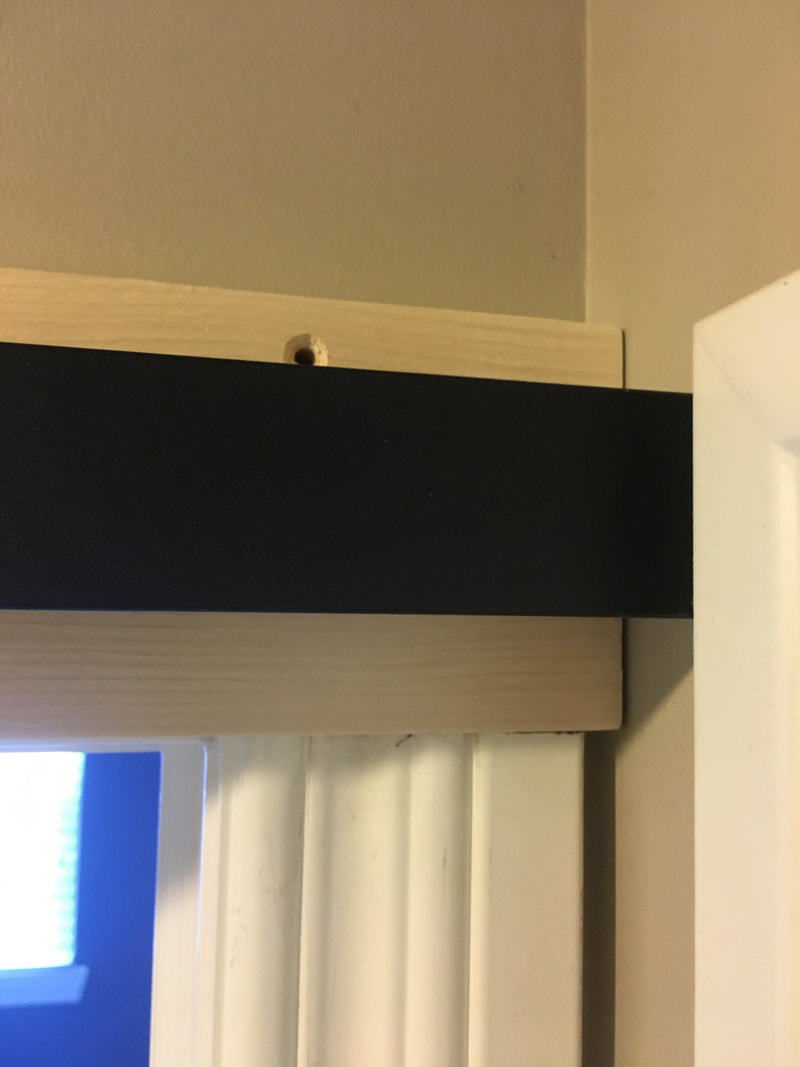
I cut a 1x4 about 3 inches longer than the rail. I drilled holes where the studs for the mounting screws. I leveled the board then screwed it in. I then held the rail on the board and marked the holes to mount the rail. I removed the board, drilled the rail holes, and mounted the board.
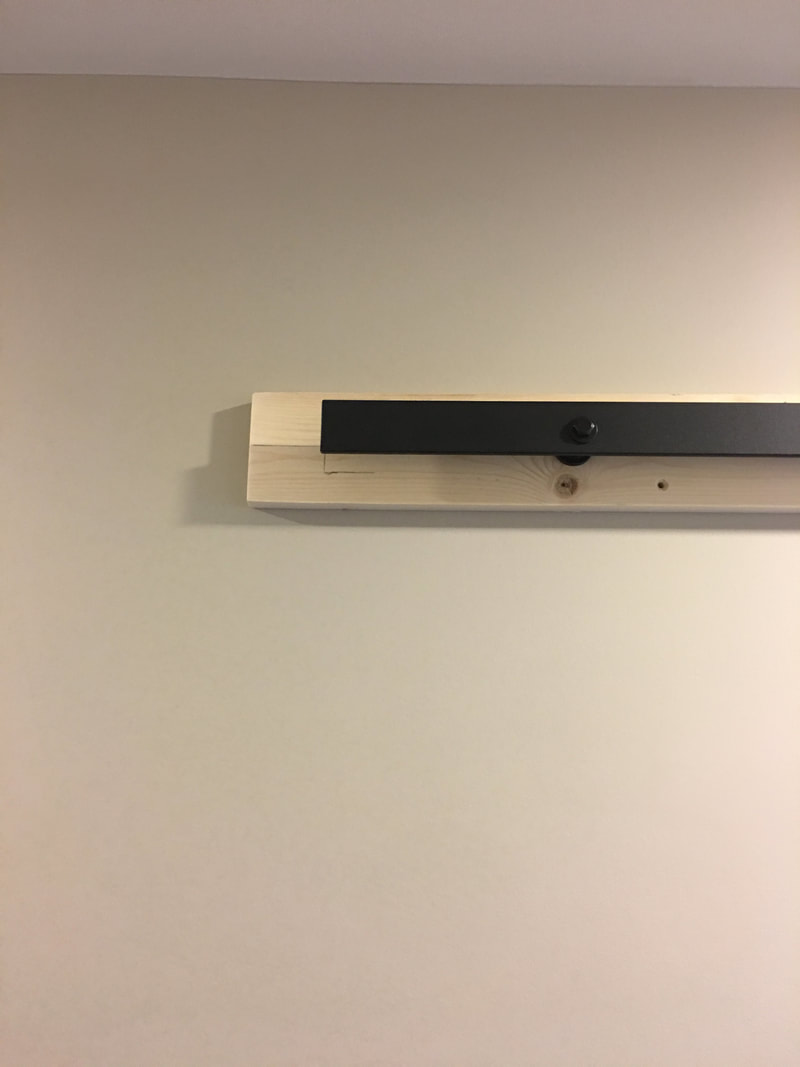
I verified the location of the rail on the mounting board before I painted it. I left about 3 inches on the left side and the rail is flush to the wall on the right side. The most important thing is to make sure it is level.
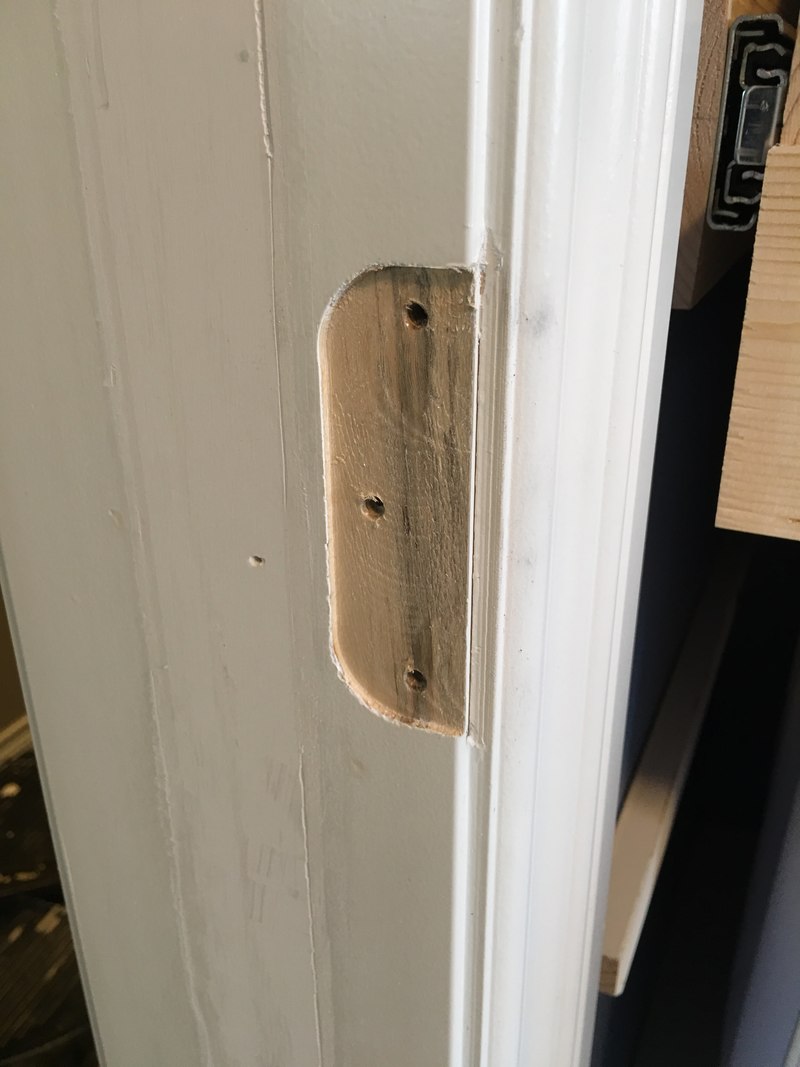
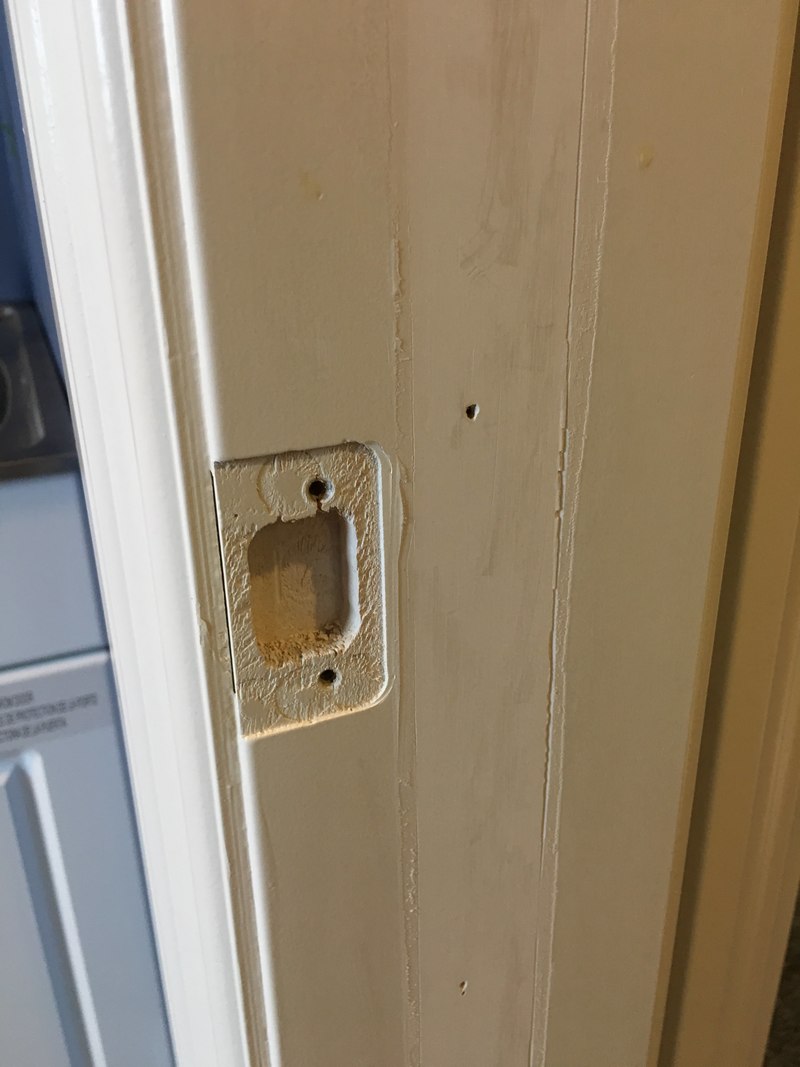
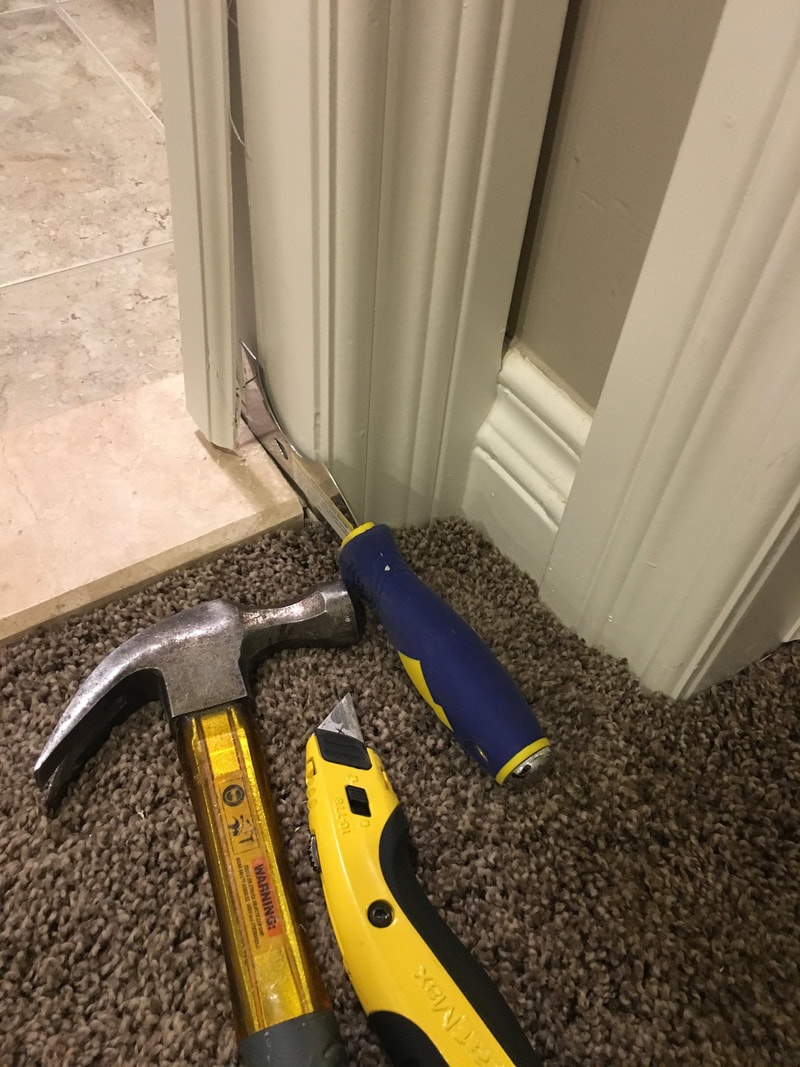
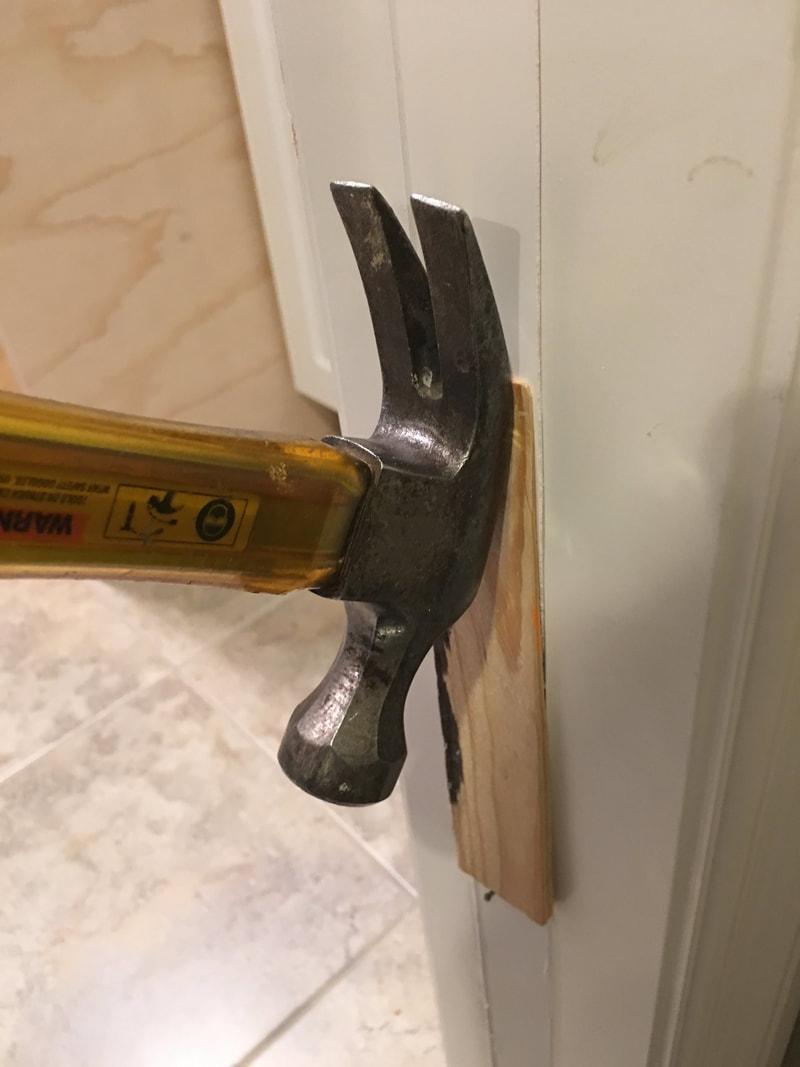
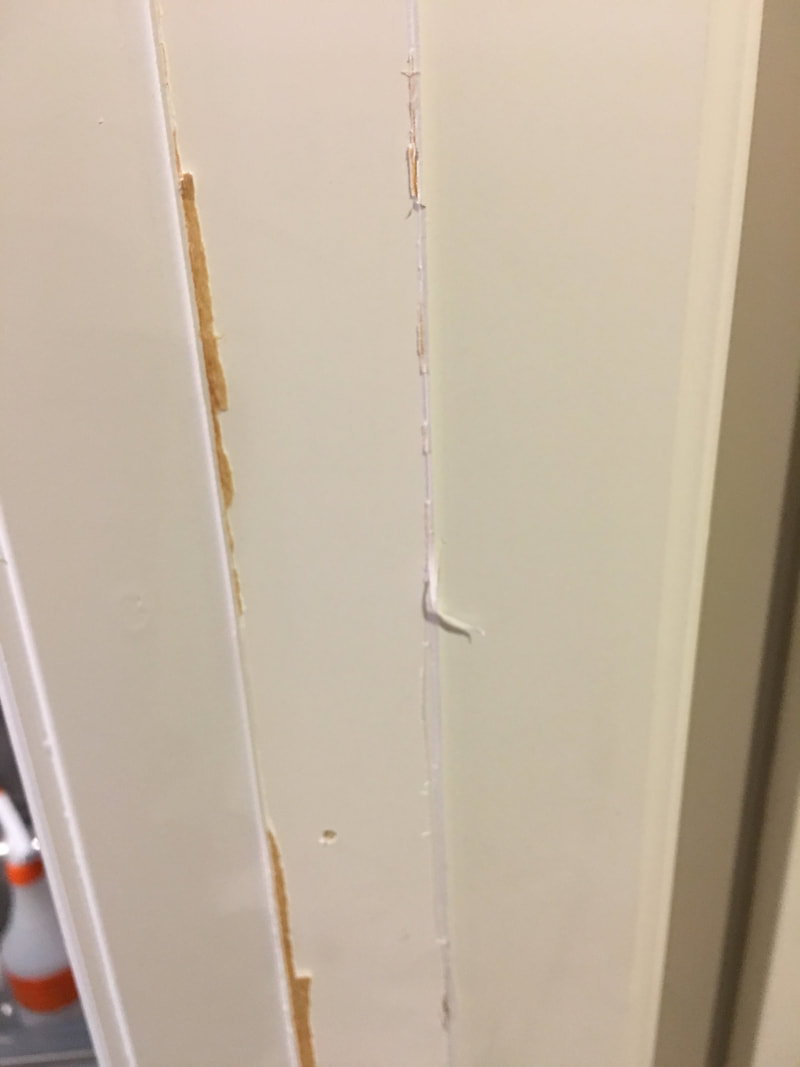
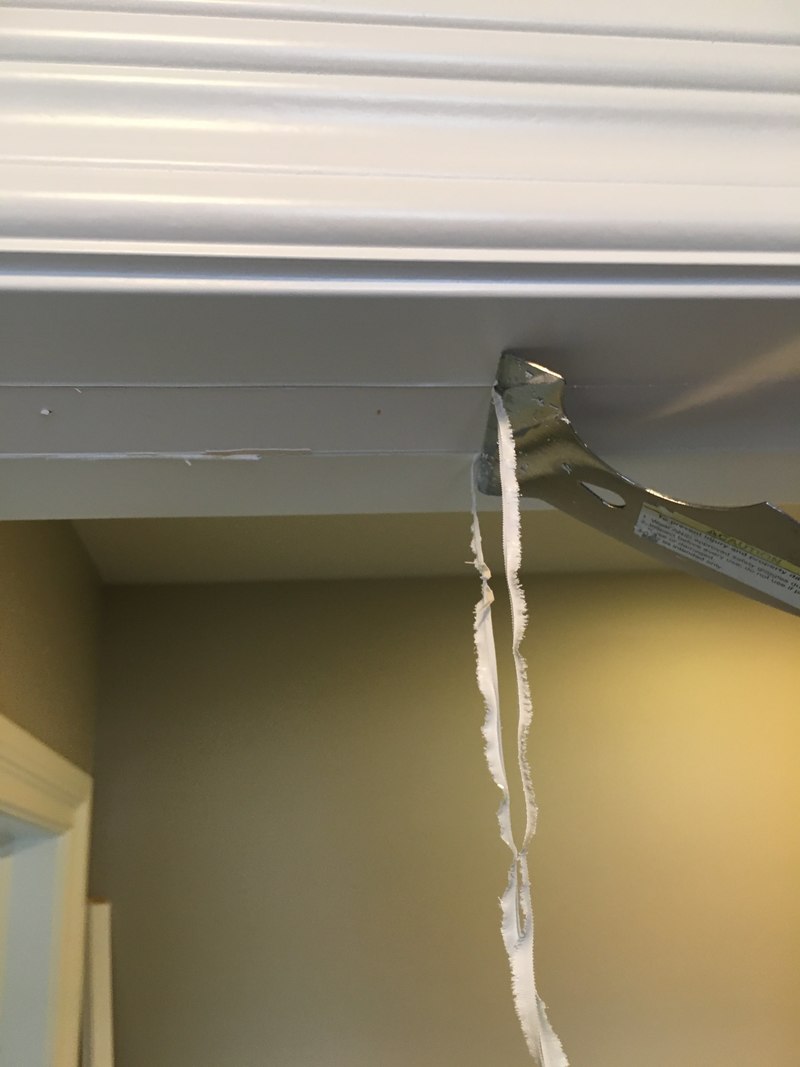
Since the barn door is replacing an existing interior door, there is a lot of additional work that is required to make the opening look like it was made for a barn door. You obviously need to remove the door, hinges and strike plate. You will also need to remove all of the door stop trim. Cut the caulk around all of the trim before you try to remove it.
You will then have to remove all of the nails and caulk left behind. Use a piece of wood or cardboard when removing nails. I like to use a wood shim. You will have to scrale the 2 sides and the top to remove all the caulk.
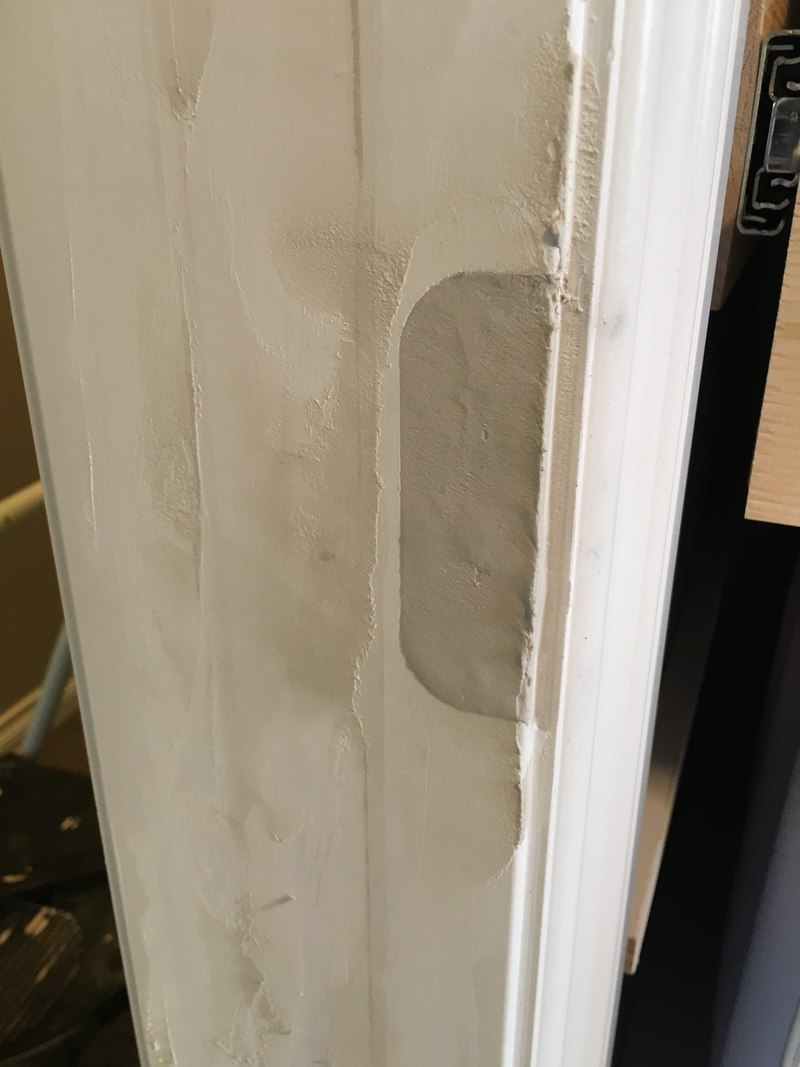
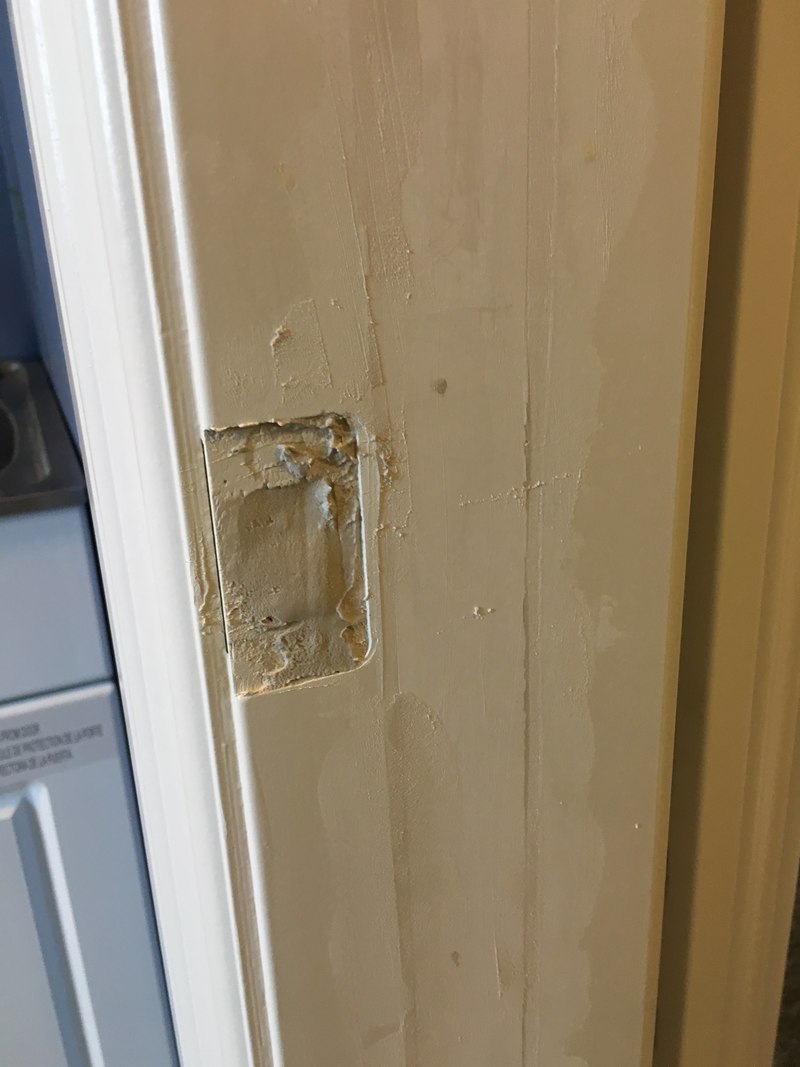
Once all of the caulk is removed, you will need to fill any nail holes and imperfections with drywall mud (or wood putty). You will also need to fill the hinge area and strike plate area, as well as the jamb where the door stop trim was. The hinge and strike plate areas will take a few applications because they are deep. Sand the areas smooth and then prime and paint.
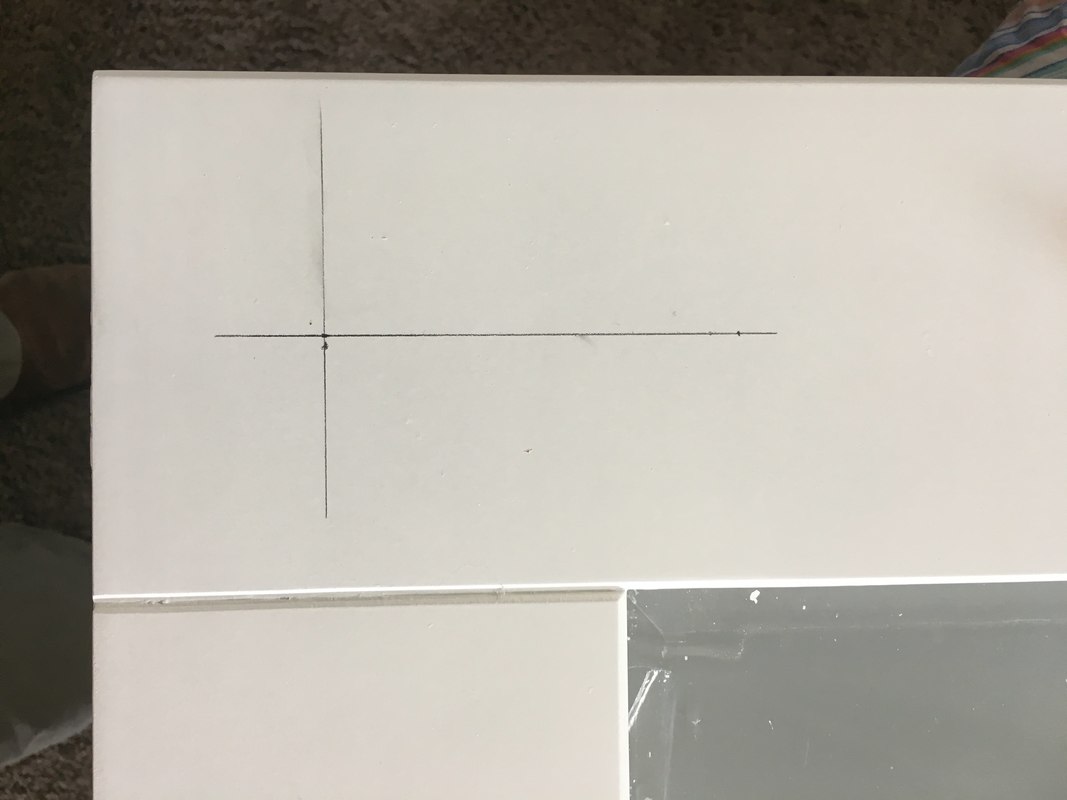
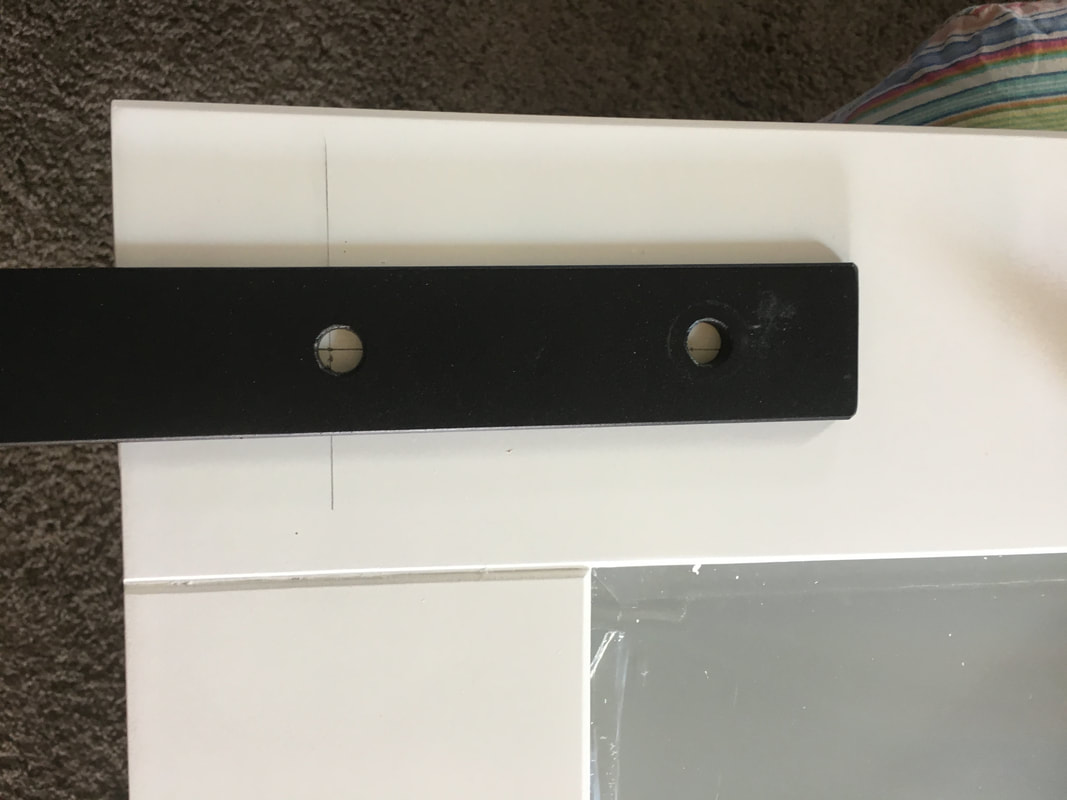
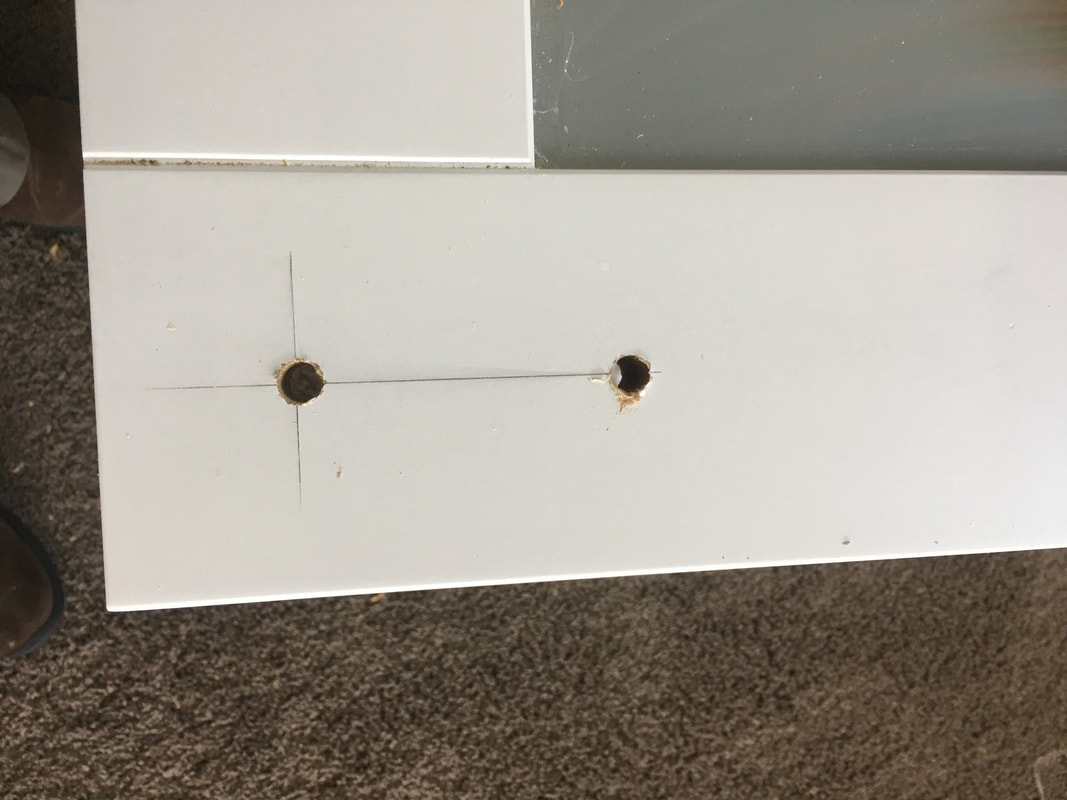
Now it is time to get the door ready. Read the barn door hardware instruction on where to place the hangars. The roller needs to be a certain distance from the top of the door. Mark the holes and drill them out. I started with a small bit to make sure I got the hole centered. I then used a larger bit that was just big enough for the bolts to fit through.
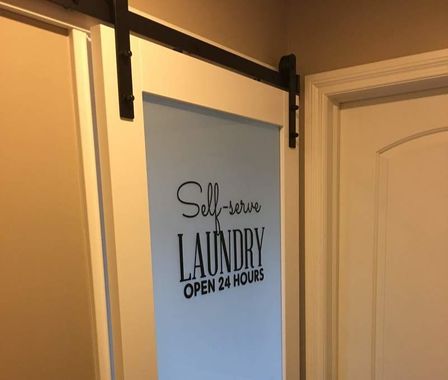
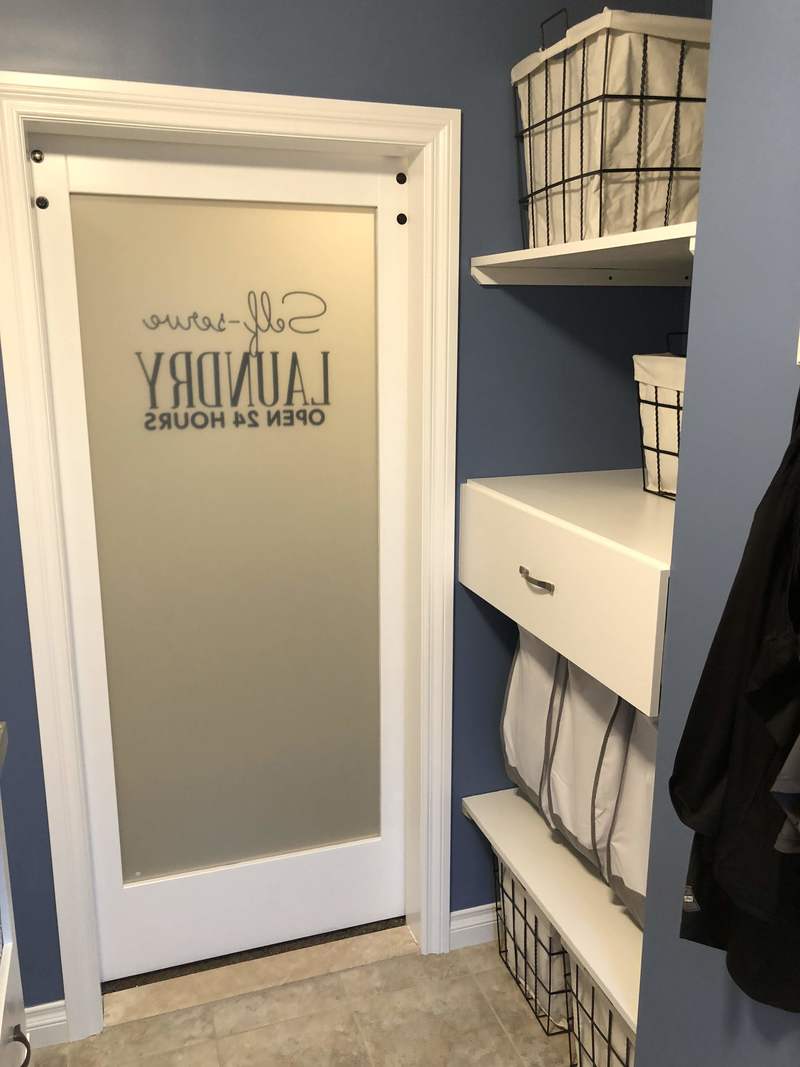
I painted the door, installed the hangars and hung the door. We then applied an applique that we purchased at Hobby Lobby. This is the first time I have ever tried to put on an applique and it was challenging for me. You have to position it where you want, tape it on the door and then peel the plastic off of the back so it sticks on the glass. The problem is that the letters were coming off with the plastic. Once you remove the plastic you then rub the letters onto the glass. Then peel off the plastic on the top. Looks very cool!