This site contains affiliate links to products. A commission may be received for purchases made through these links. This site is also a participant in the Amazon Services LLC Associates Program, an affiliate advertising program designed to provide a means for us to earn fees by linking to Amazon.com and affiliated sites.
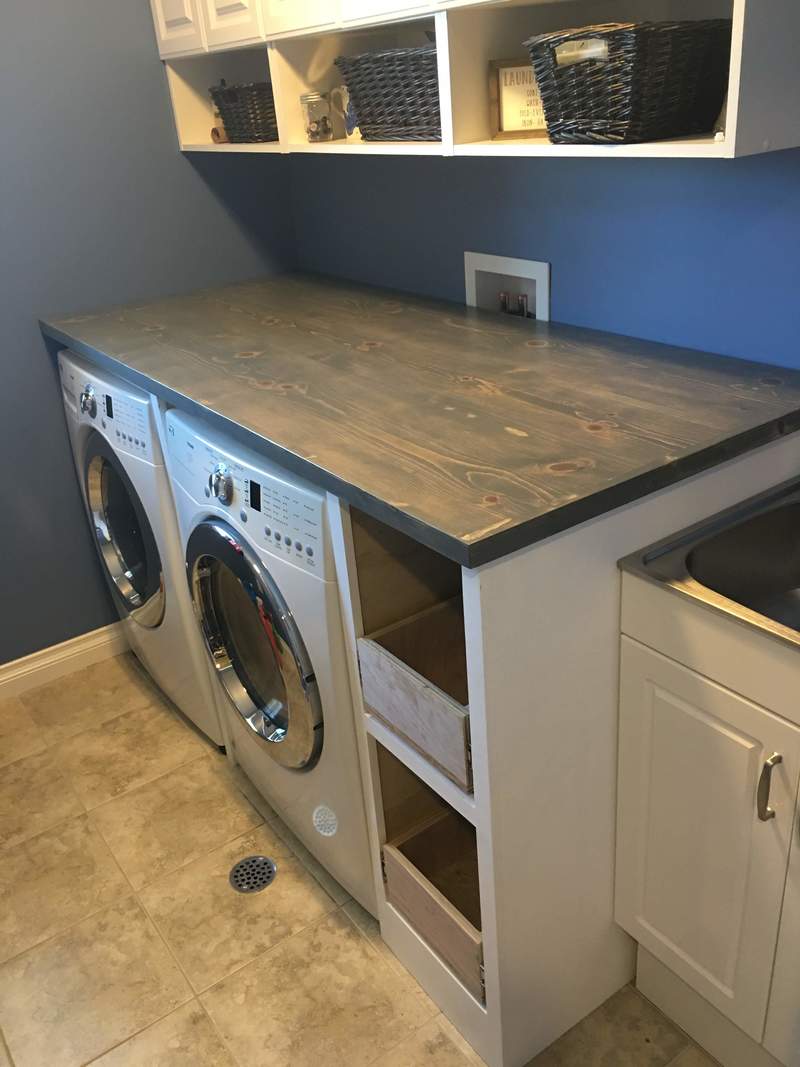
I am not going to go into the details on how to build a cabinet since I am by no means proficient and may have not done some things correctly. I will just provide a general idea of how I built the cabinet. I built the cabinet because the counter top we were adding was going to need a support to hold it up and we needed to fill the space between the dryer and sink. I had 3/4" oak plywood left over from a project I did about 10 years ago, so I thought this was a good time to finally use it. You would not typically use oak plywood for something you will paint.
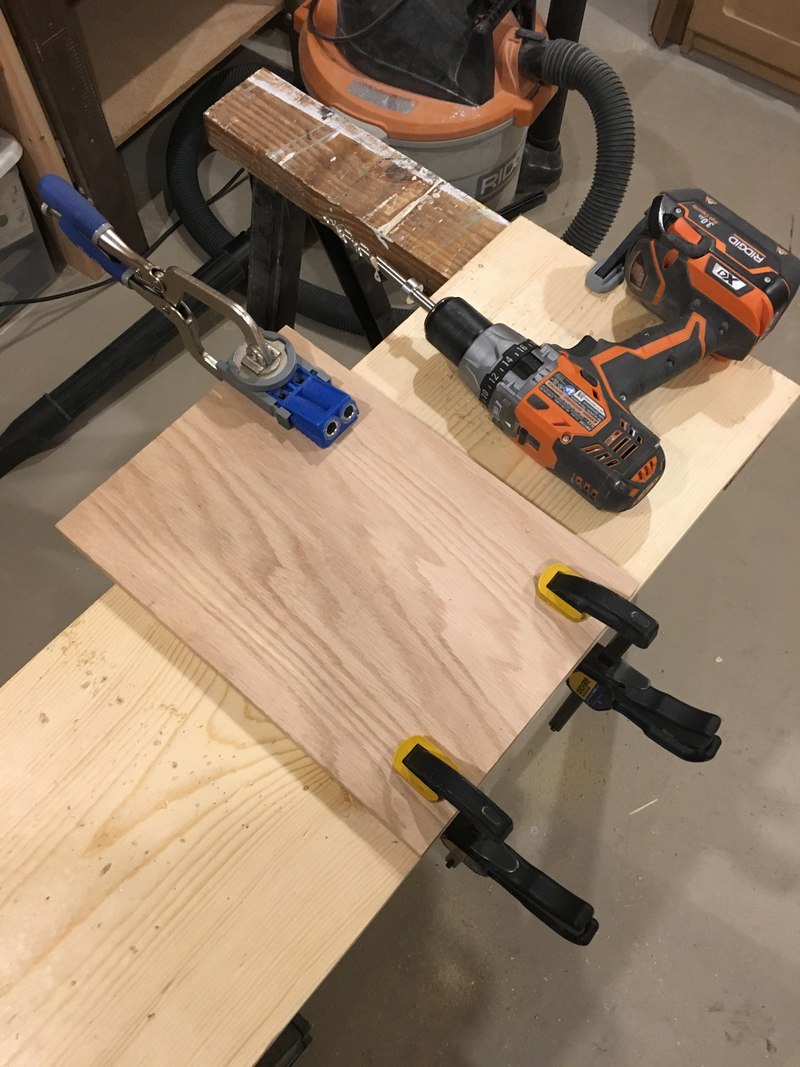
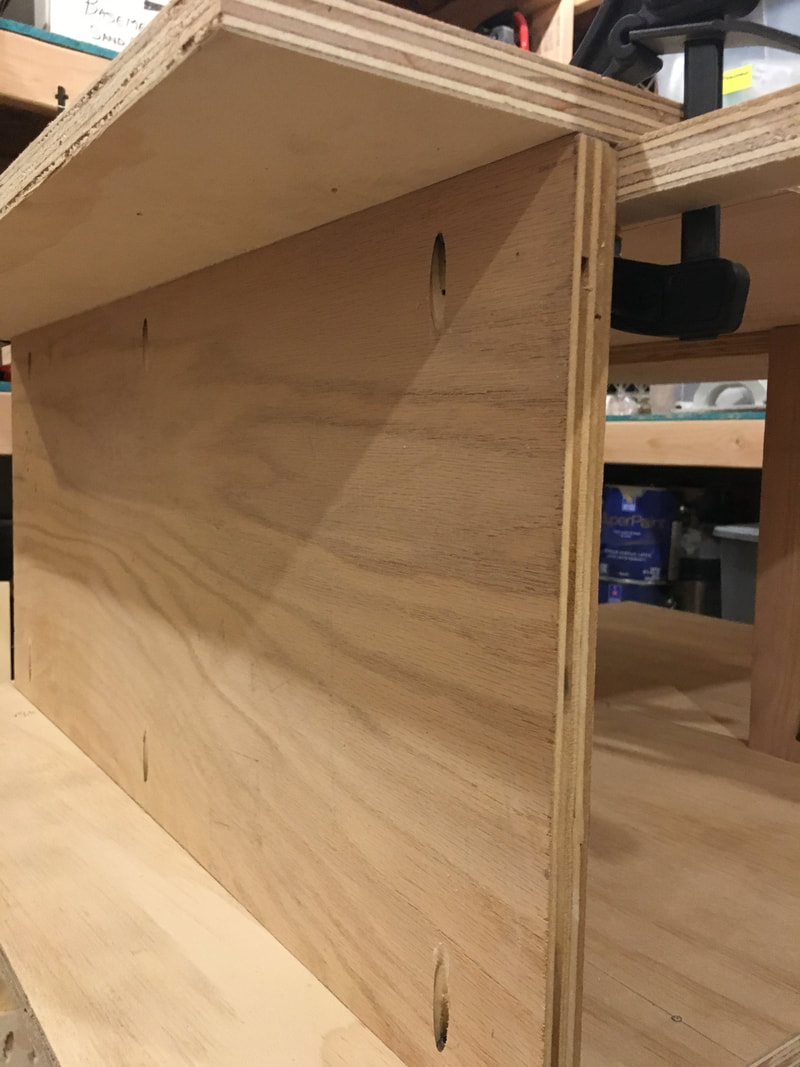
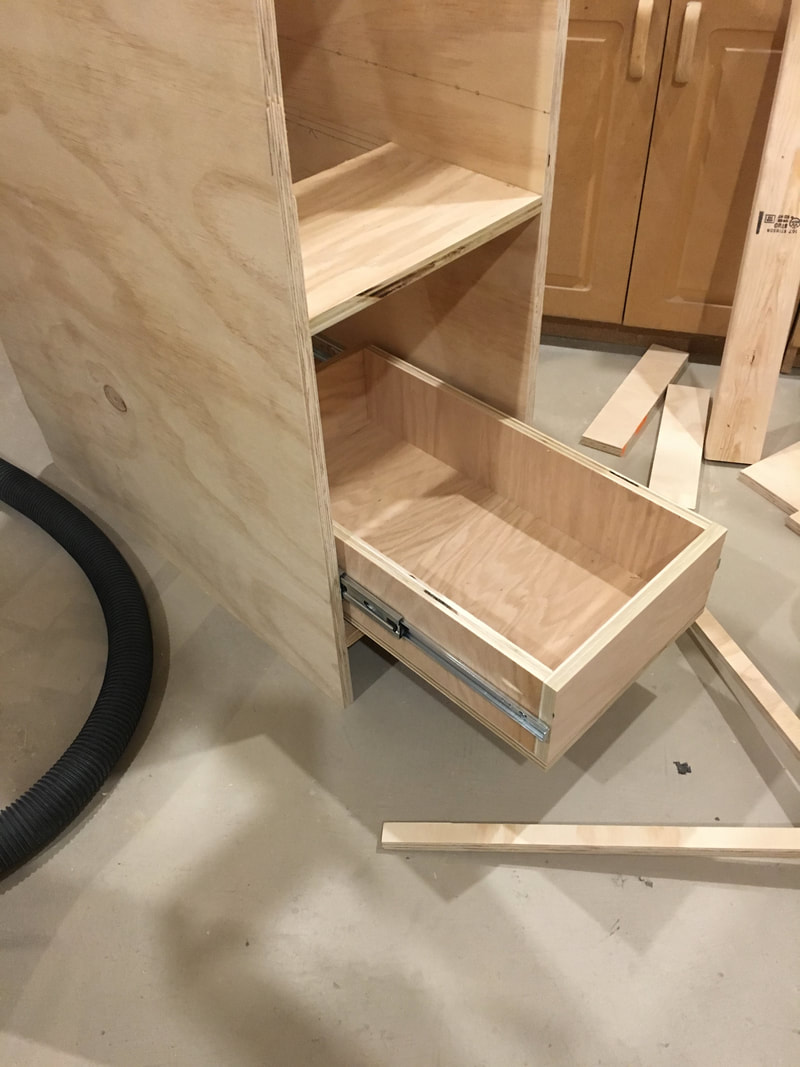
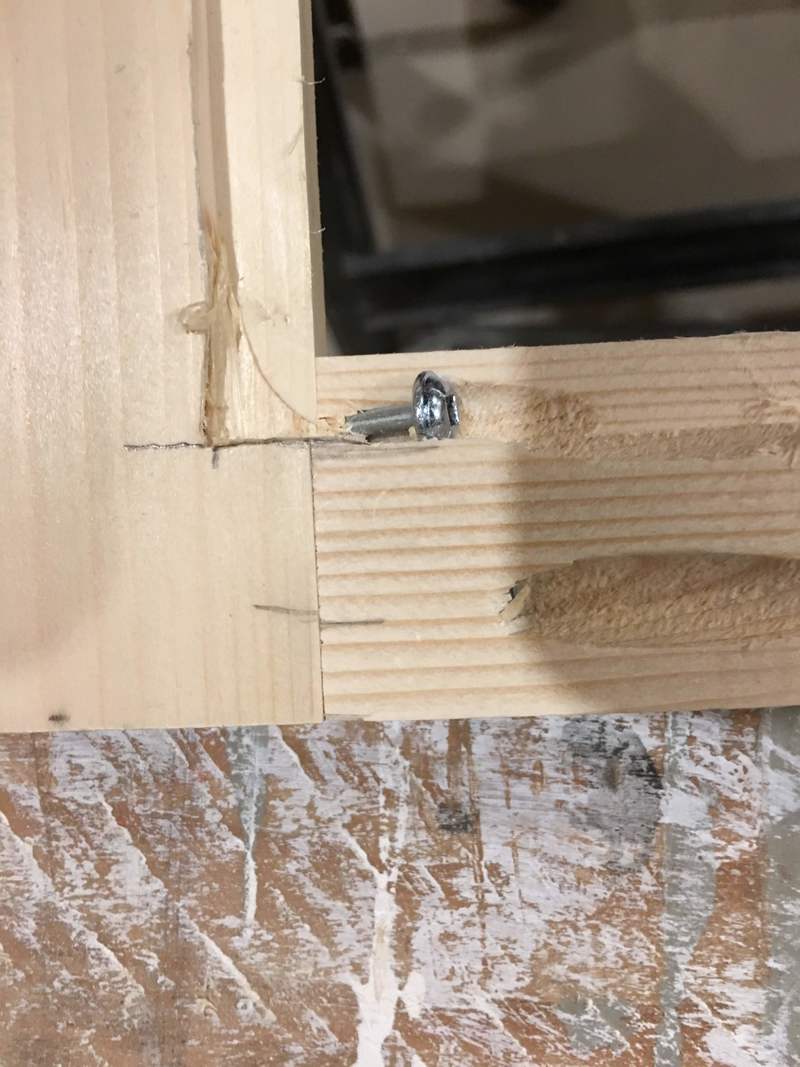
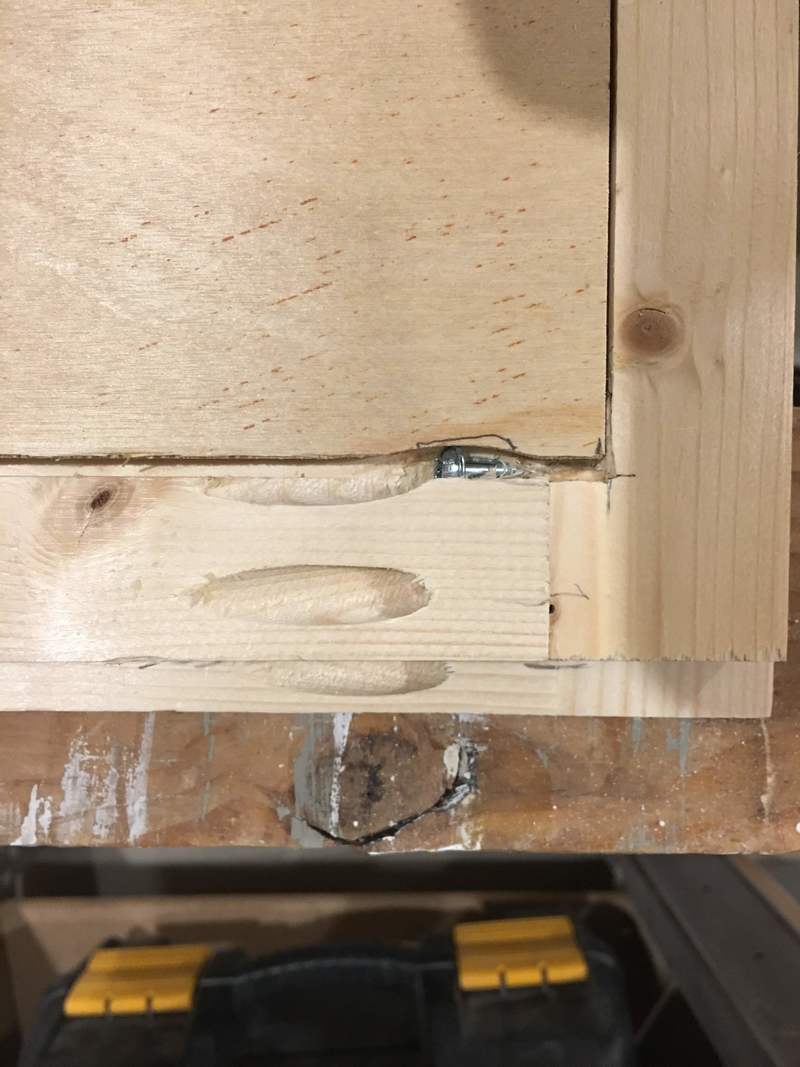
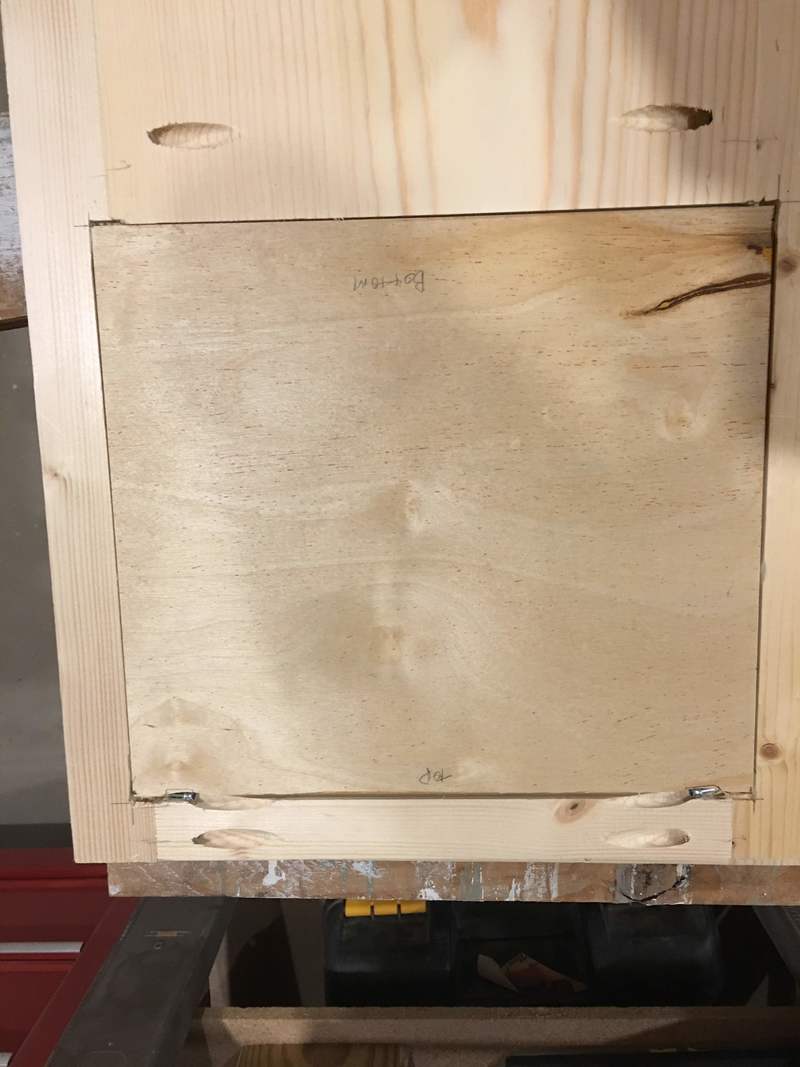
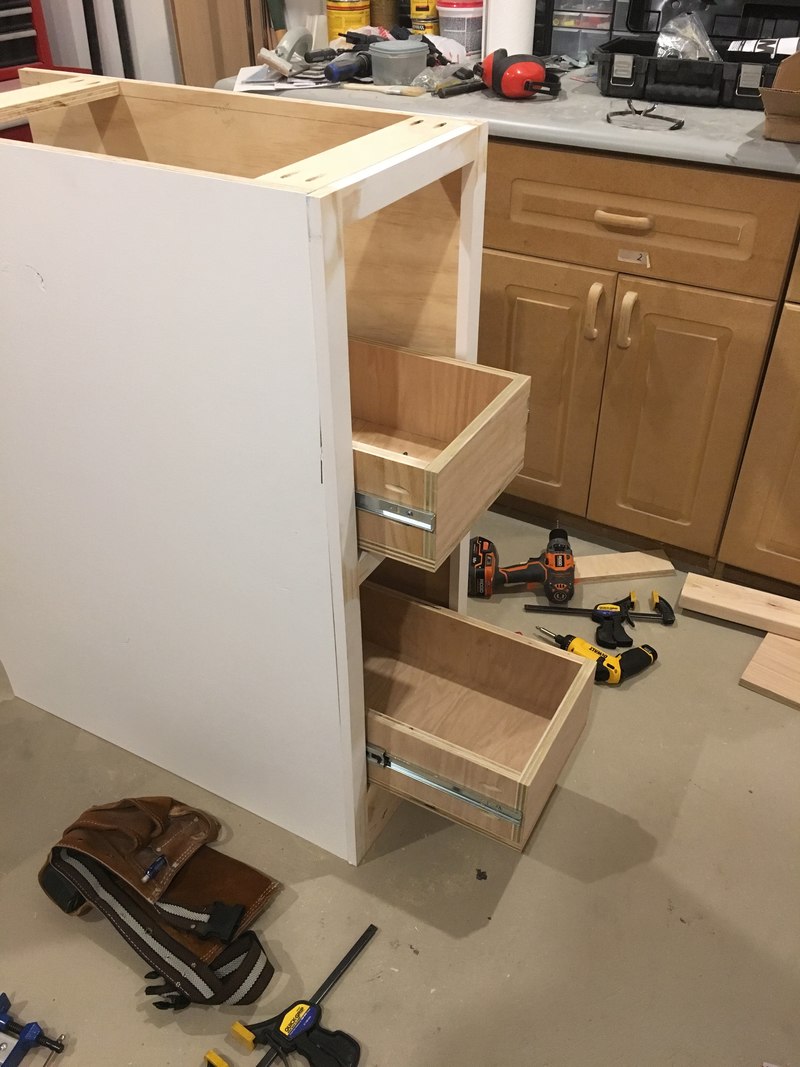
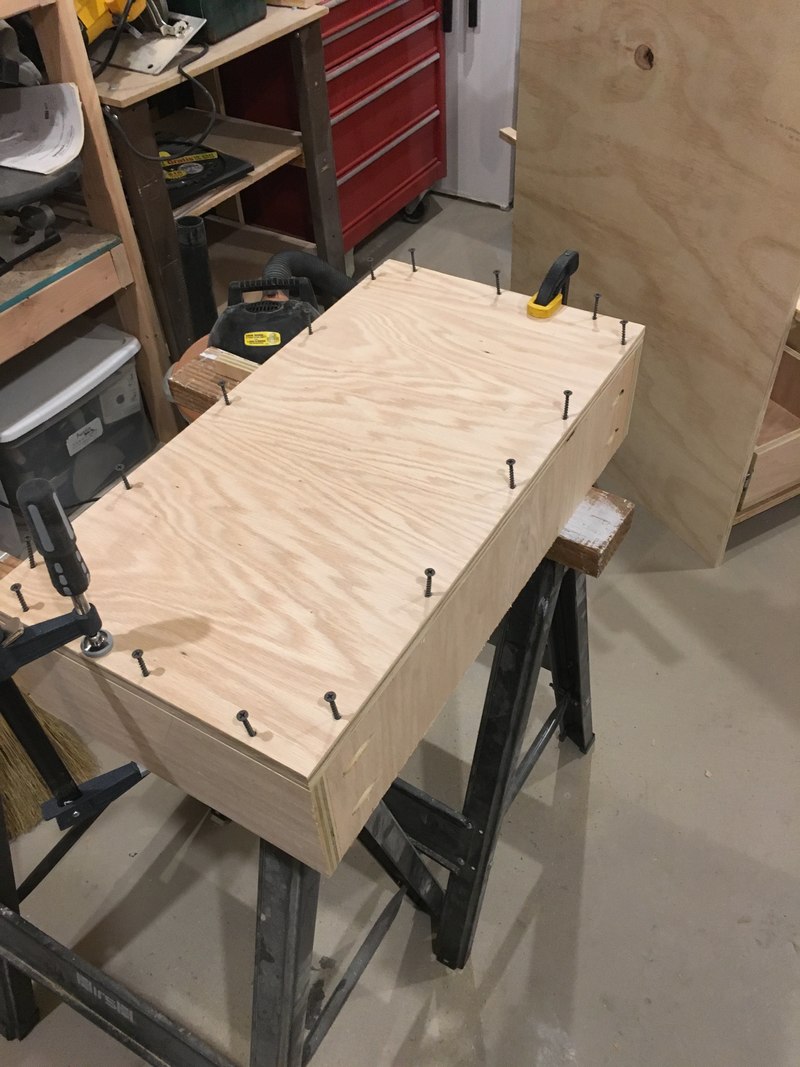
I cut all the pieces for the cabinet and used pocket holes to assemble it. I left the back since there was no reason to enclose.
I attached a strip of wood across the back so I had a place to secure it to the wall, if necessary (I ended up using angle brackets instead). This would also help keep the box square. I did the same on the top.
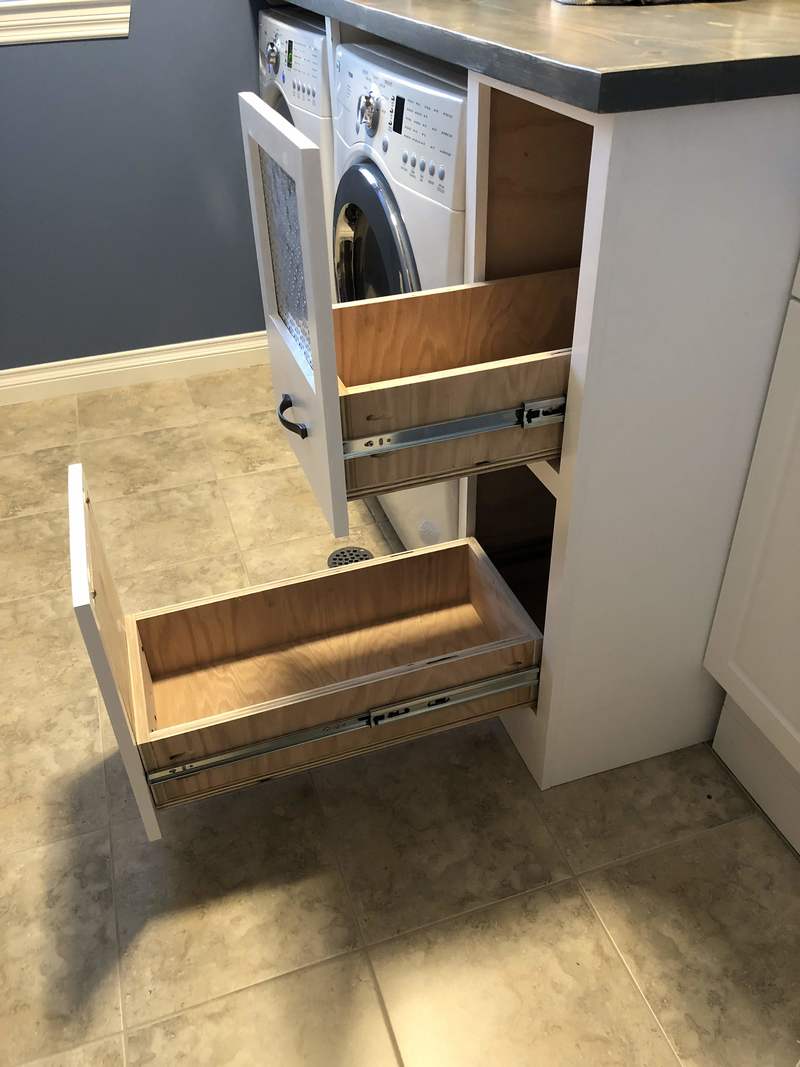
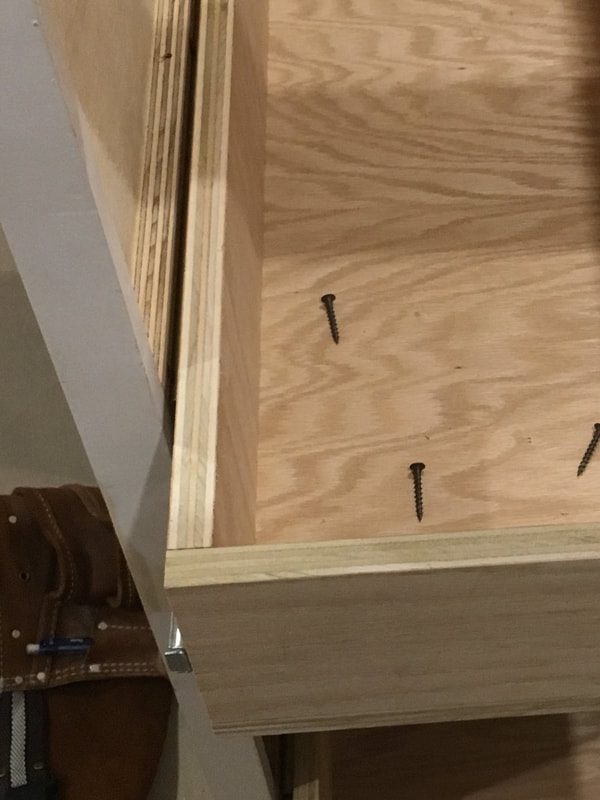
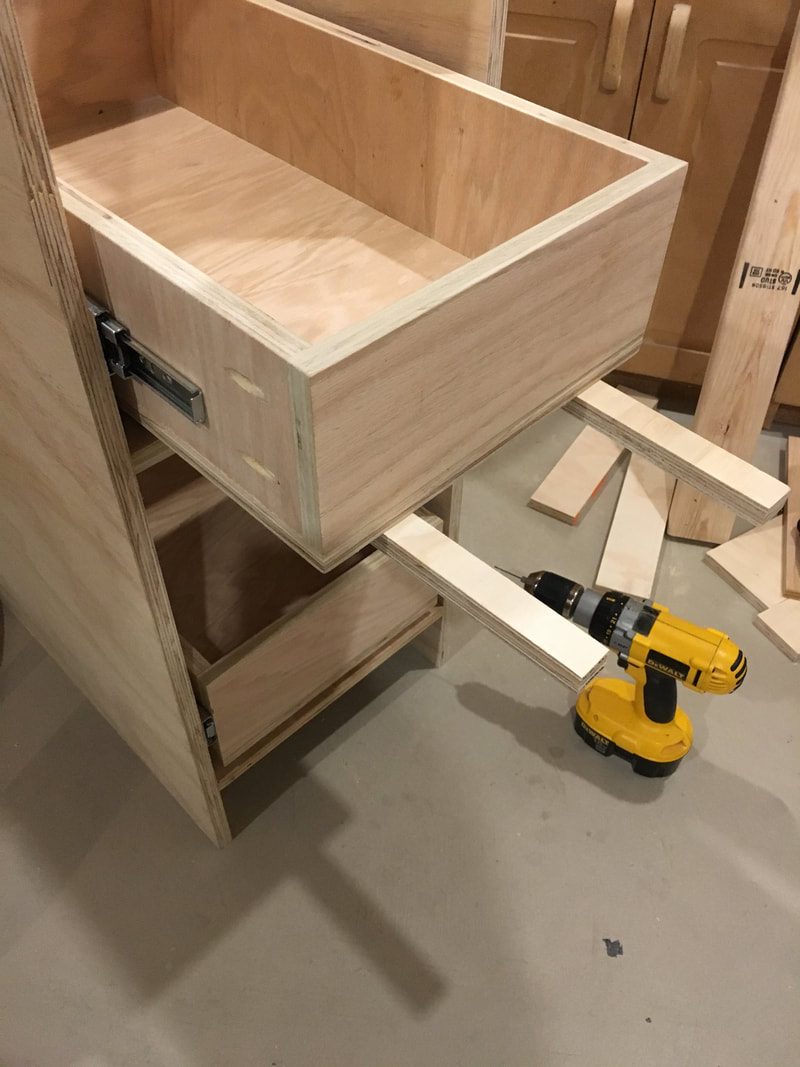
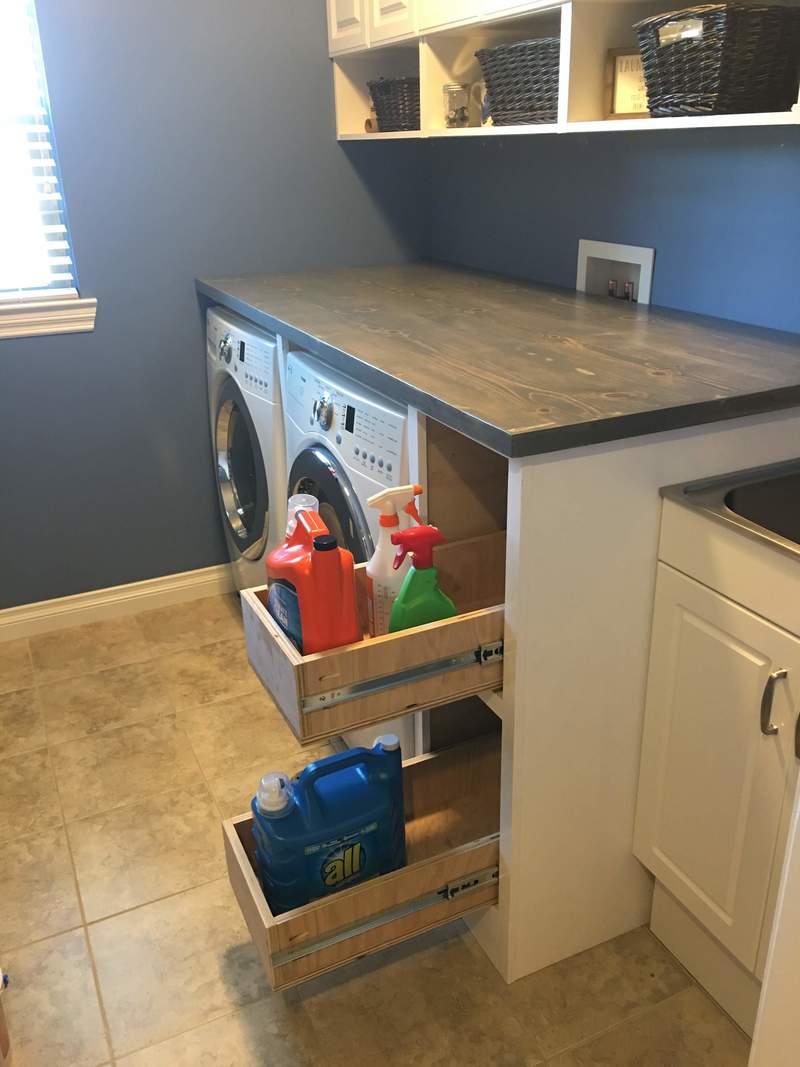
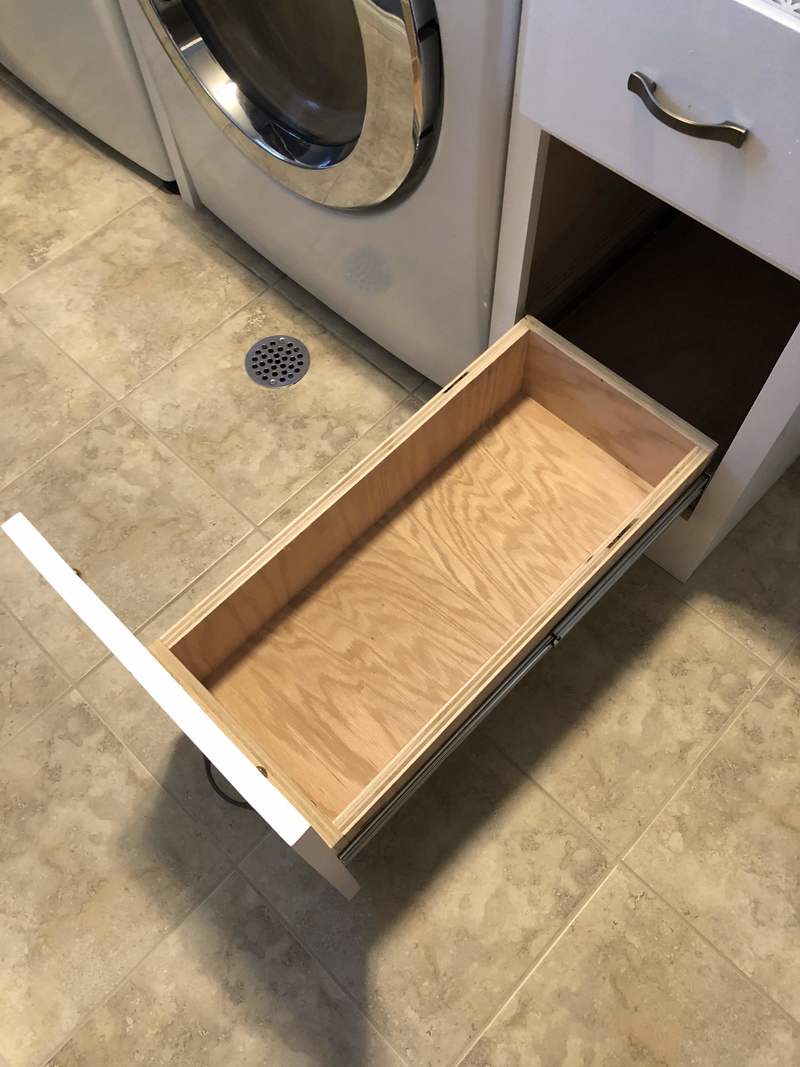
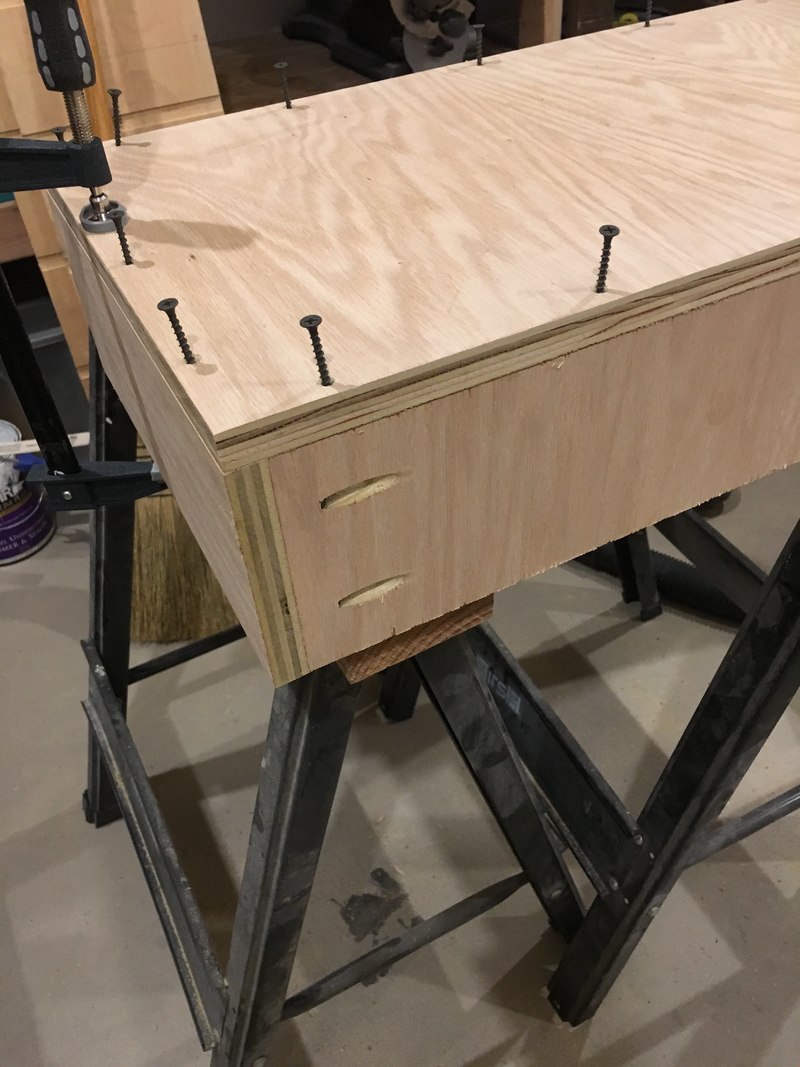
I built the drawers out of the 3/4" plywood using pocket screws. I also used the 3/4" plywood for the bottom because we would be storing detergent in the drawers which is heavy. The standard 1/4" drawer bottom would not work.
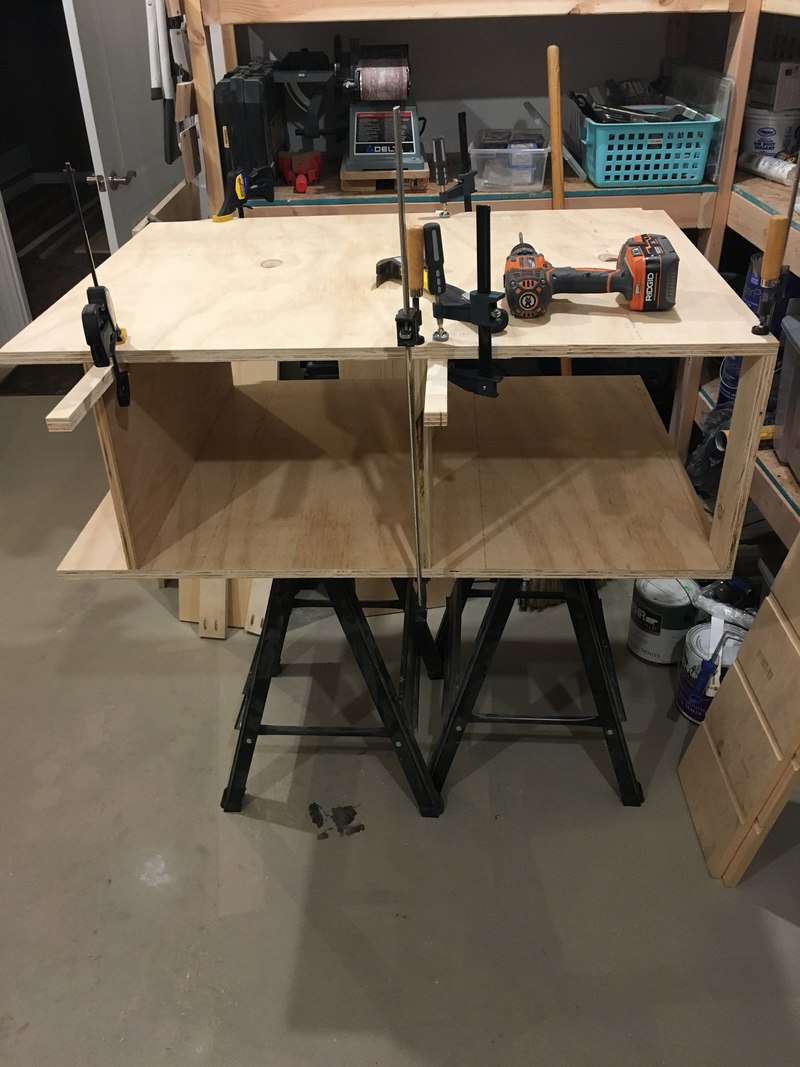
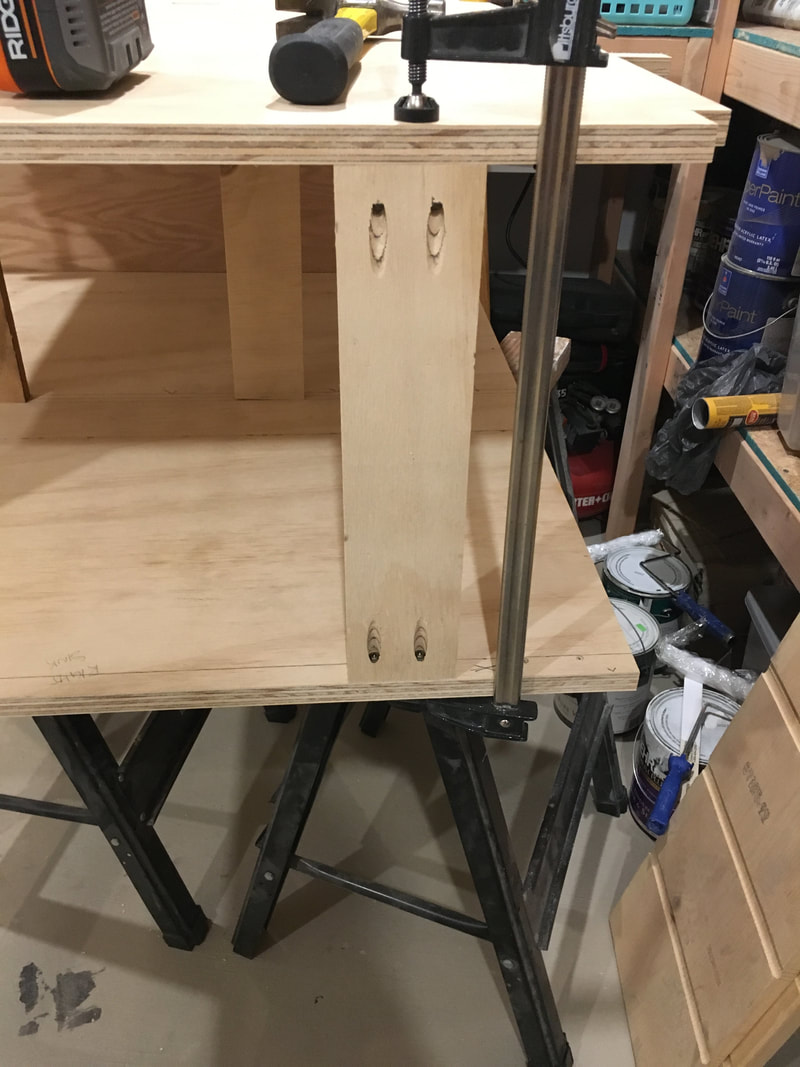
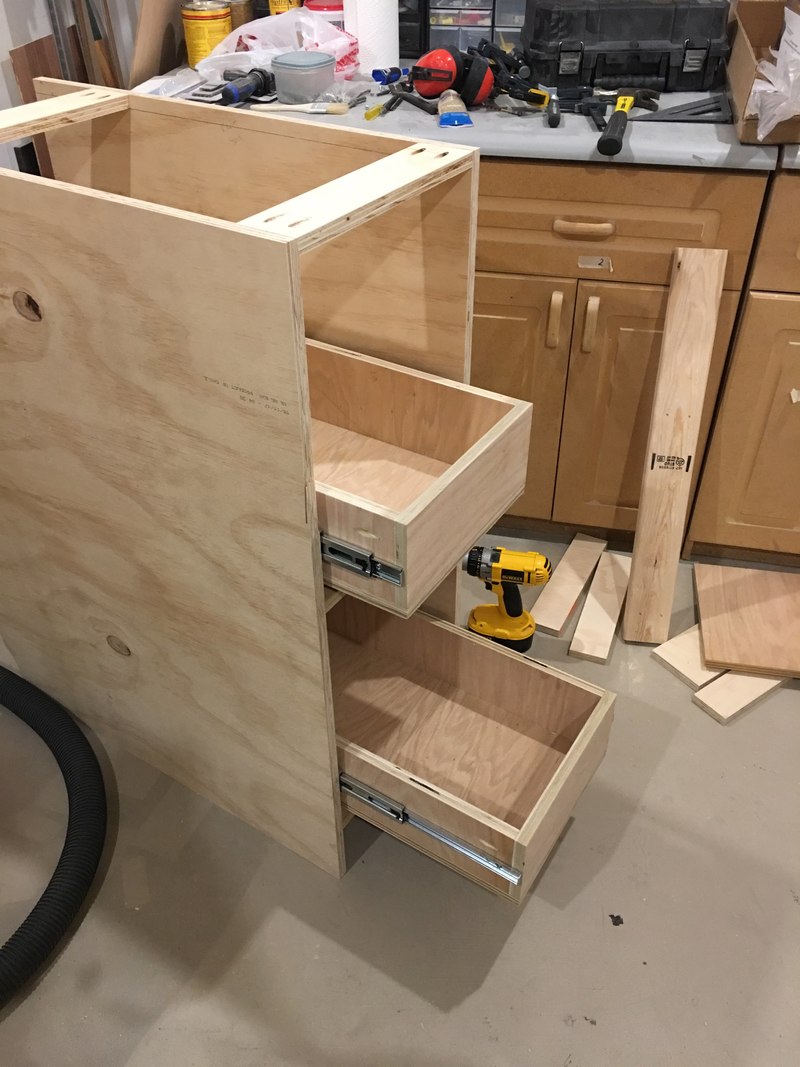
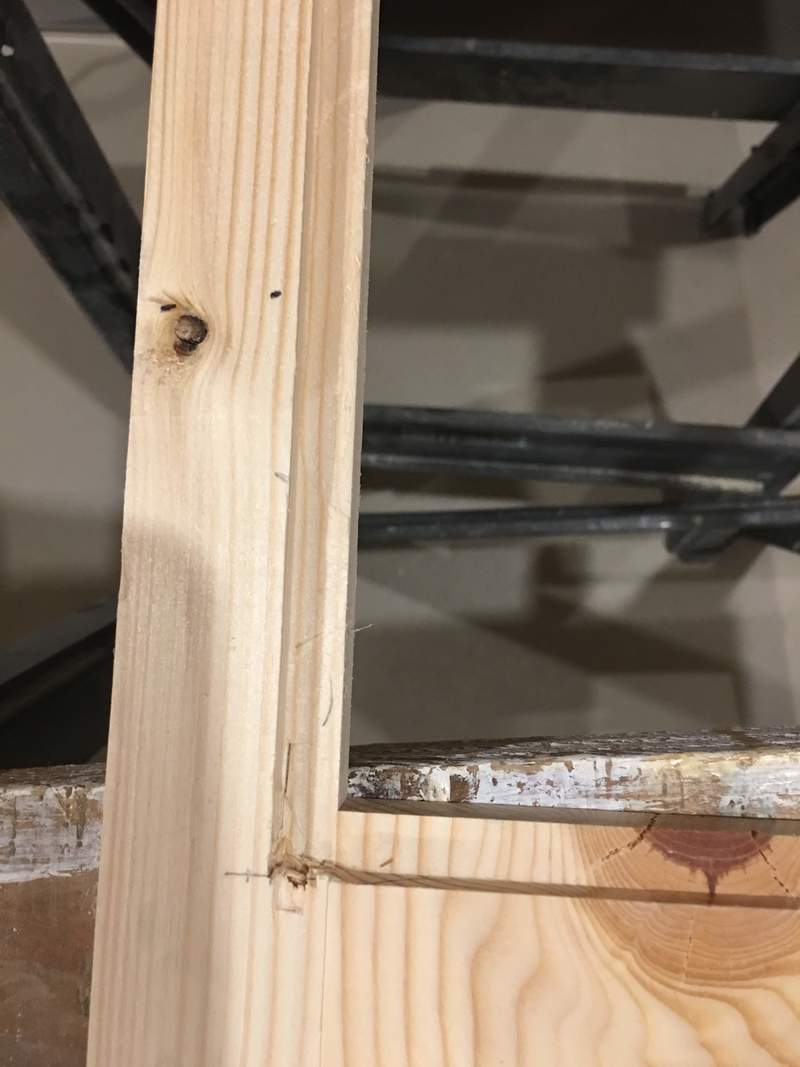
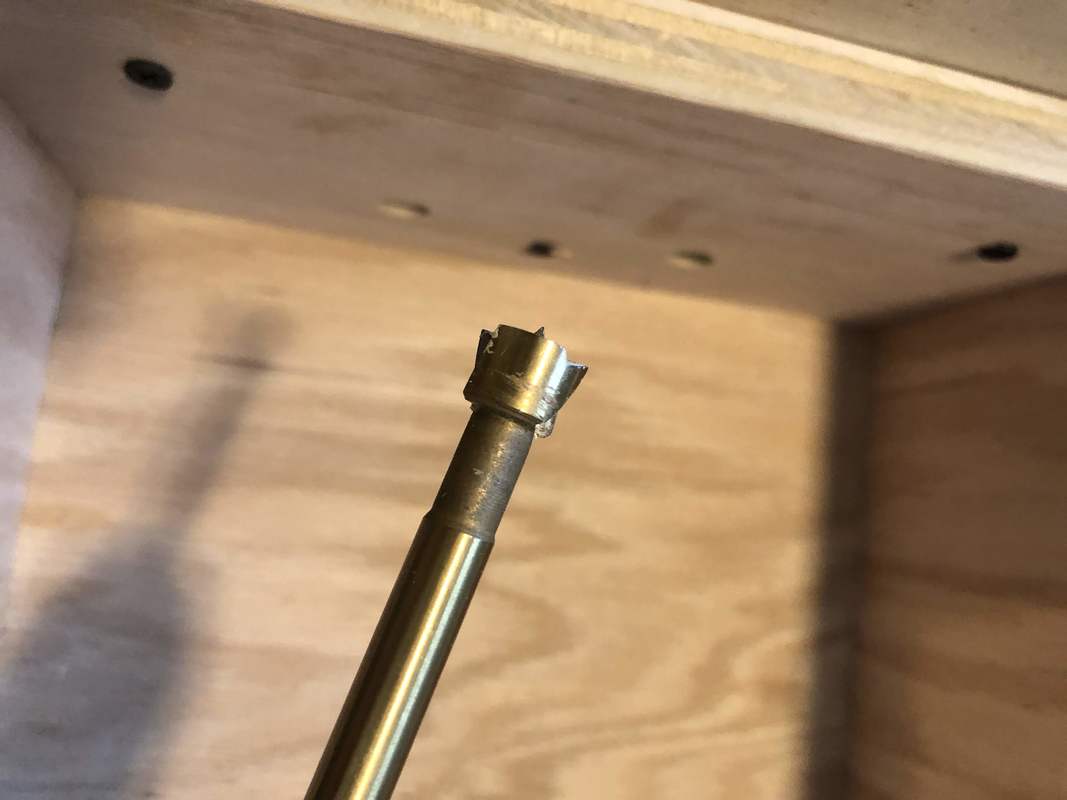
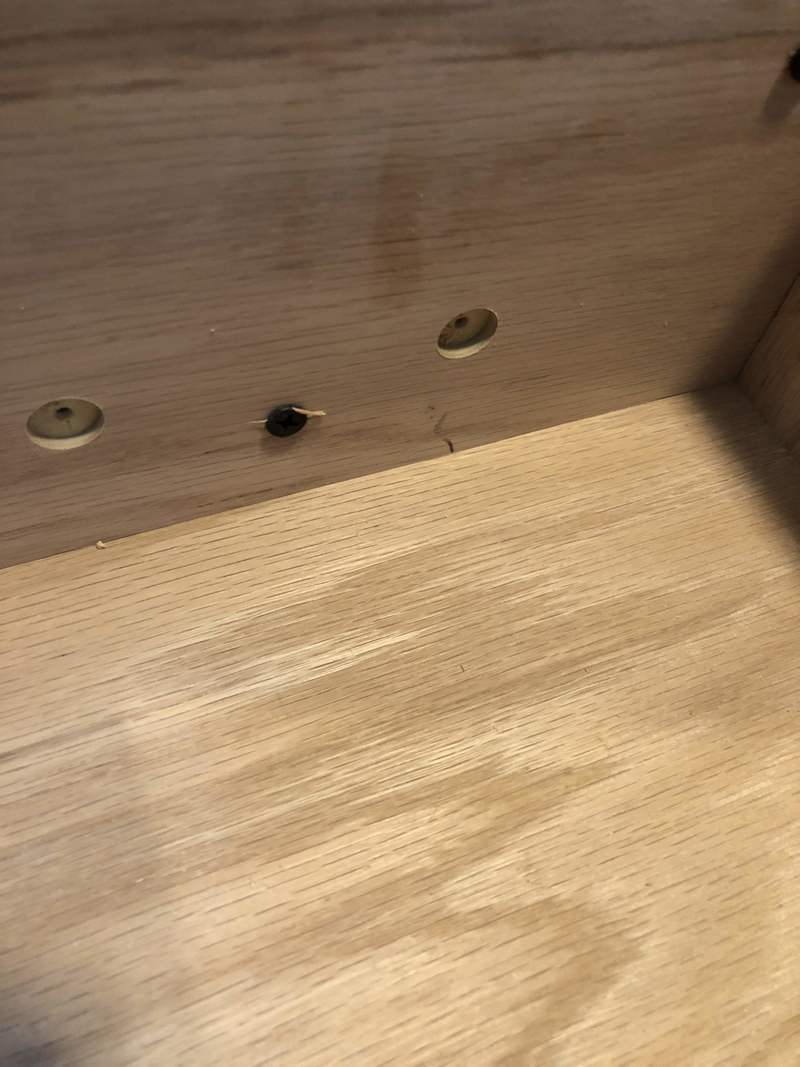
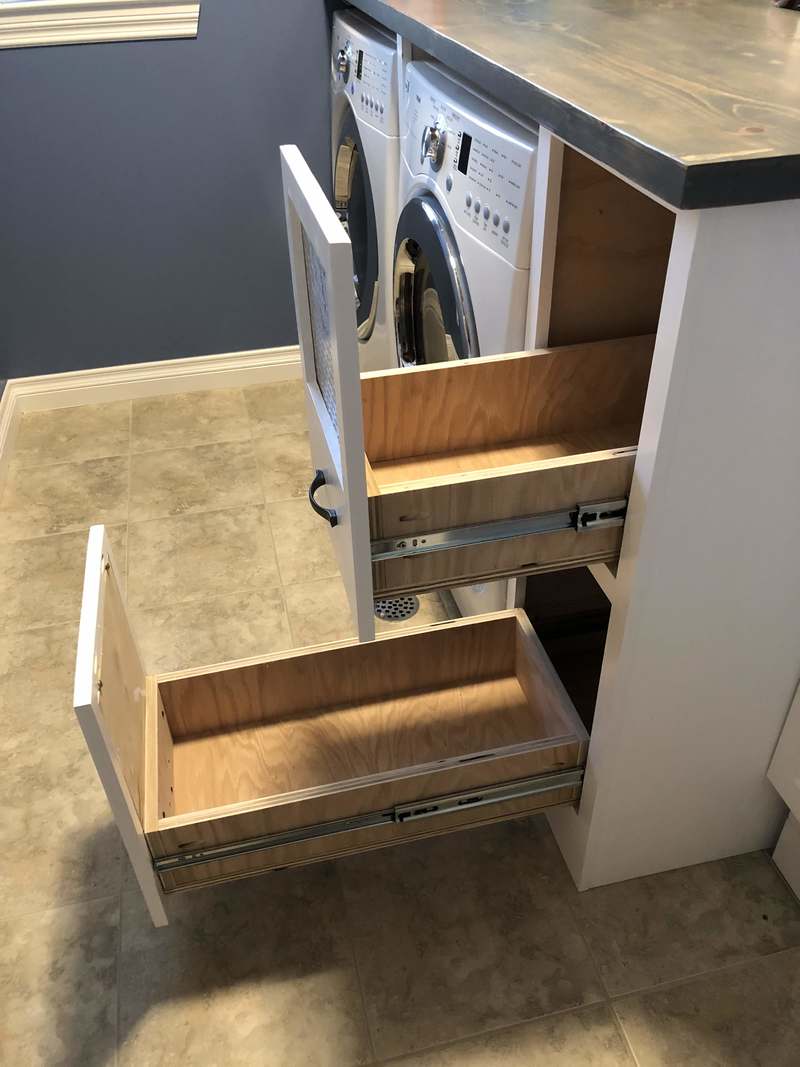
I ordered full extension ball bearing glides that can hold 100 pounds from Home Depot and attached them to the drawers and inside the cabinet. Since the cabinet was going to have a face frame, it was necessary for me to add strips of wood to the inside of the cabinet for the drawer glides. You can see the strips in the first picture below. To install the glides straight and the correct height, I put strips of wood below the drawer to position it. I then pulled the glides out and attached them inside the cabinet (It is a bit difficult to describe this with words>)
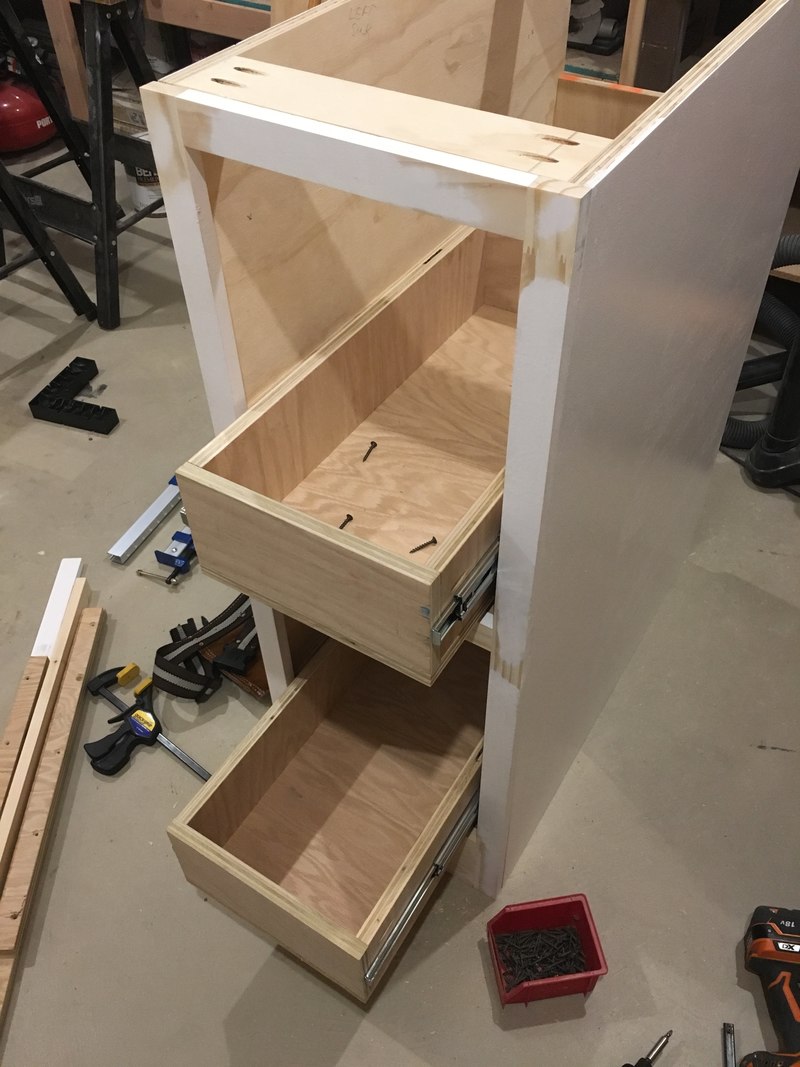
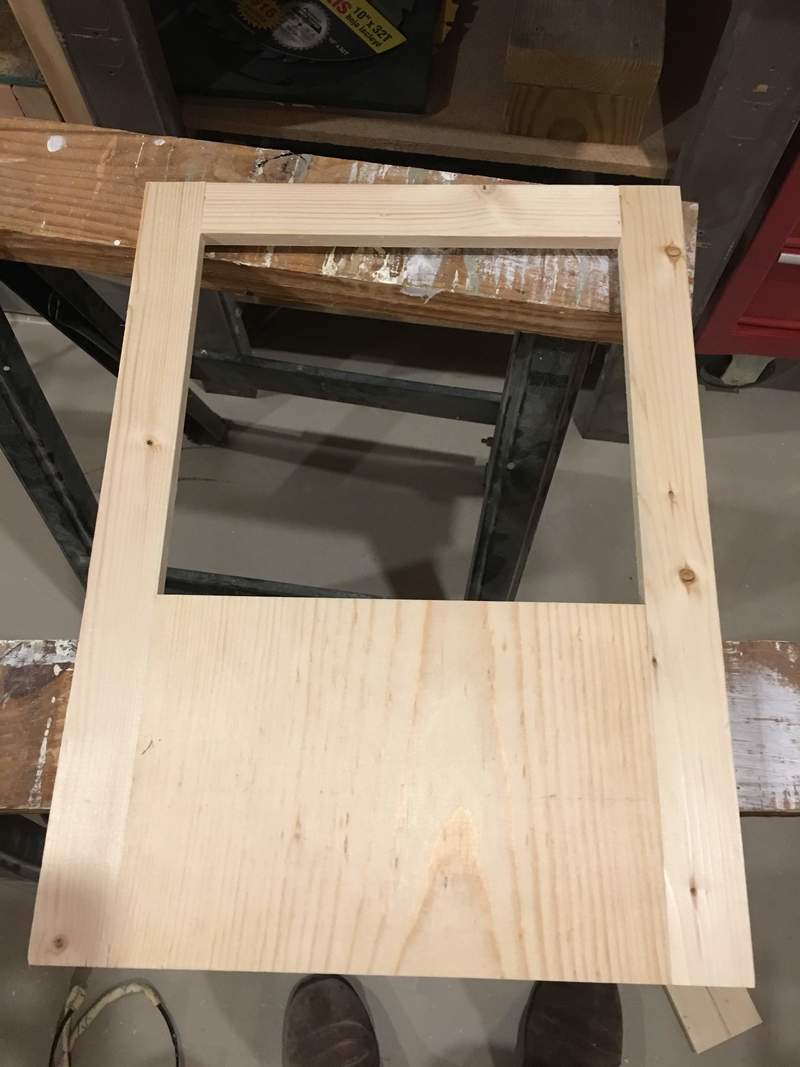
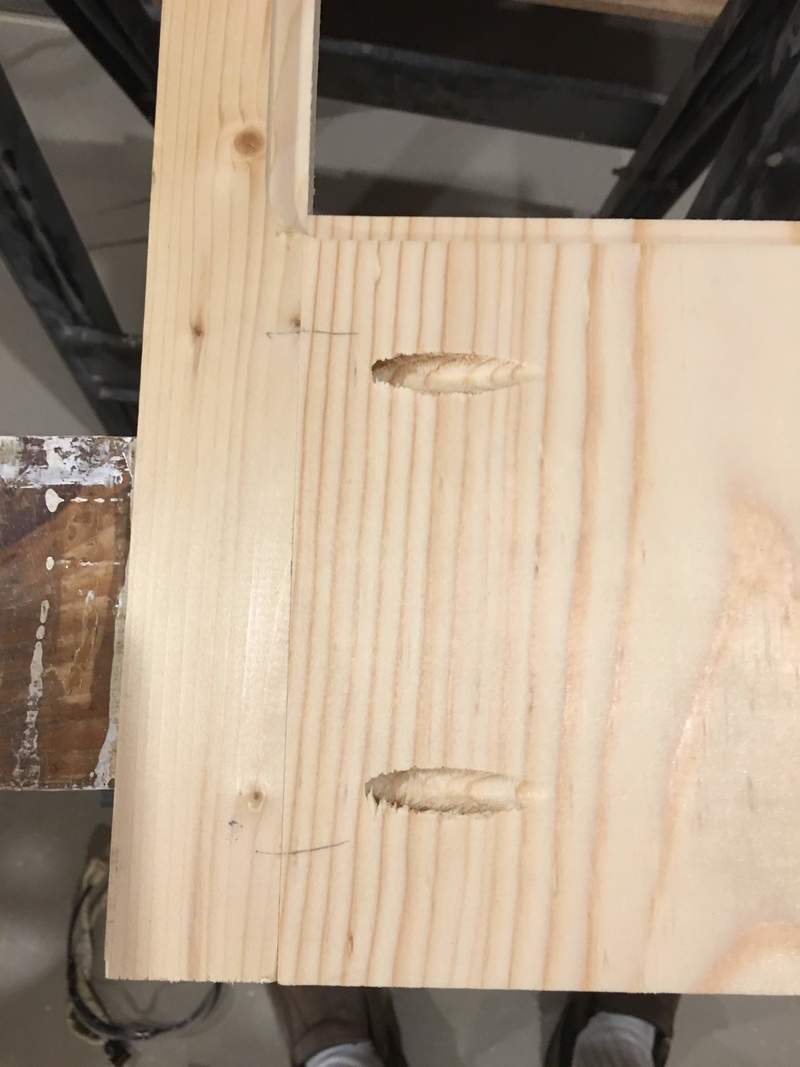
I realized at this point that I must have forgotten to take pictures since I don't have any of the face frame. At any rate, I built it out of 1x2 pine and put it together with pocket screws. I determined the size of the opening in the face frame by pulling the drawers out and measuring for an opening that the drawers would clear. Using pocket hole screws makes building face frames very easy. Since I painted the cabinet I could just sand the face so it is perfectly flat and paint it.
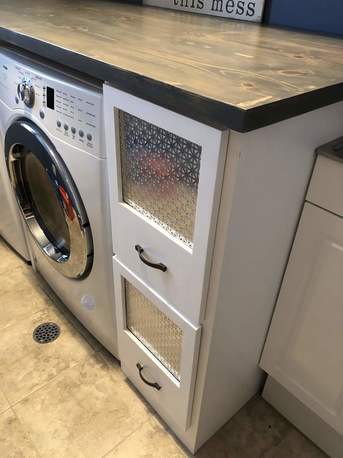
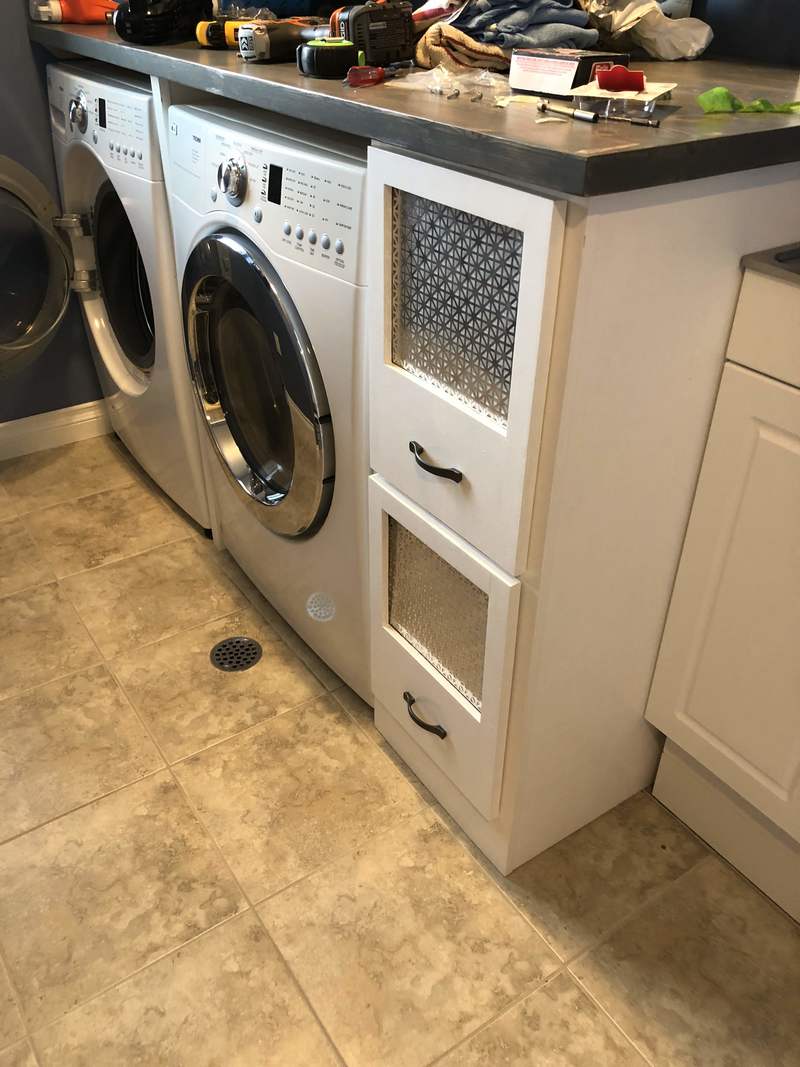
The cabinet is installed and works great. The next step is to build doors for the drawers.
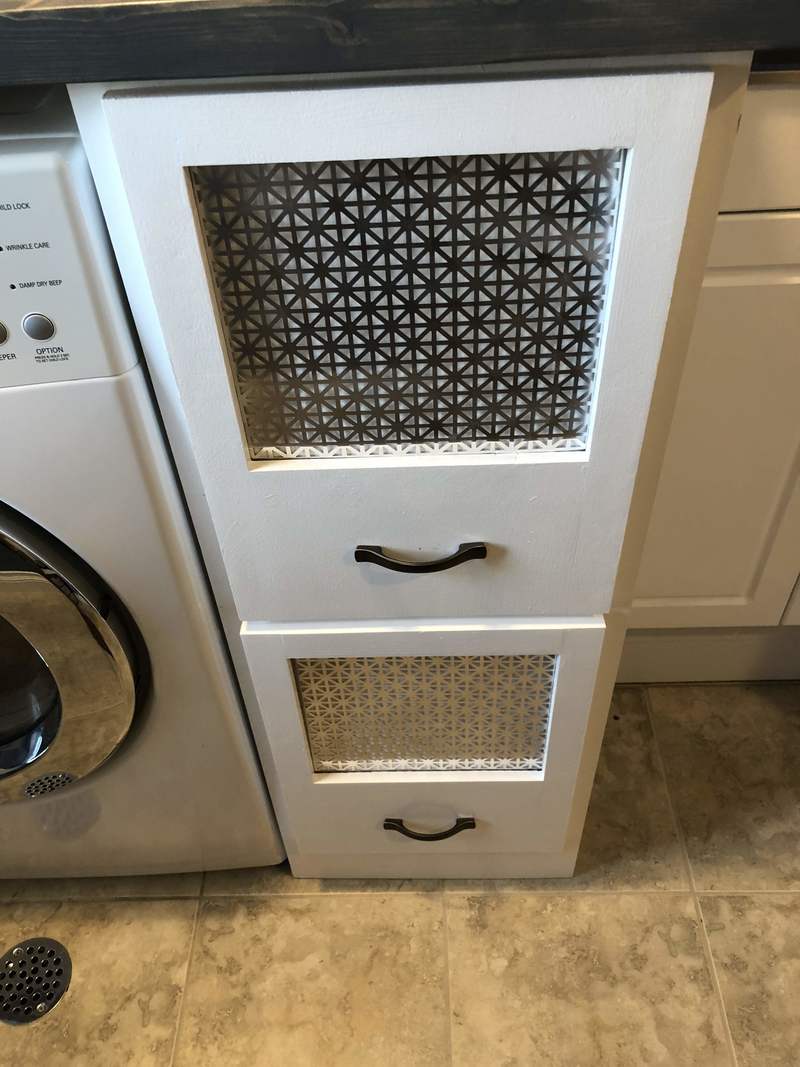
I built the door using pocket hole screws. The bottom rail is large because the door is actually fitting over a drawer and I needed a place to install a handle.
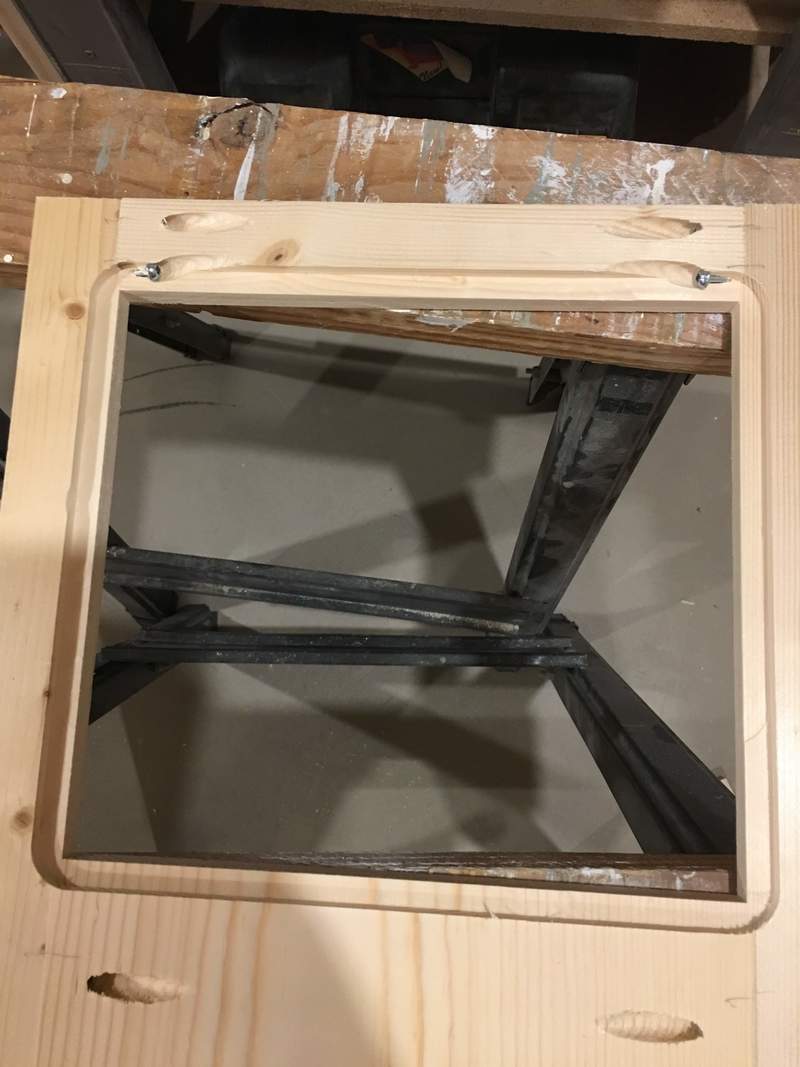
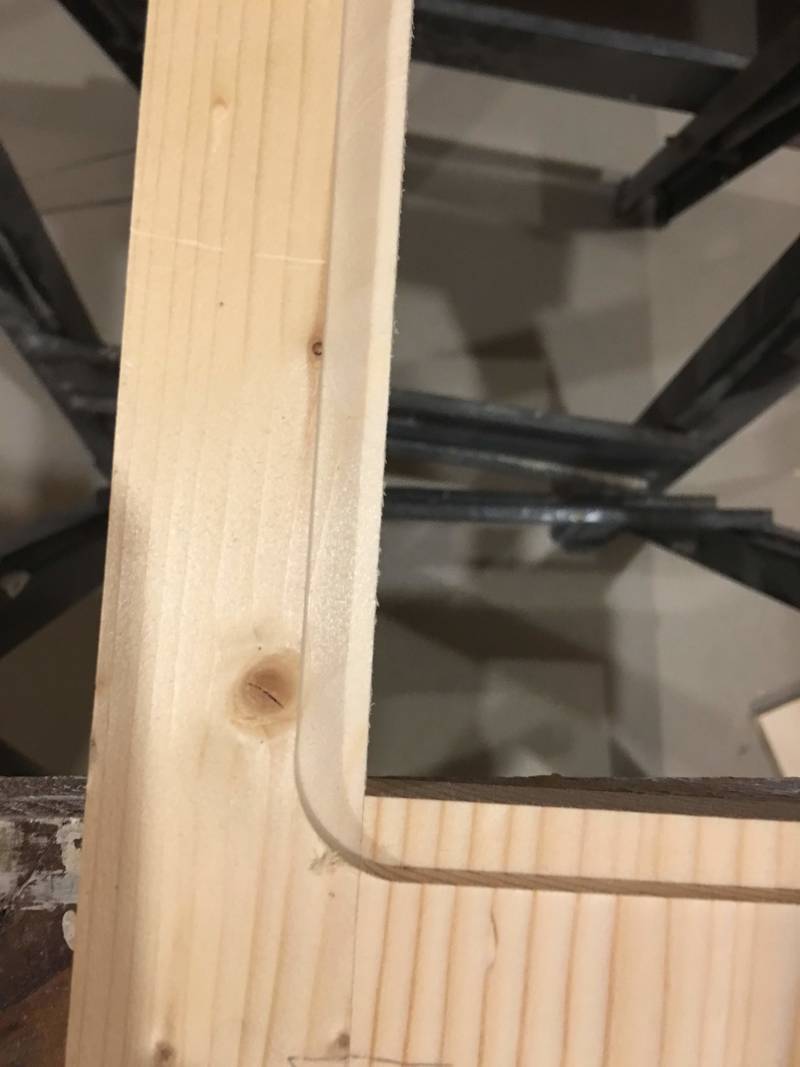
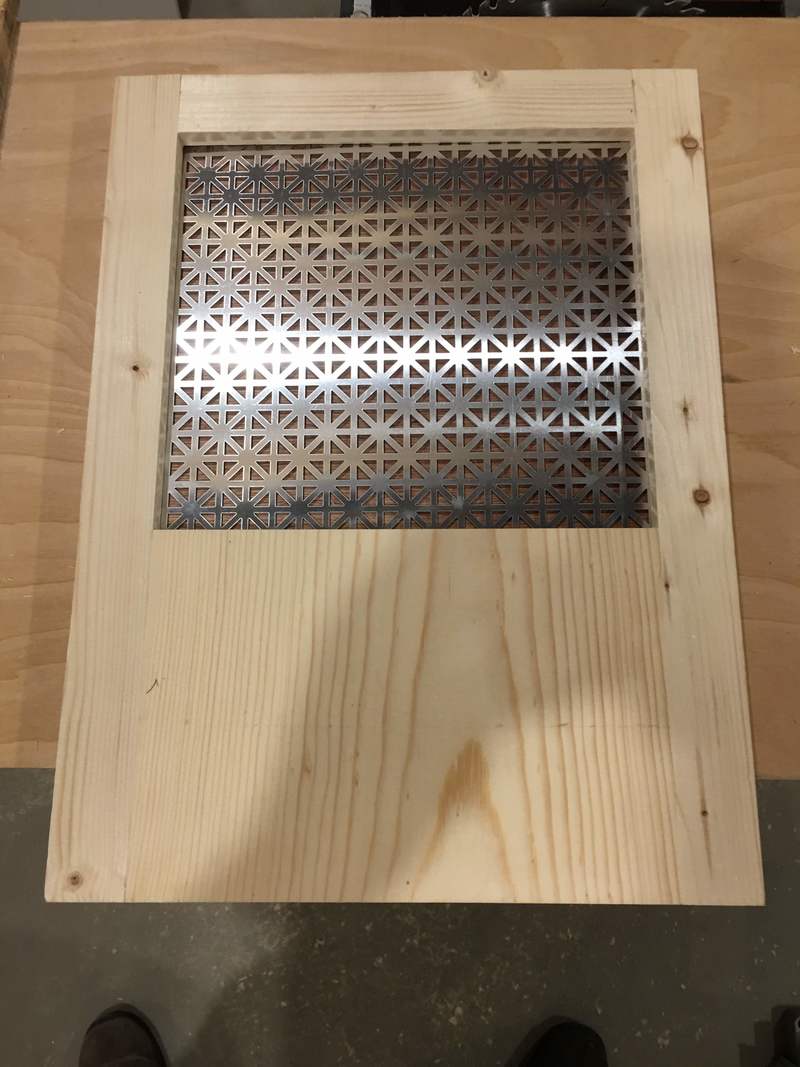
I used a router to make a recess in the back of the door for a panel. . I needed to remove a pocket hole screw while I routered because it was actually in the way. Routering a recess was an afterthought, otherwise, I would have placed the pocket hole further away. It ends up not being an issue, but it could have been done better. The rounded corners need to be chiseled square so the panel could fit in the recess. I replaced the pocket hole screw when this was completed.
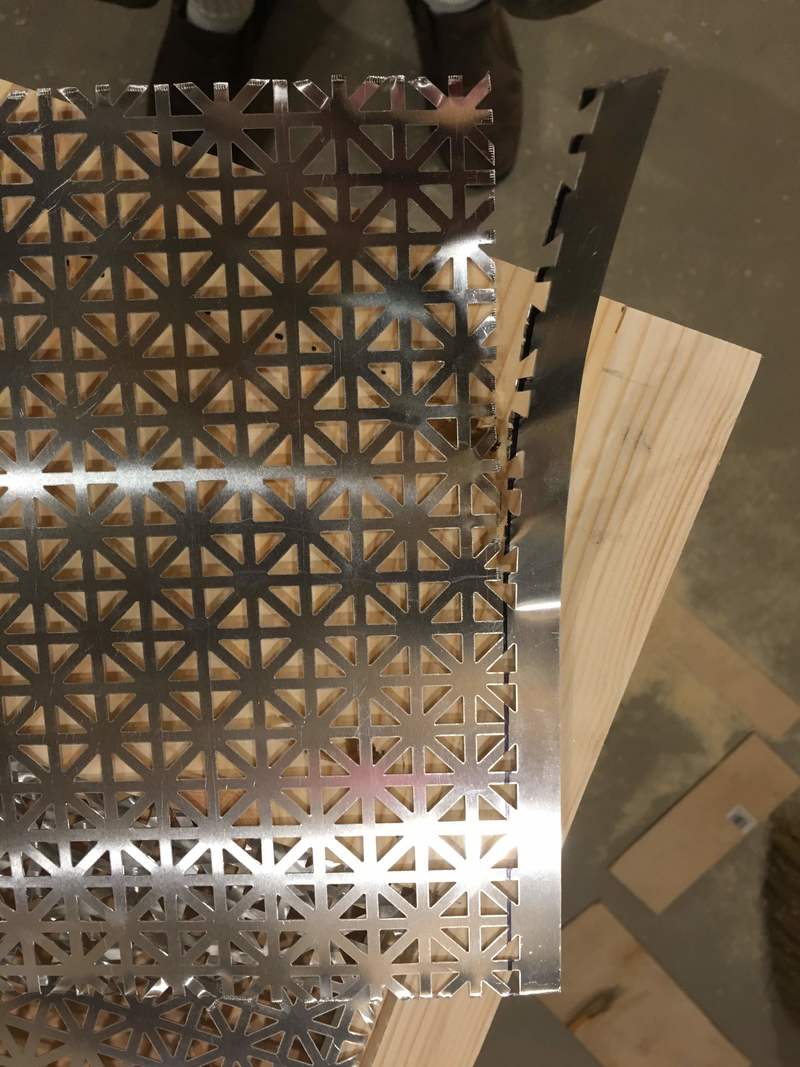
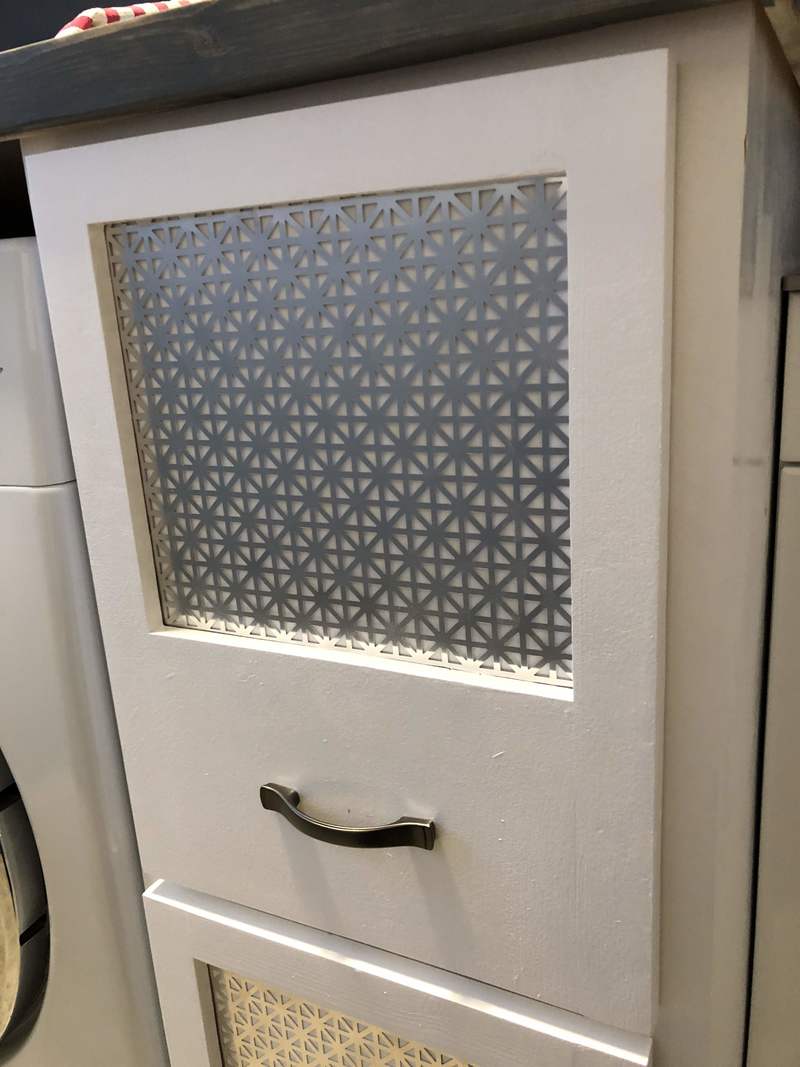
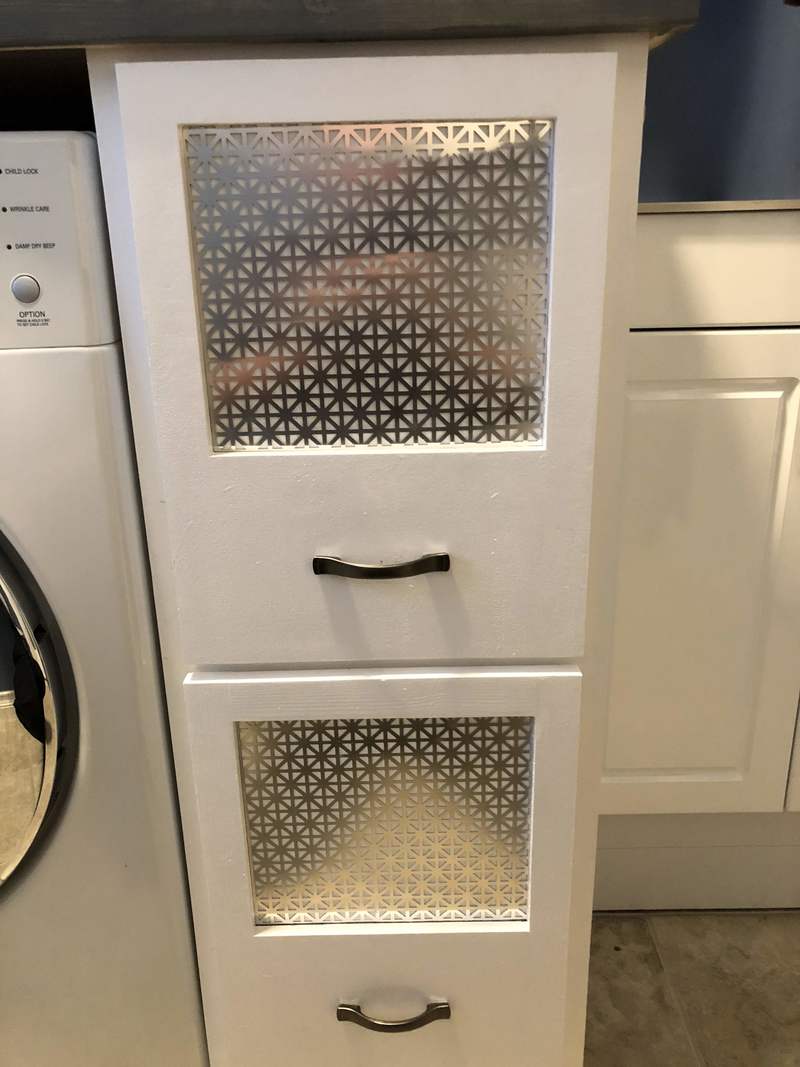
I needed to notch the wood panel to fit around the pocket hole screws. I just used a rounded file. The panel fit right in around the screws. I originally intended to just install a wood panel, but my wife thought decorative expanded metal would look good. We bought a sheet at Home Depot and cut it with aviation shears. I placed it in front of the wood panel. They will now bw painted and then be ready for installation.
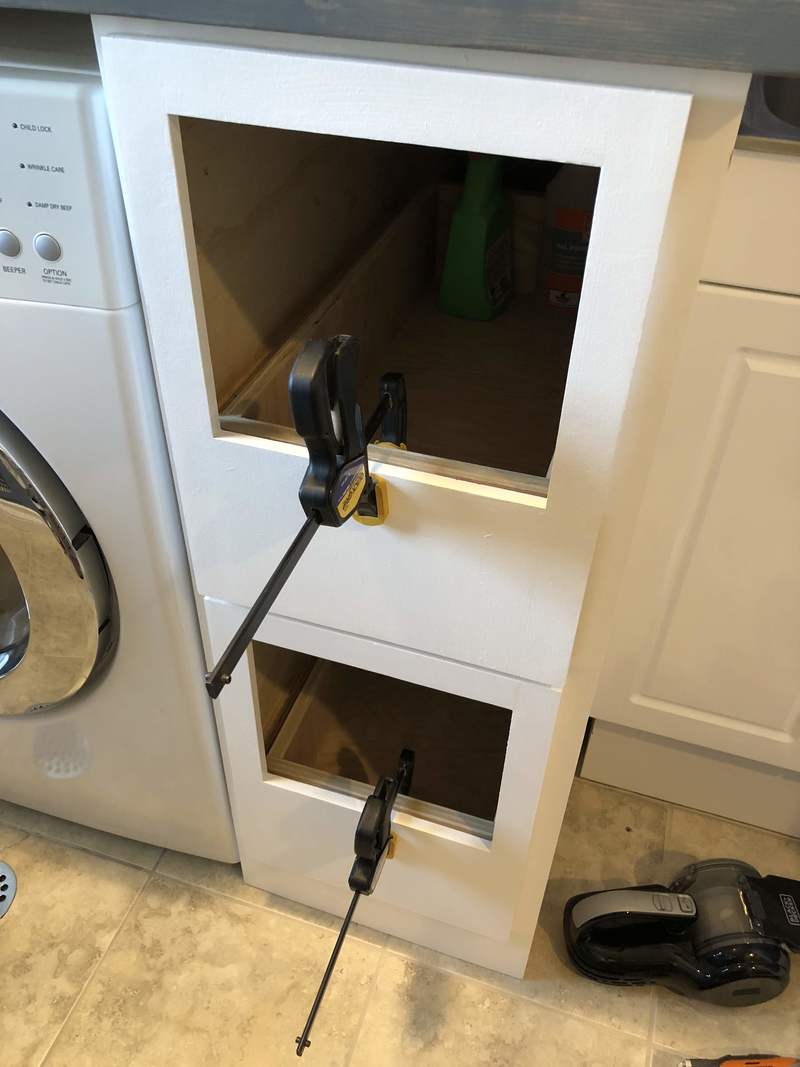
I first drilled holes through the drawer front for mounting screws. I then positioned the doors, without the panels, and clamped them in position. I then screwed them in from the backside and installed the metal and wood panels.
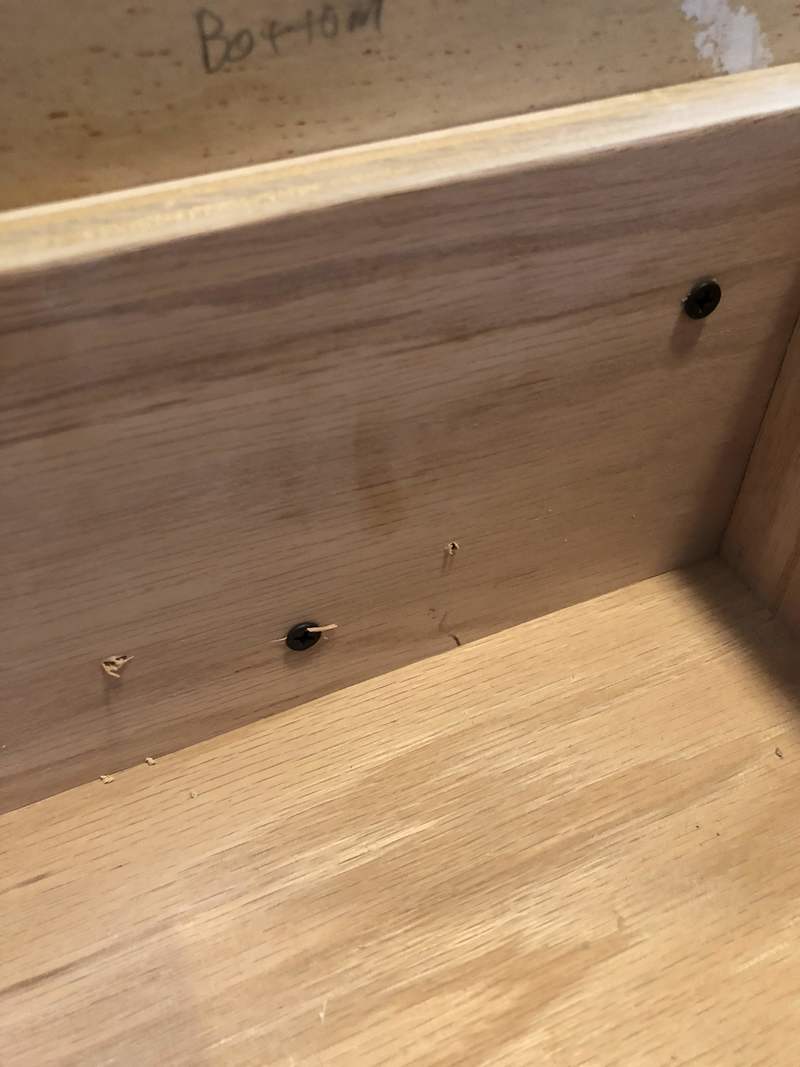
The drawer pull I bought come with 2 sets of screws. I wanted to use the longer screws and have the screw come through both the drawer and the door so I did not have to remove the door. The screws were a bit too short so a drilled a recess using a Forstner bit.
The cabinet is now complete and the decorative sheet metal really adds a lot of character. The full-extension drawers are also handy and functional.