This site contains affiliate links to products. A commission may be received for purchases made through these links. This site is also a participant in the Amazon Services LLC Associates Program, an affiliate advertising program designed to provide a means for us to earn fees by linking to Amazon.com and affiliated sites.
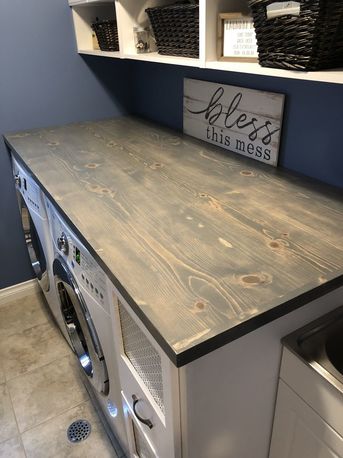
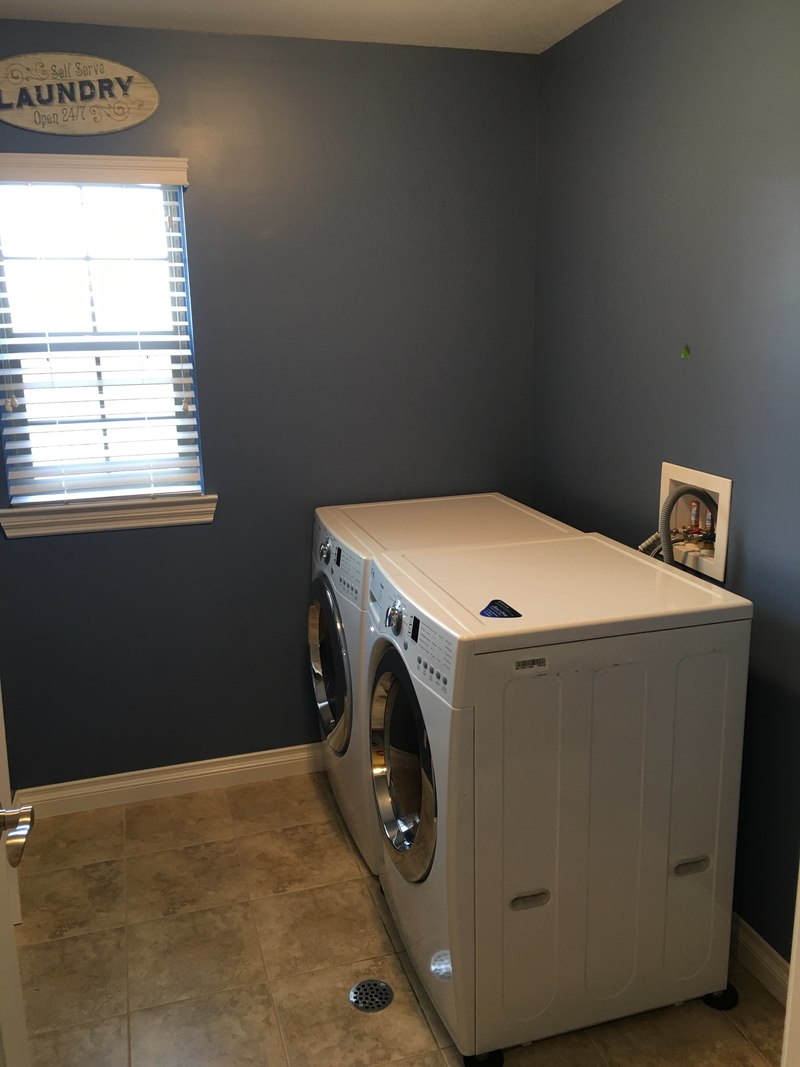
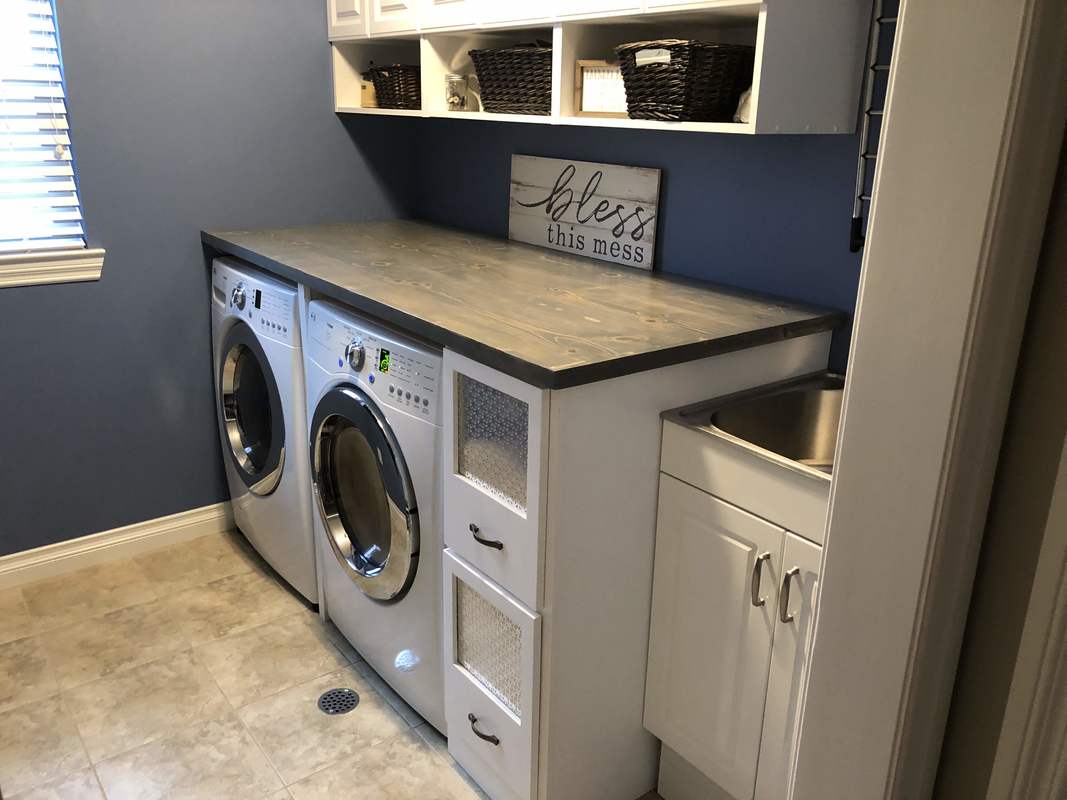
The reason for adding a counter top on top of the front loader washer and dryer was mostly for functionality. It would give us a nice surface to fold and stack laundry. It provides a place to store supplies like detergent. It helps prevent clothing from falling behind or between the washer and dryer. On top of all this, it looks great.
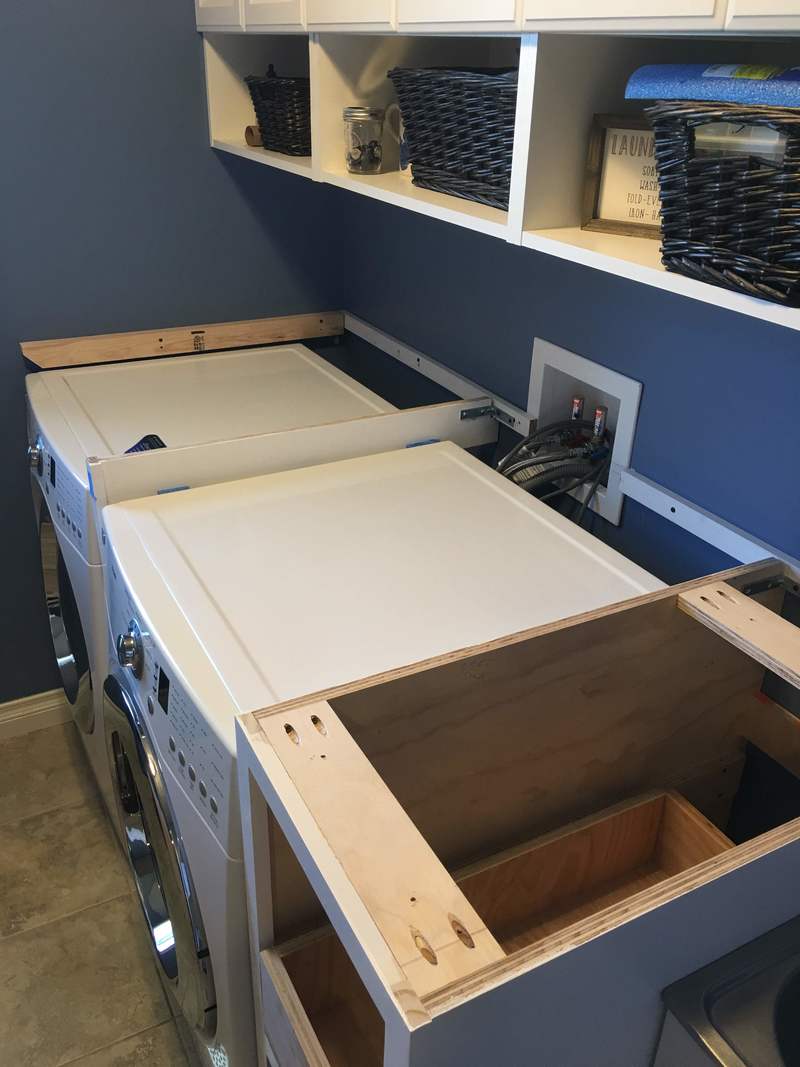
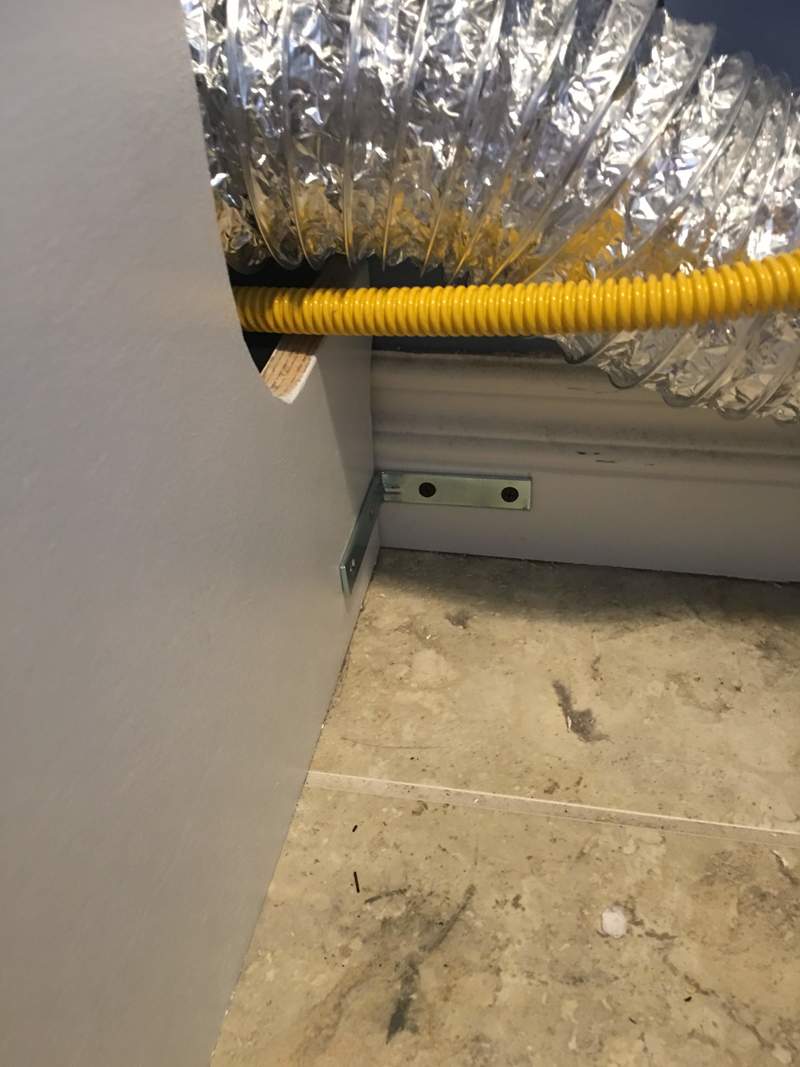
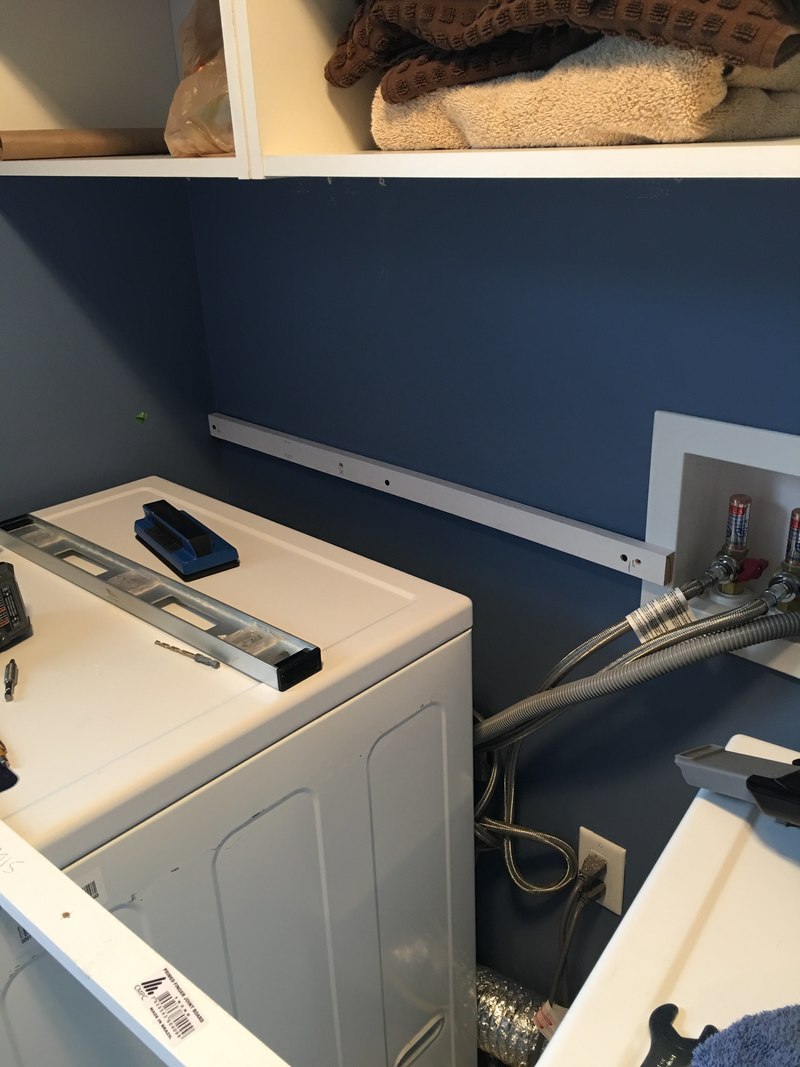
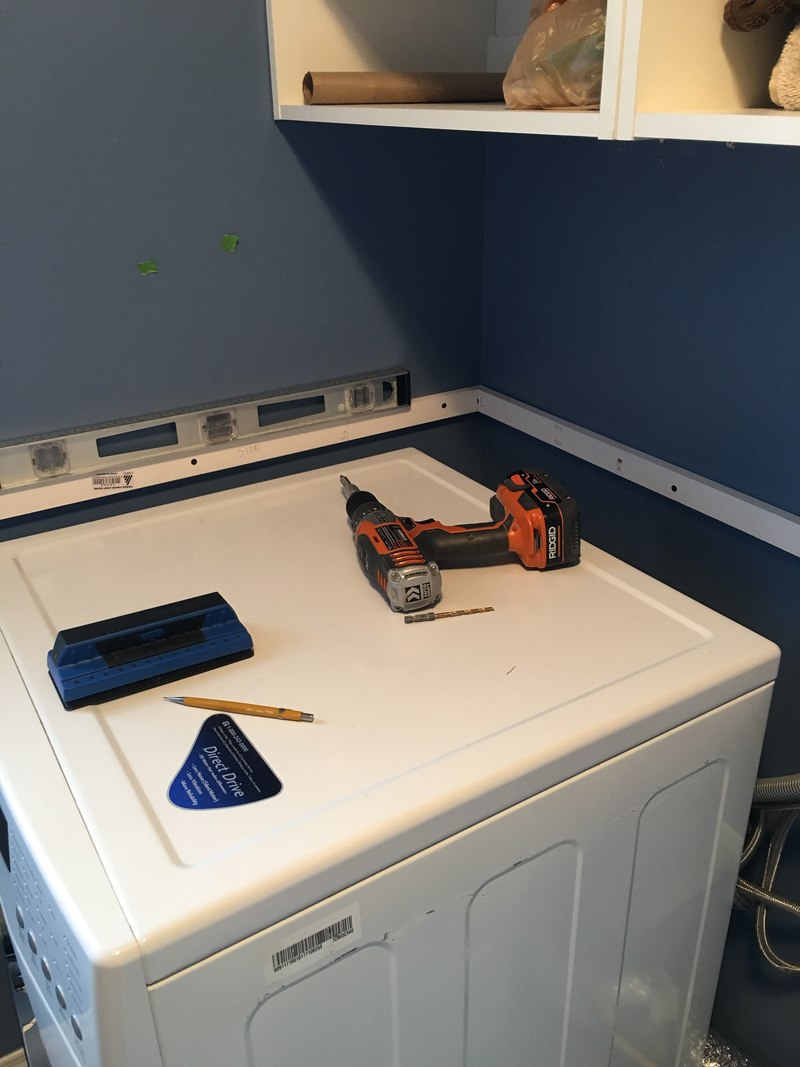
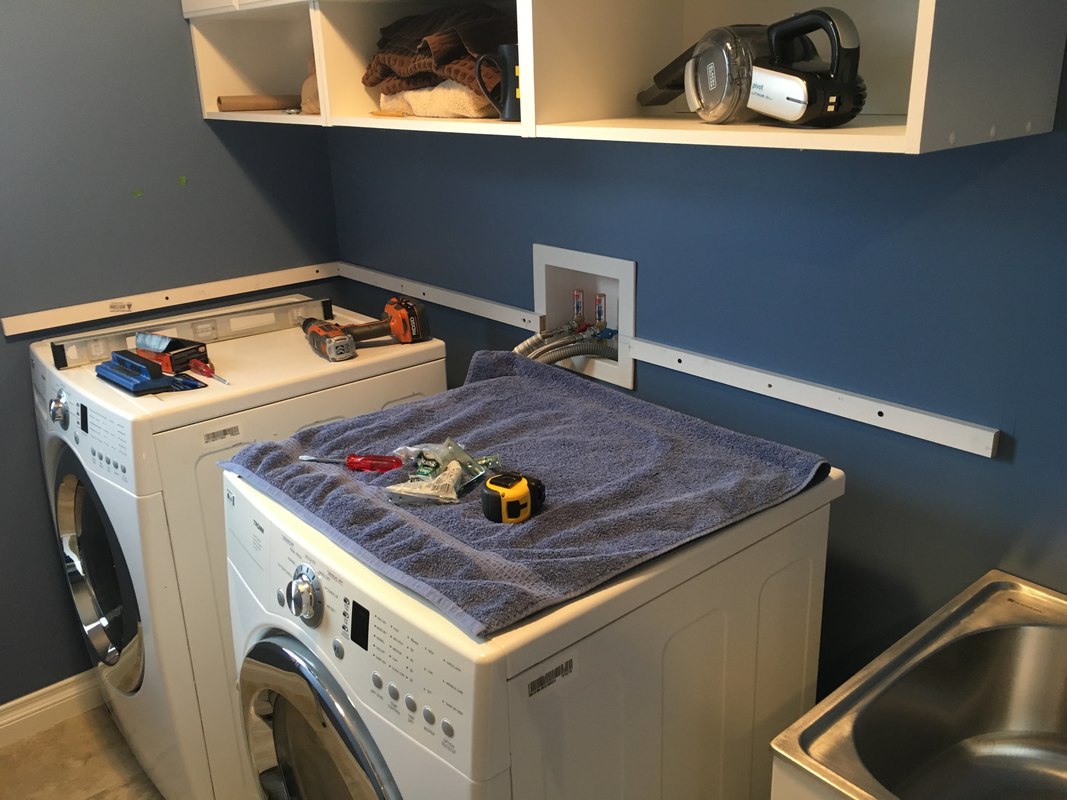
The first step was to add a ledger board around the machines to hold the counter top.
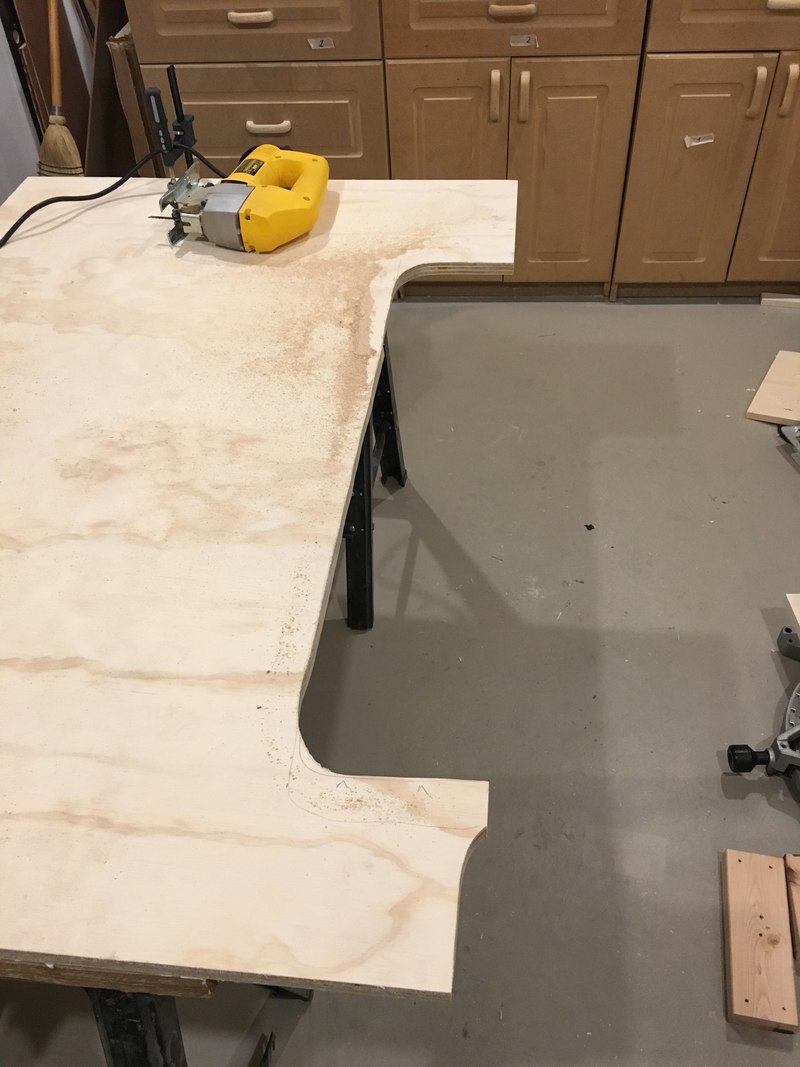
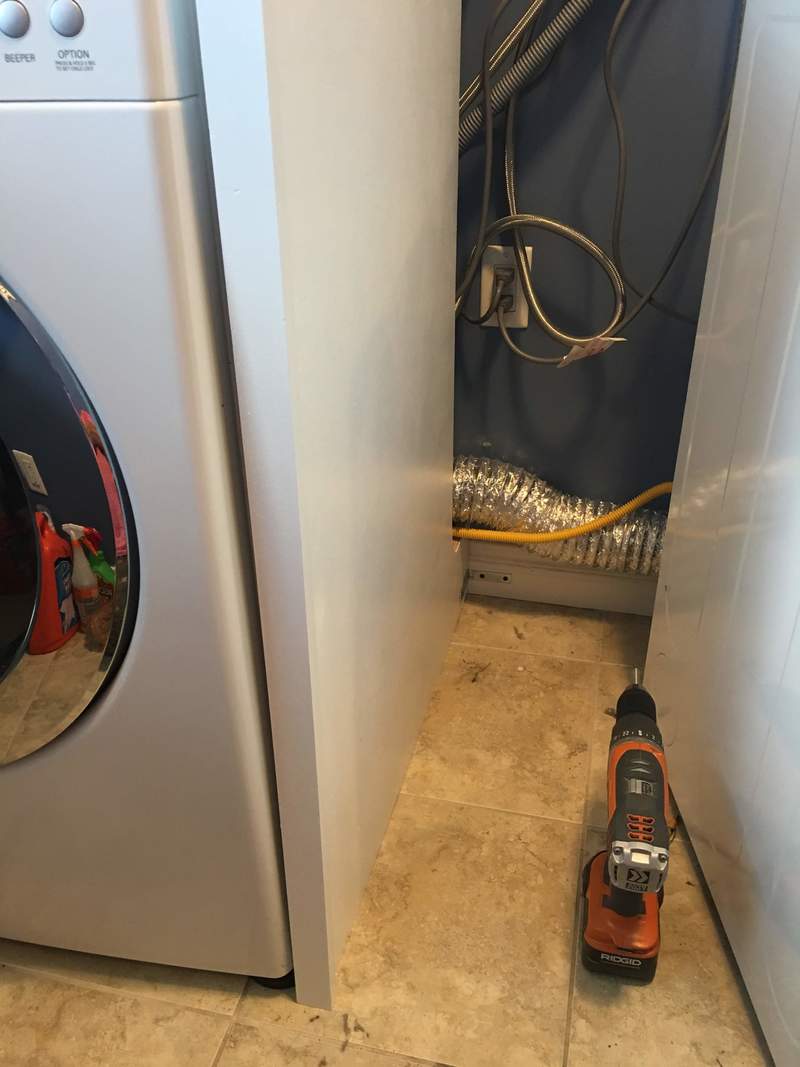
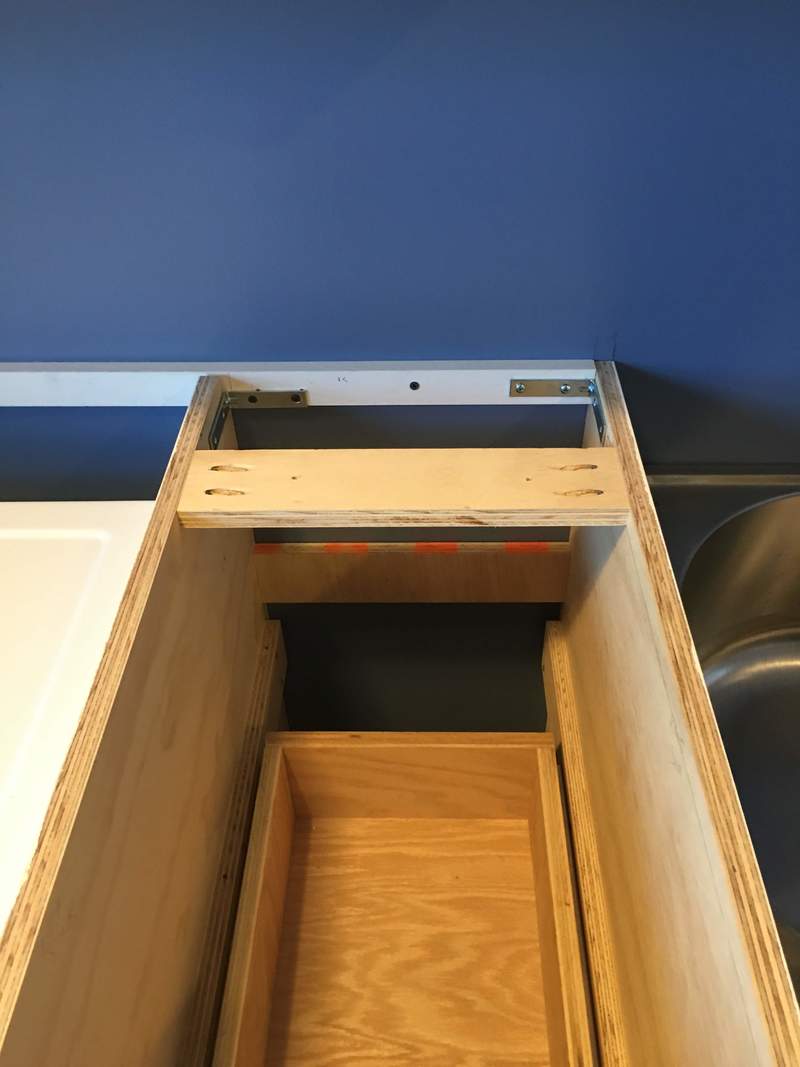
I realized the span is too large for that size counter top and supports would be needed in the middle and at the end. I had 3/4" plywood left over so I used that to build the middle support. The utilities run behind the machines so I had to cut out some of the support to allow the utilities to pass through. I also cut out the profile of the base molding so it would sit flush against it. I added a piece of trip to the front using biscuits to give it a finished look.
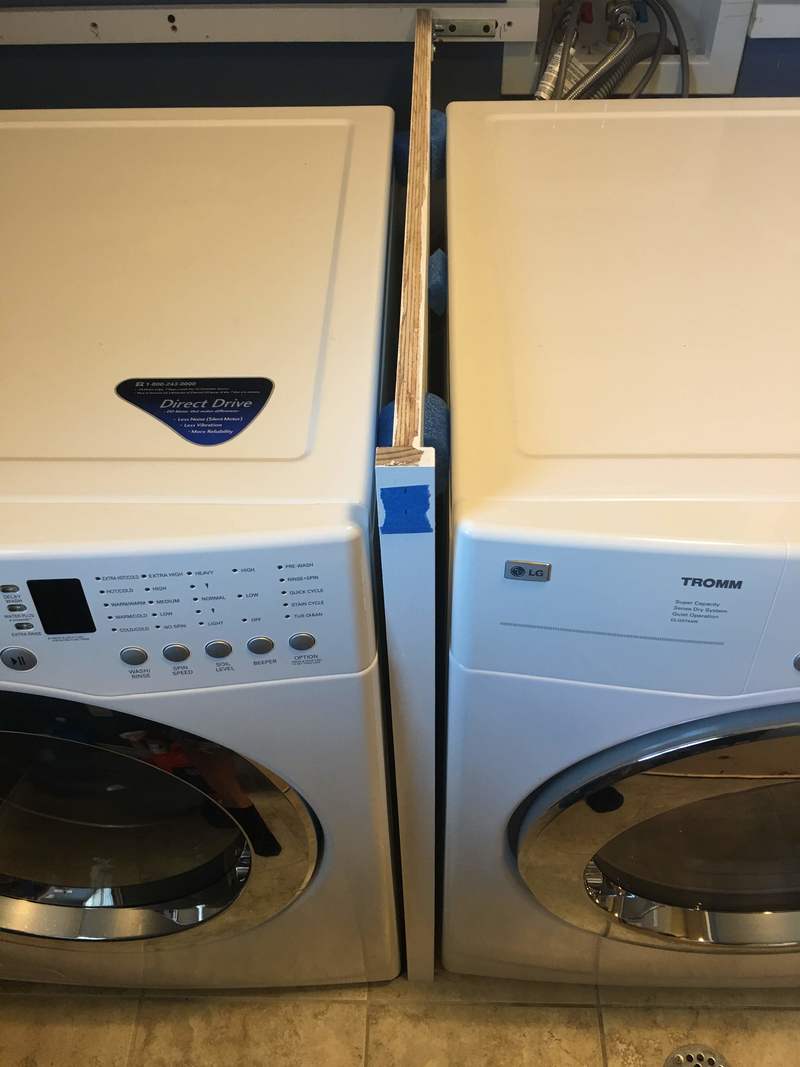
The middle support was put into place and secured using angle brackets. I used one at the bottom and top of the middle support.
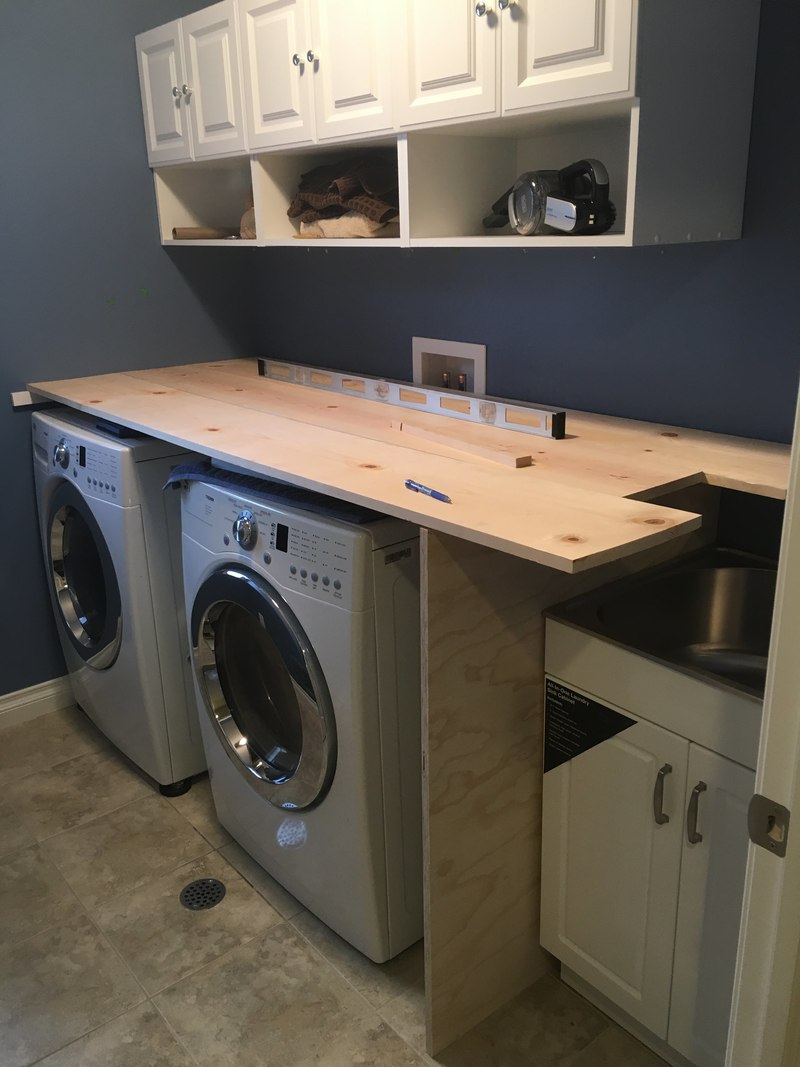
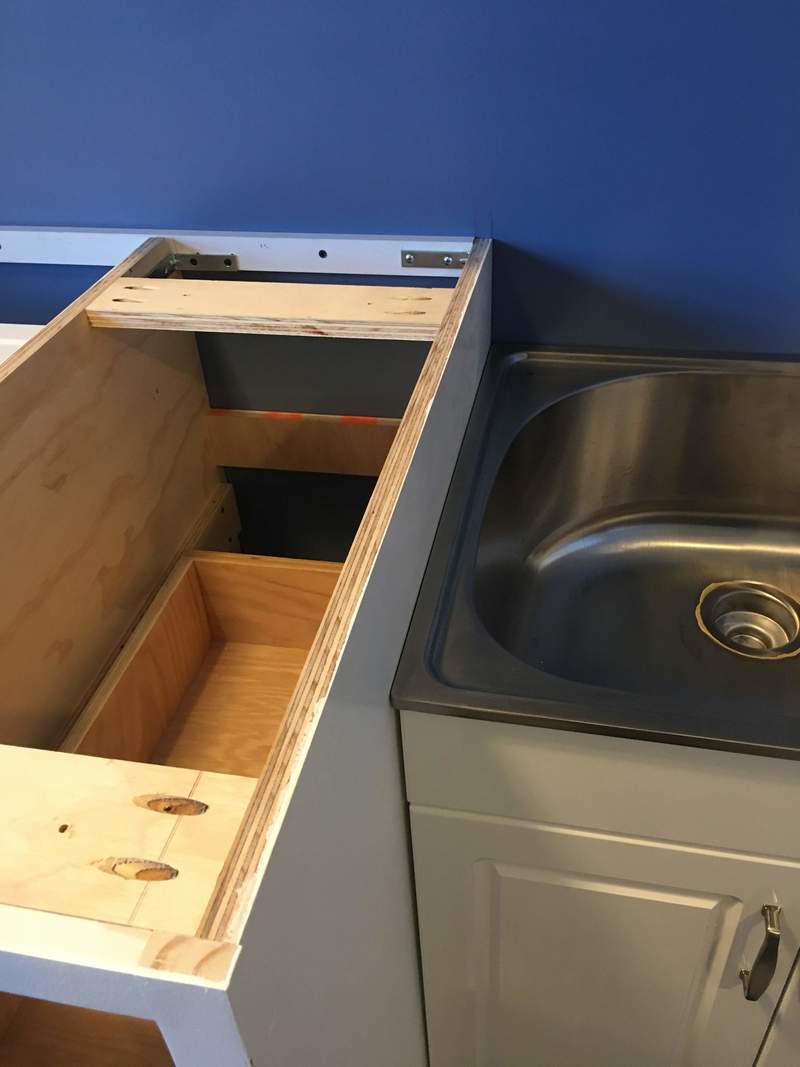
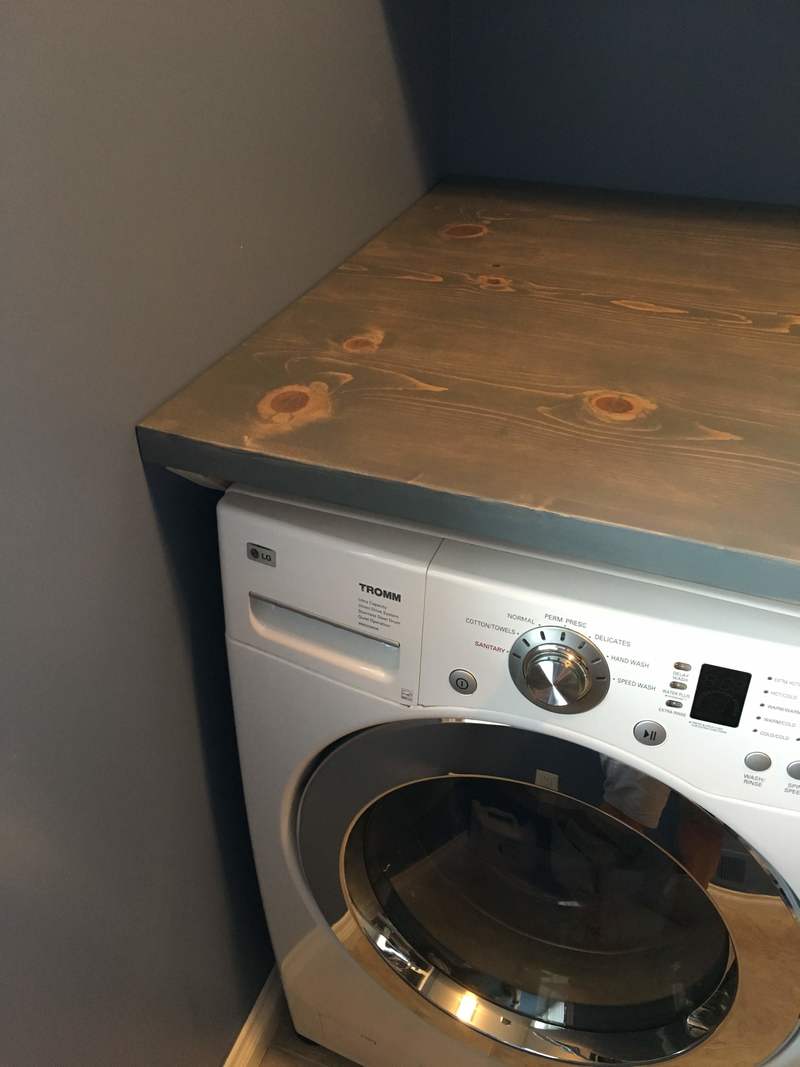
I designed the cabinet, the support for the end of the counter top, to fit between the sink and the dryer. I secured the cabinet with angle brackets at the top. I was not able to access the bottom to secure the cabinet there. However, the cabinet is heave enough that it is not required. Now it was time to build the counter top.
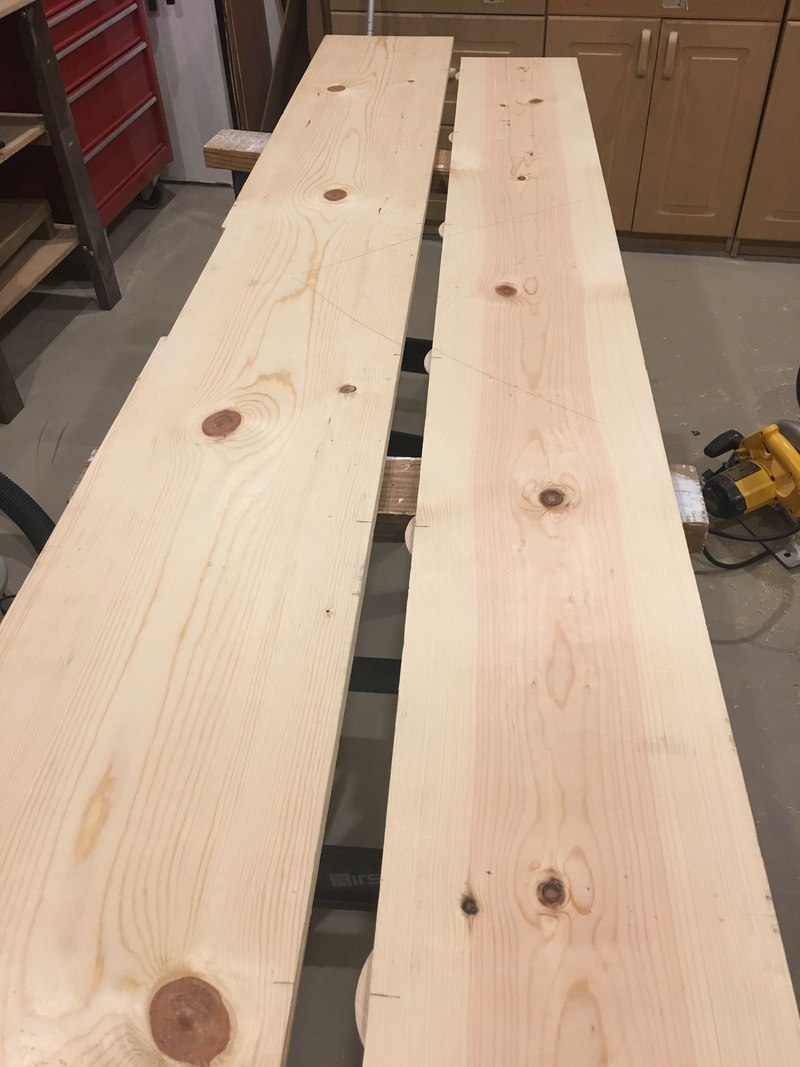
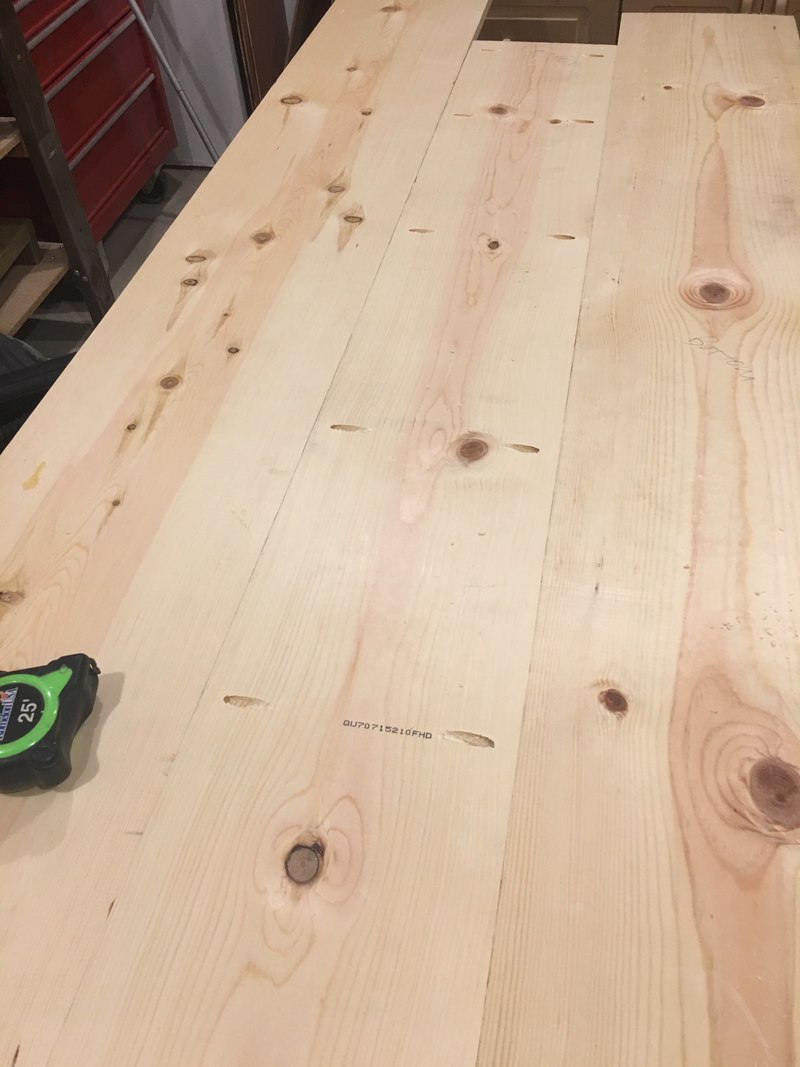
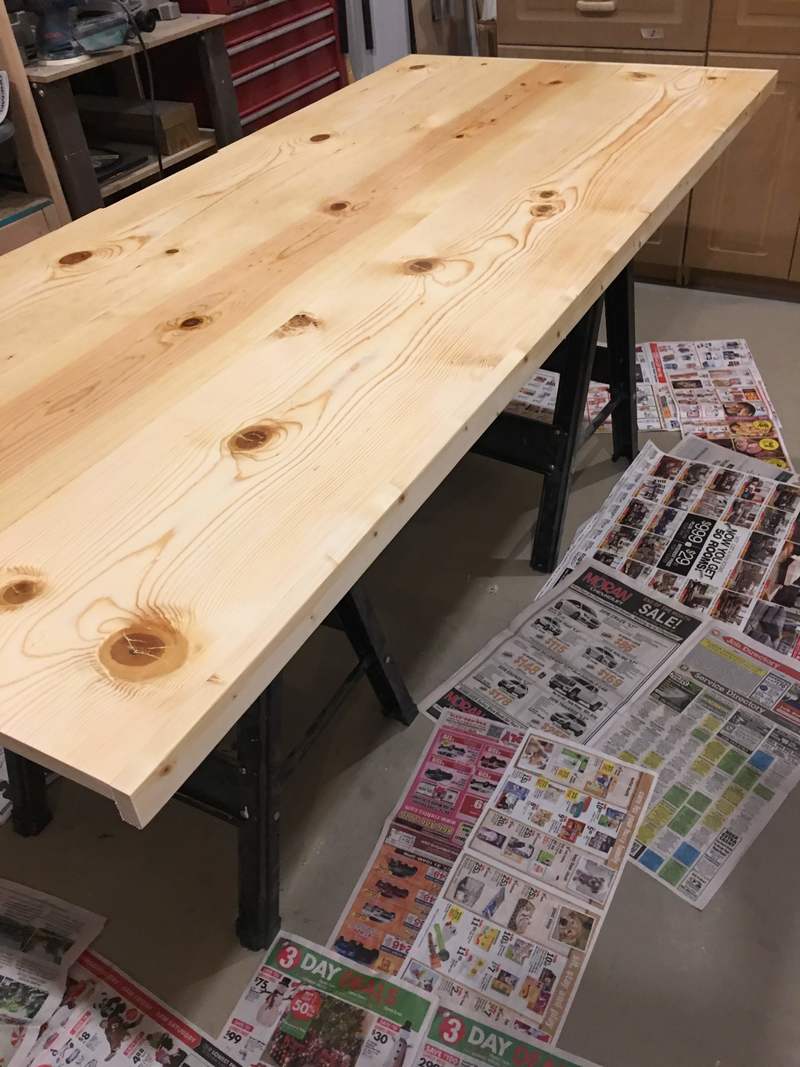
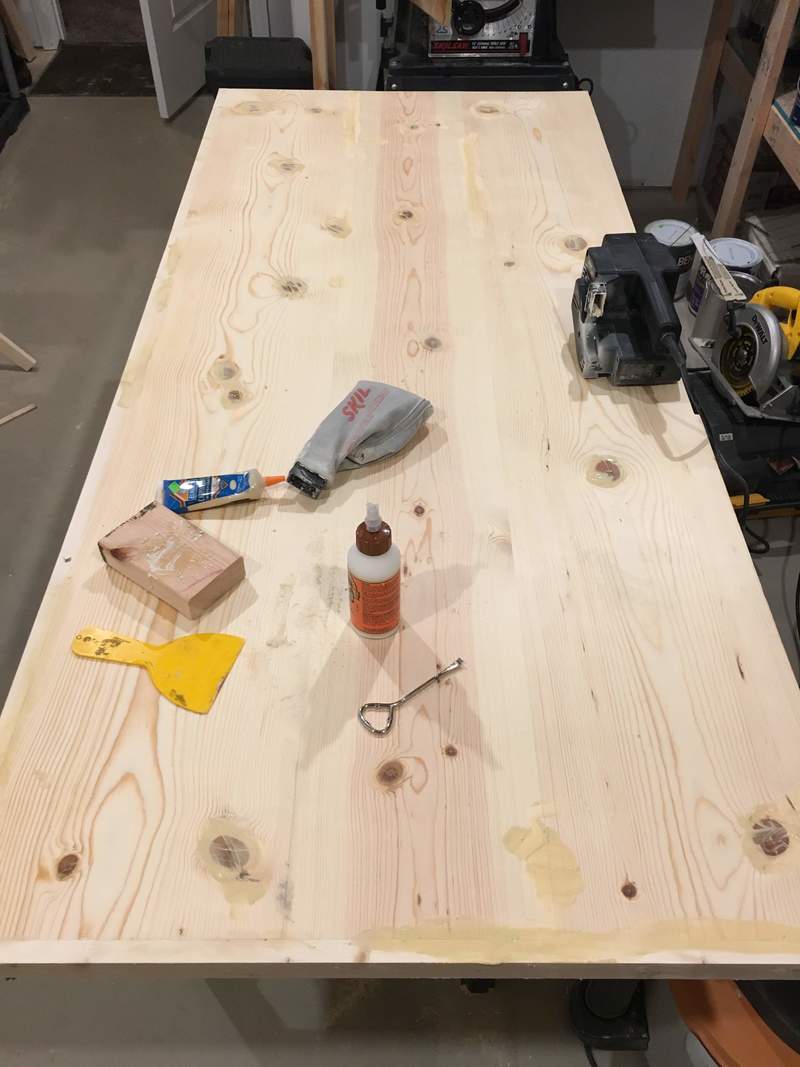
The counter top is made from (2) 1x10 and (1) 1x12 pine boards. This gave me the width that I wanted. I had a really difficult time finding straight boards. Even after put the counter top together, I had to replace one of the boards because it warped. It may have been better to make the counter top from several narrower boards, which are less likely to warp than wider boards. However, they warp also and it is more work. Very frustrating.
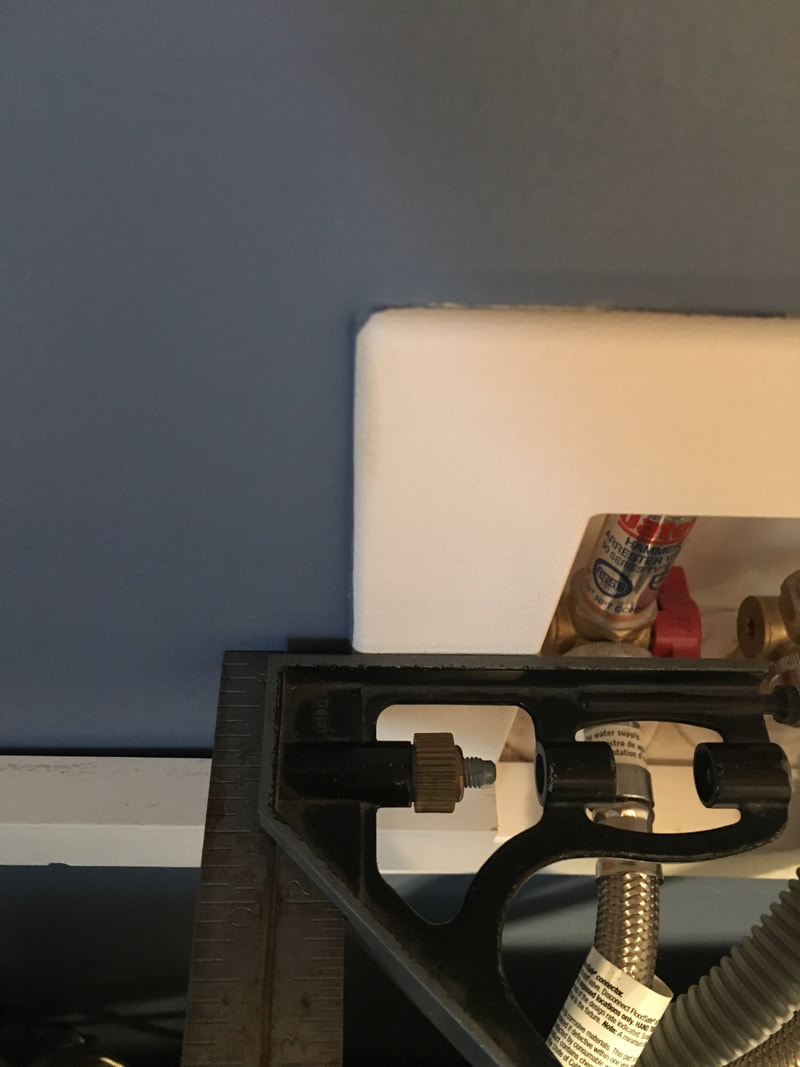
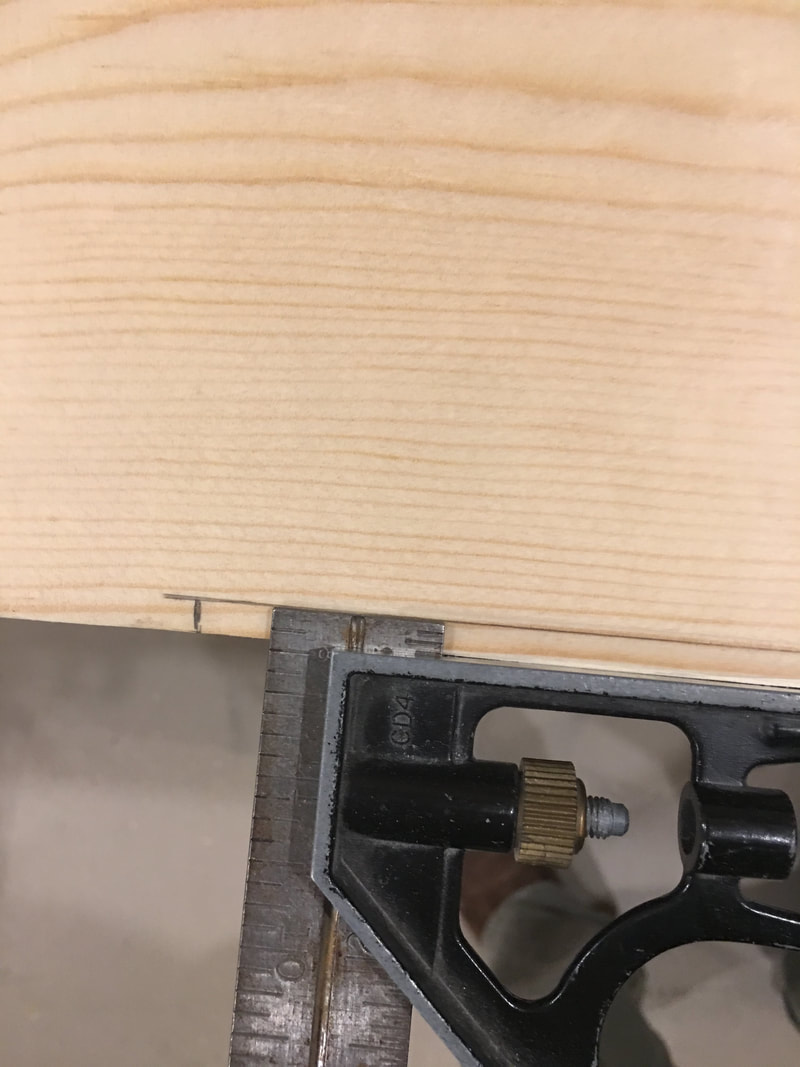
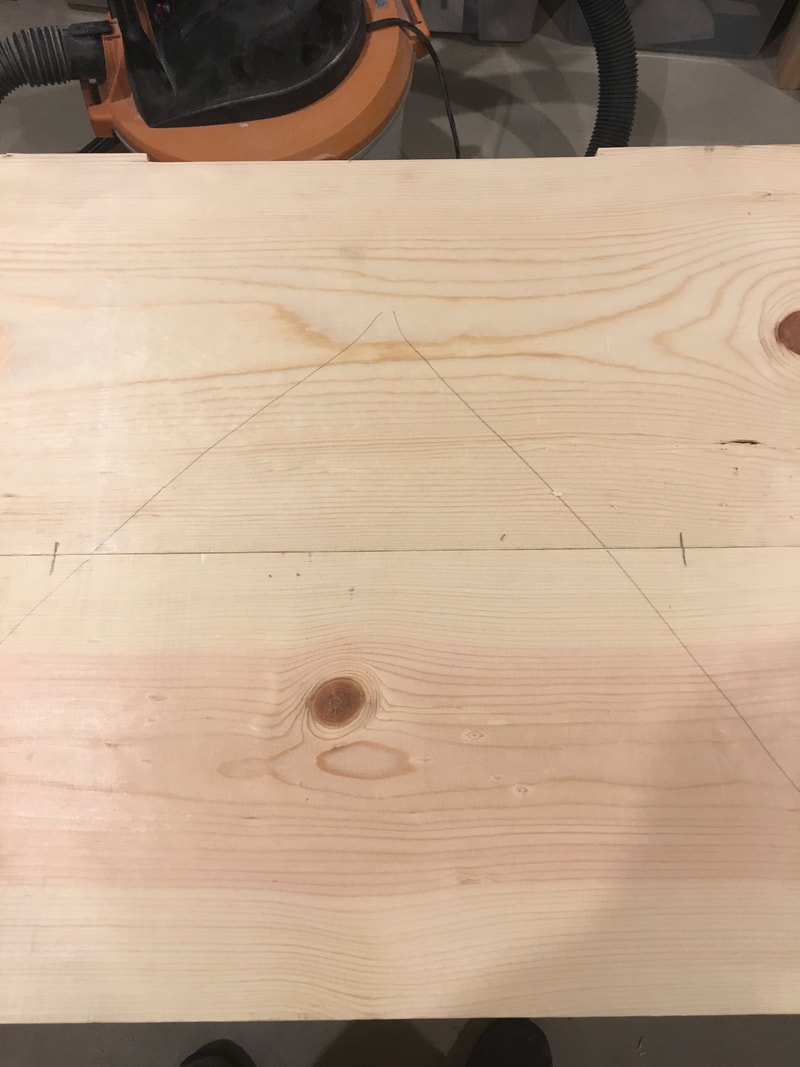
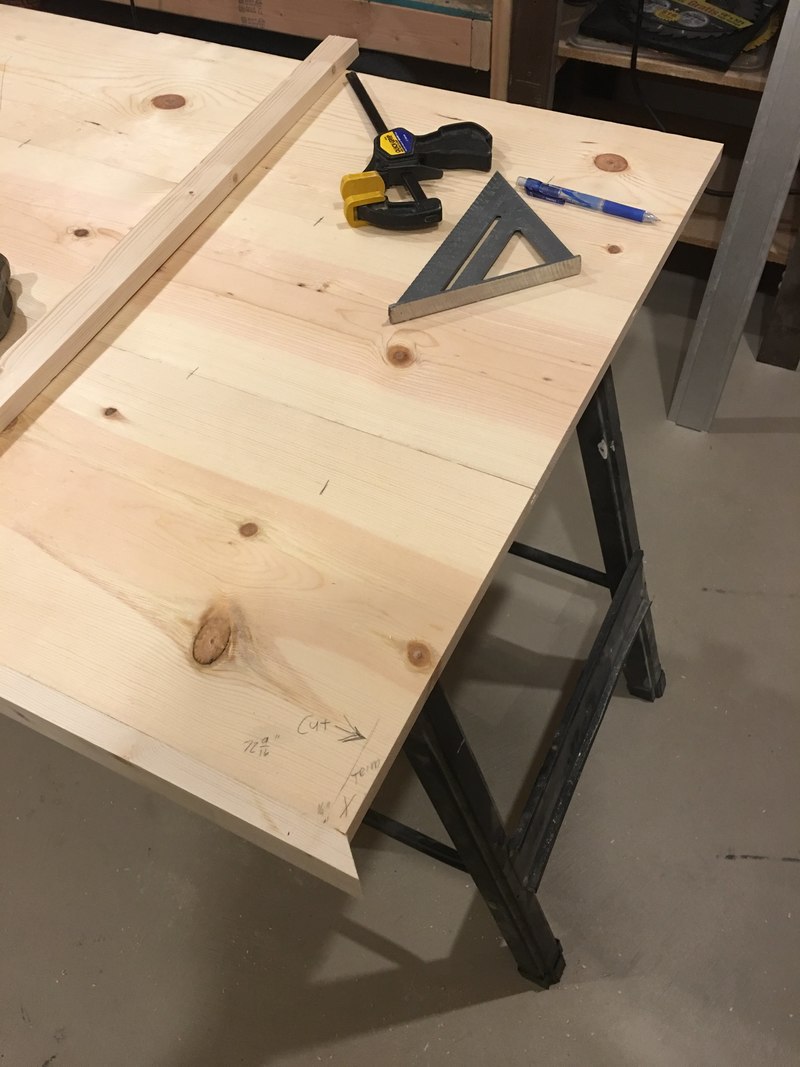
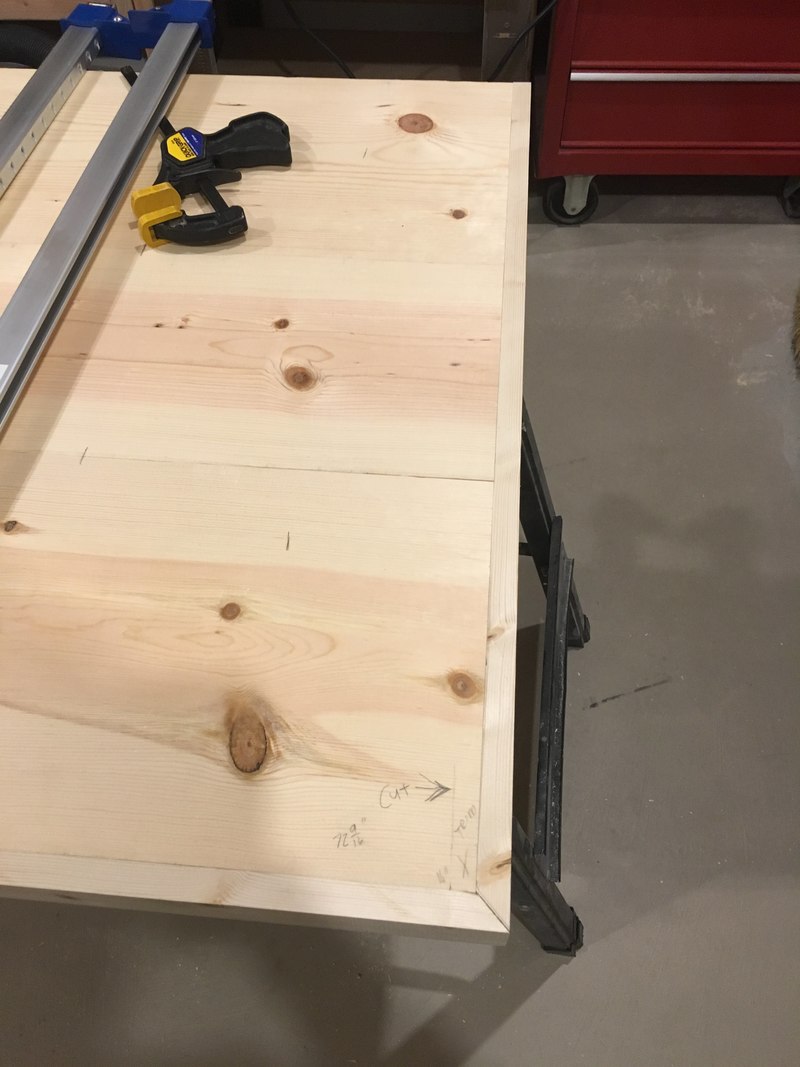
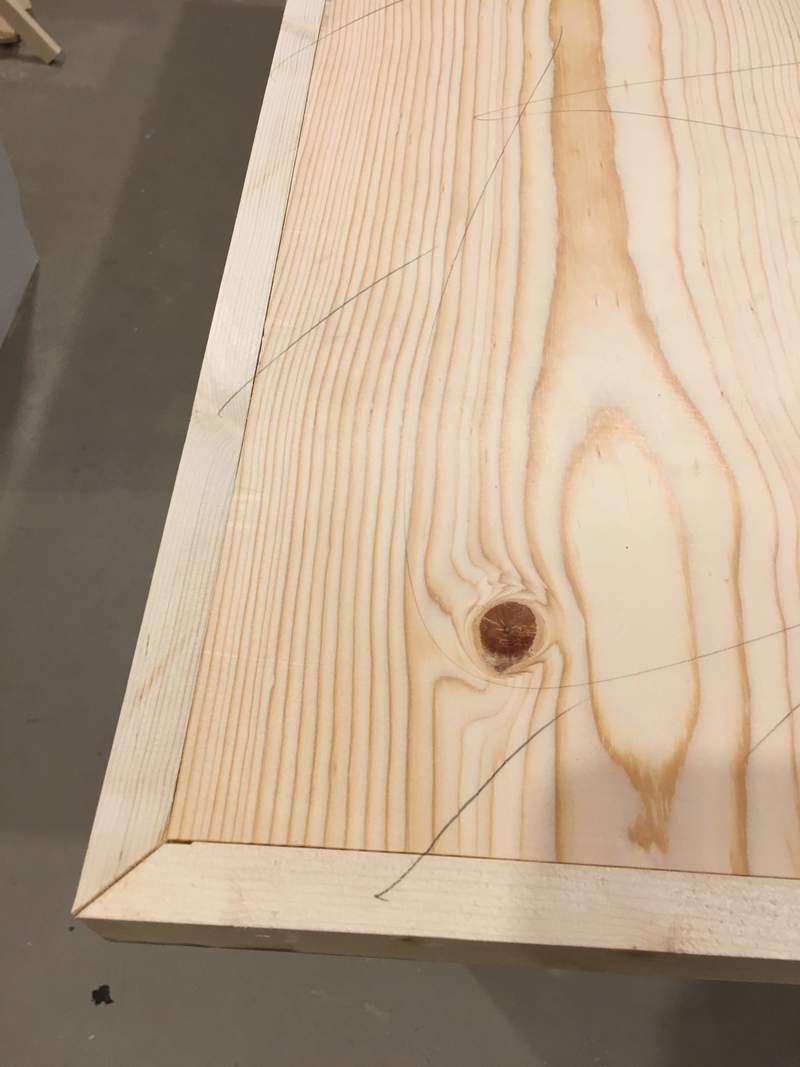
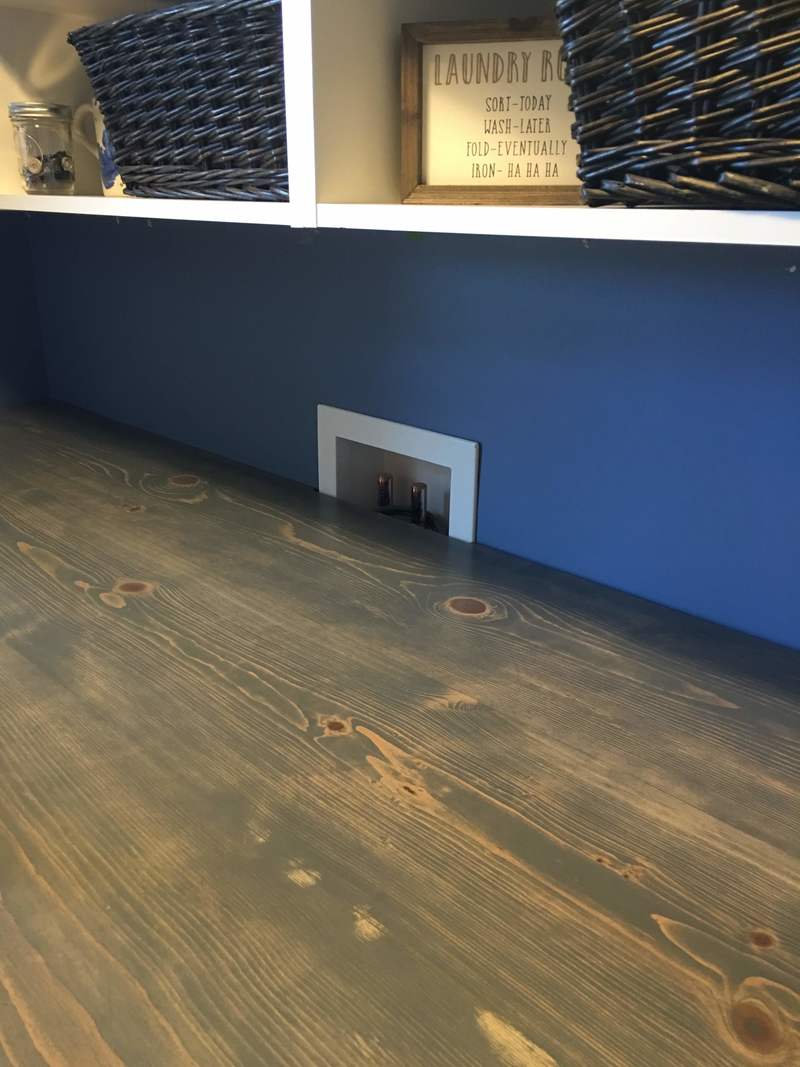
Before I assembled the counter top I needed to cut a notch in the board against the back wall so it would fit around the utility box. I put the boards on the supports as they would be once assembled. I used a combination square to transfer the dimension to the board. I cut out the board with a jigsaw.
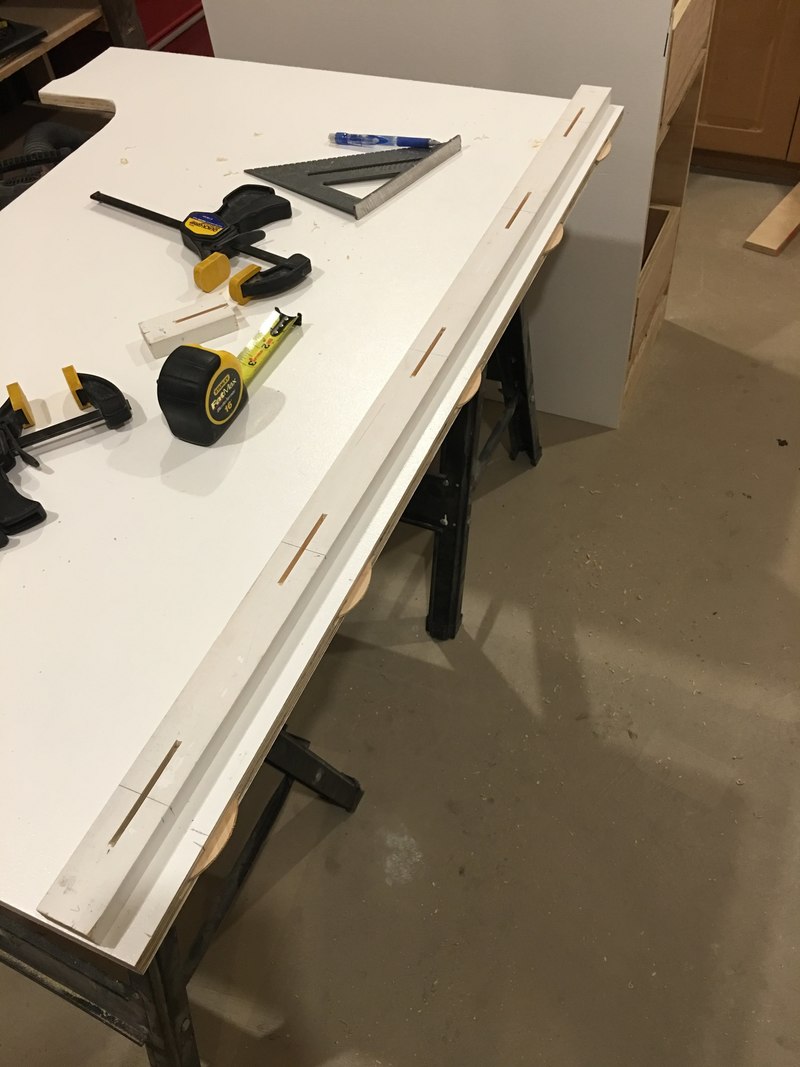
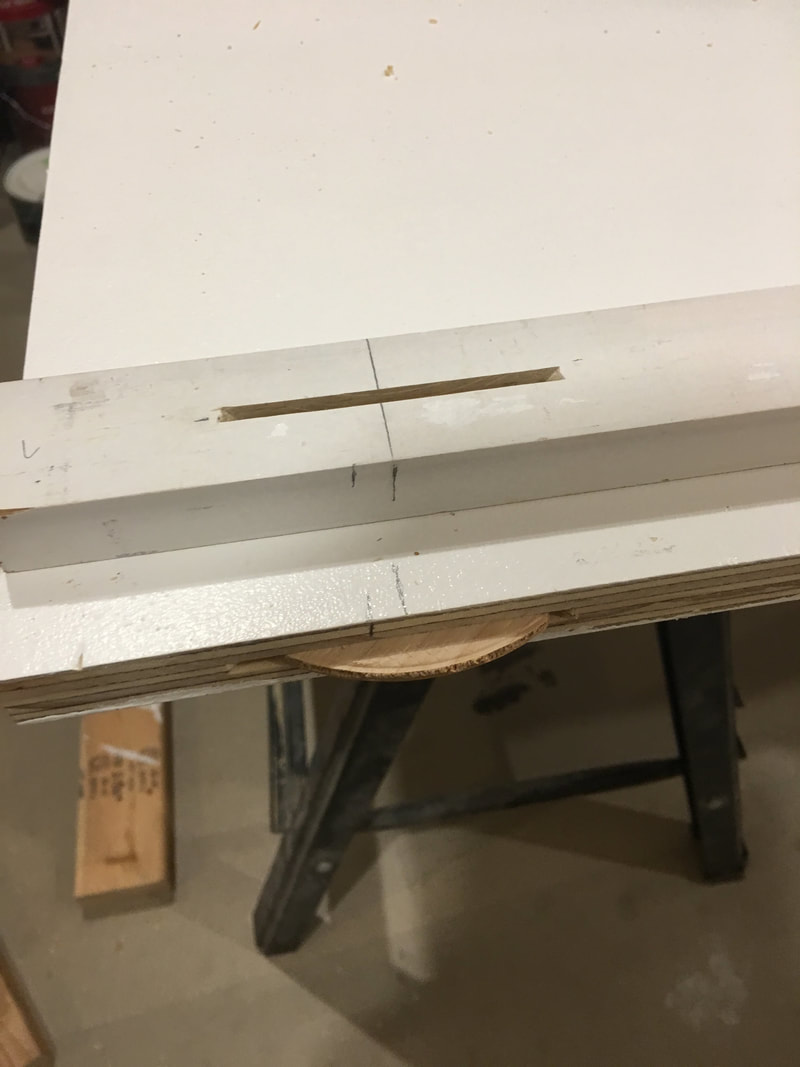
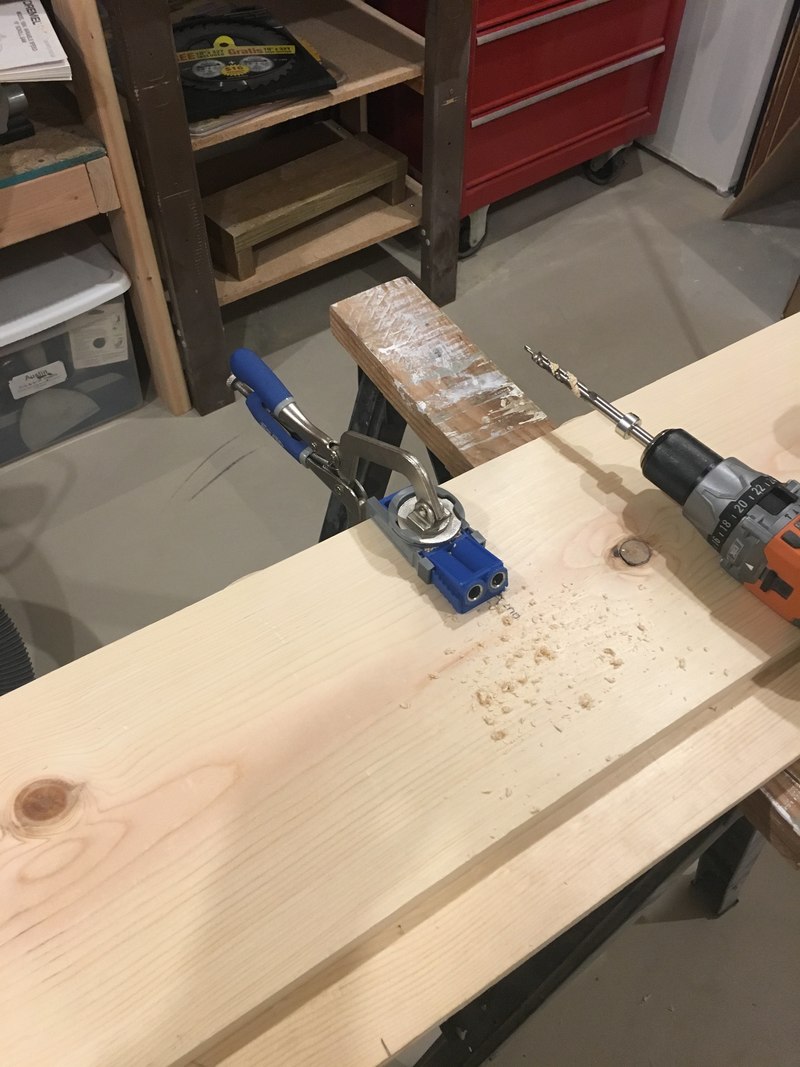
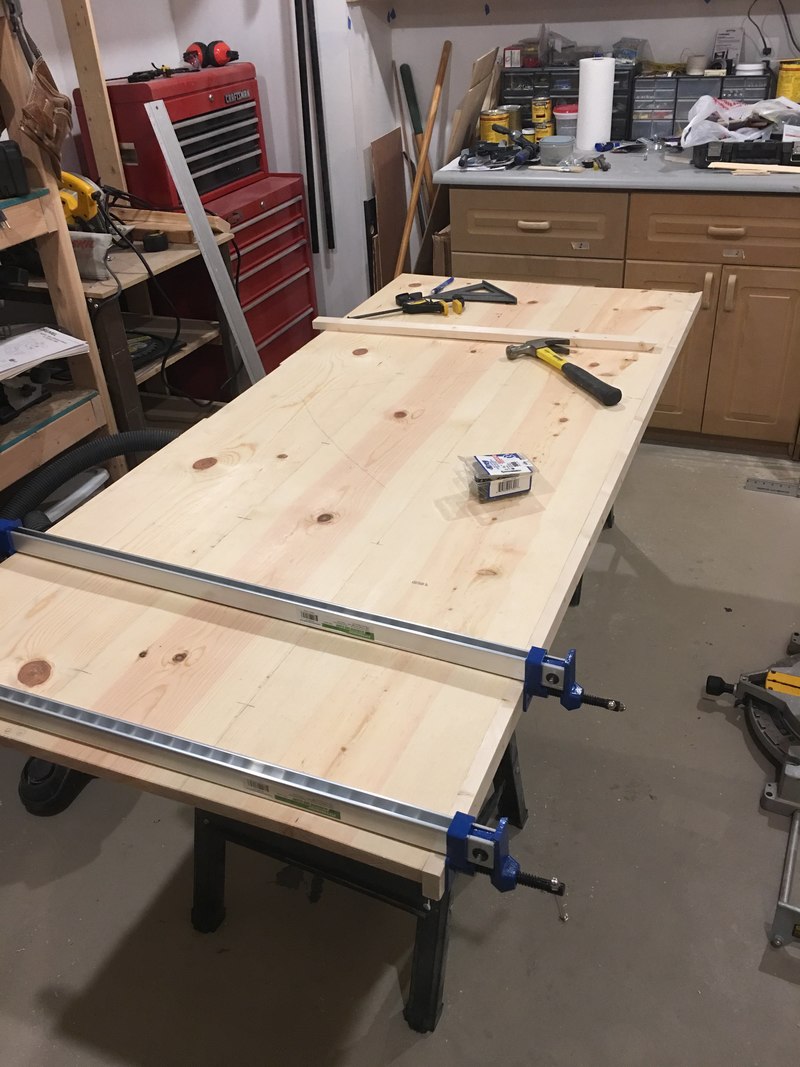
I used biscuits and pocket hole screws to assemble the counter top. The reason for this is the biscuits help align the boards when they are a bit warped. It also helps reduce the amount of sanding required on the top surface.
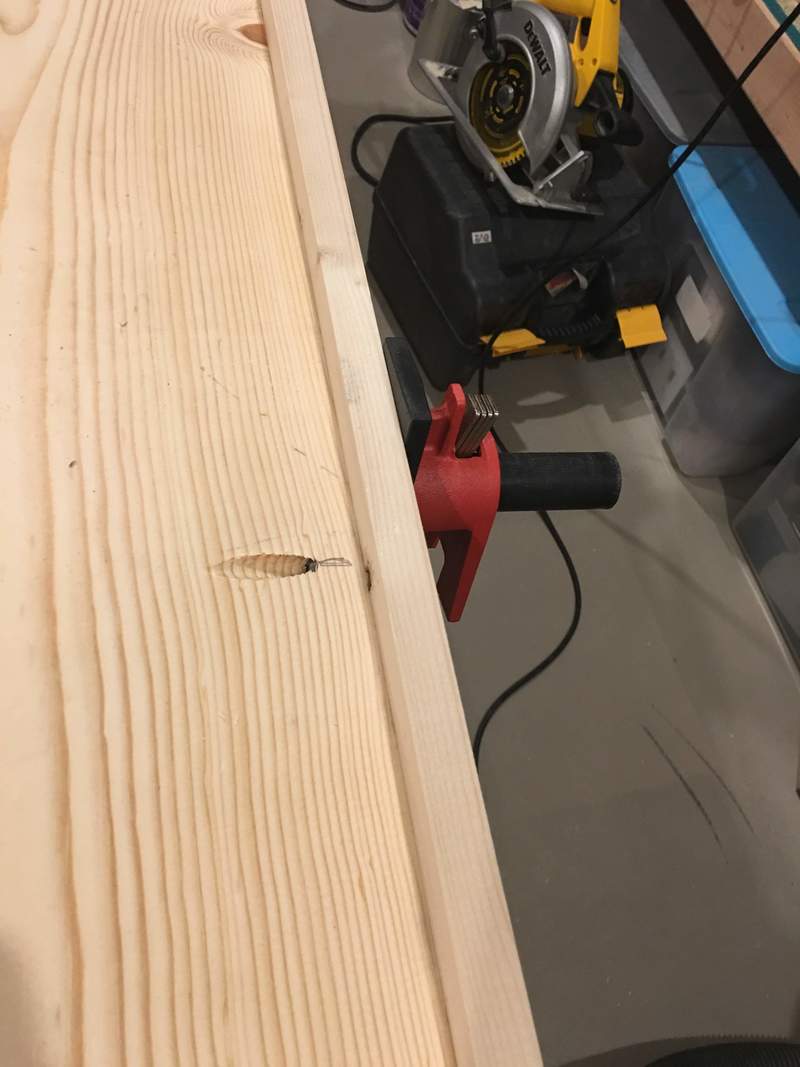
I drilled the pocket hole screws after the biscuits. Make sure to not put a pocket hole where a biscuit slot is. I pushed the boards together and aligned them with the biscuits. Then I screwed them together with pocket hole screws. Once everything looked good, I cut the end off to length.
The next step was to add trim to the two exposed edges using 1x2 pine. I drilled pocket holes around these edges. I then applied glue to the trim and positioned the trim with clamps. You will need clamps wide enough to span the counter top. The clamps in the picture below are bar clamps from Harbor Freight. The price is reasonable and they work great.
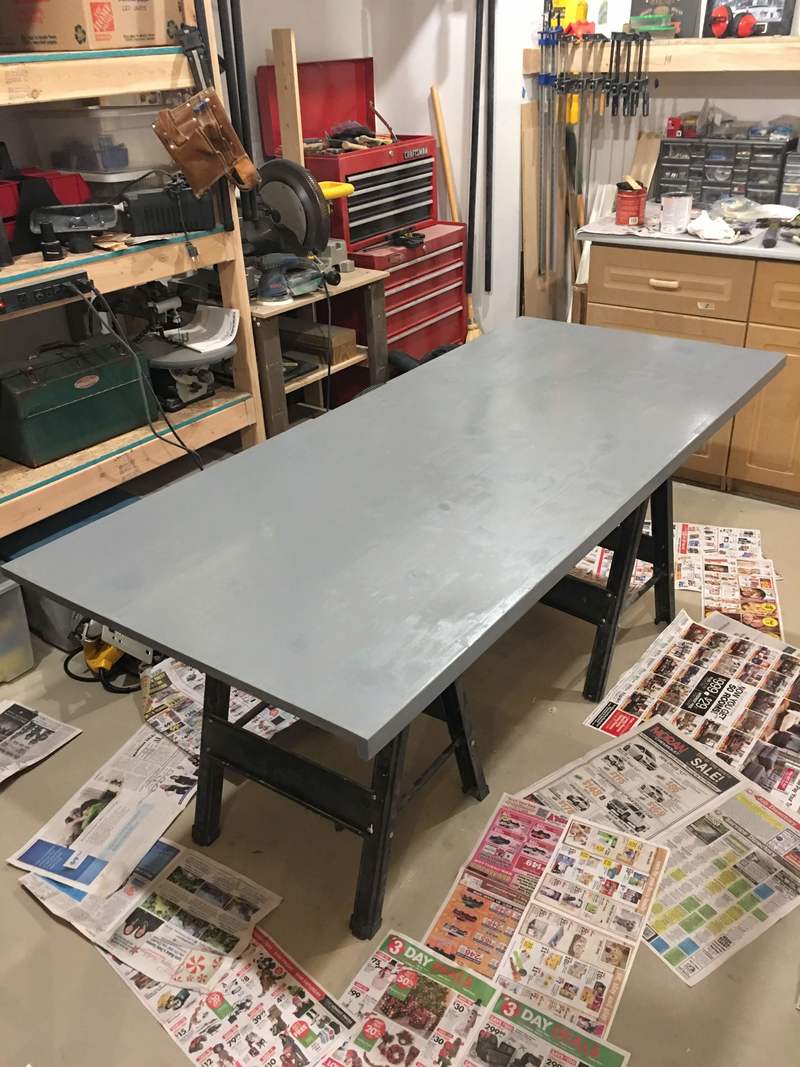
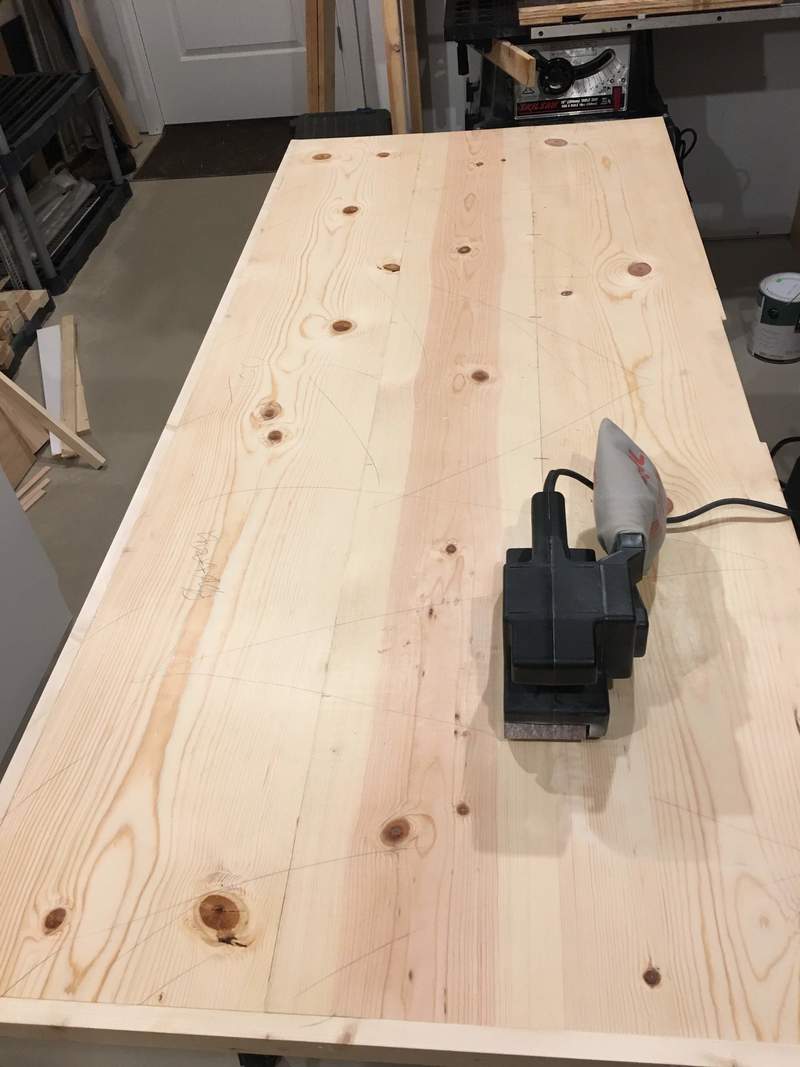
The defects were filled in with stain-able wood putty and then the top was sanded. I mark the top with pencil, especially the problem areas, to make sure everything gets sanded. If the pencil marks are gone, I sanded that area.
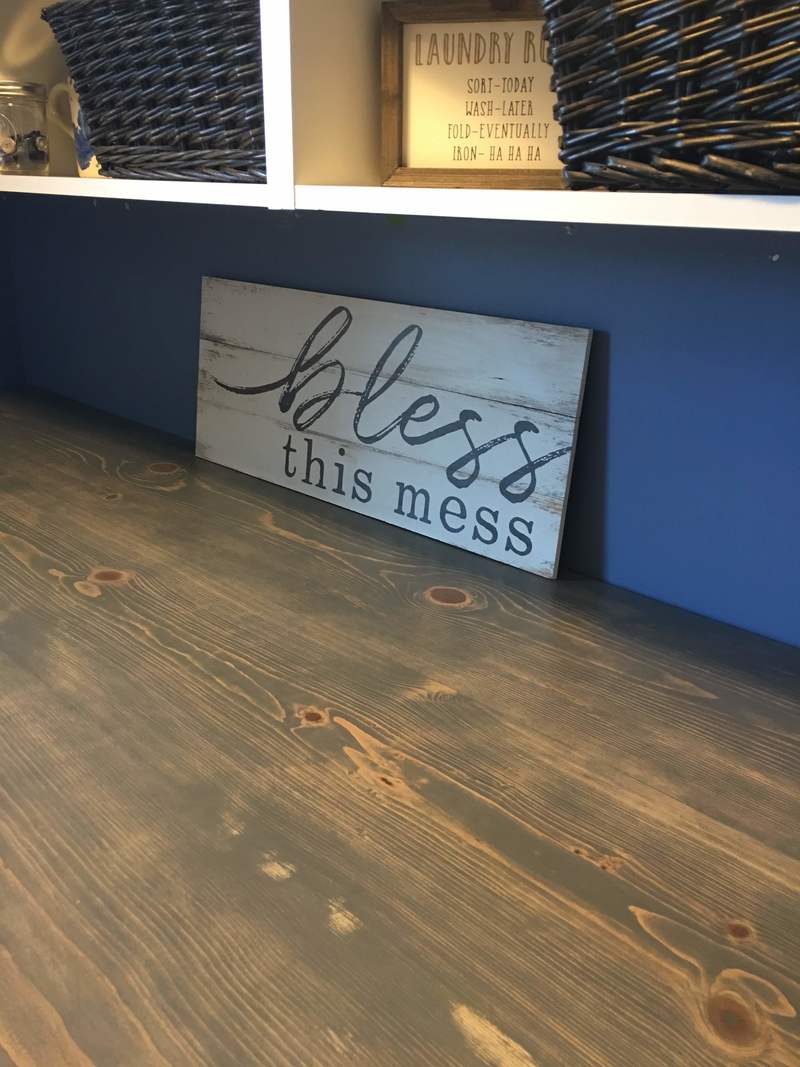
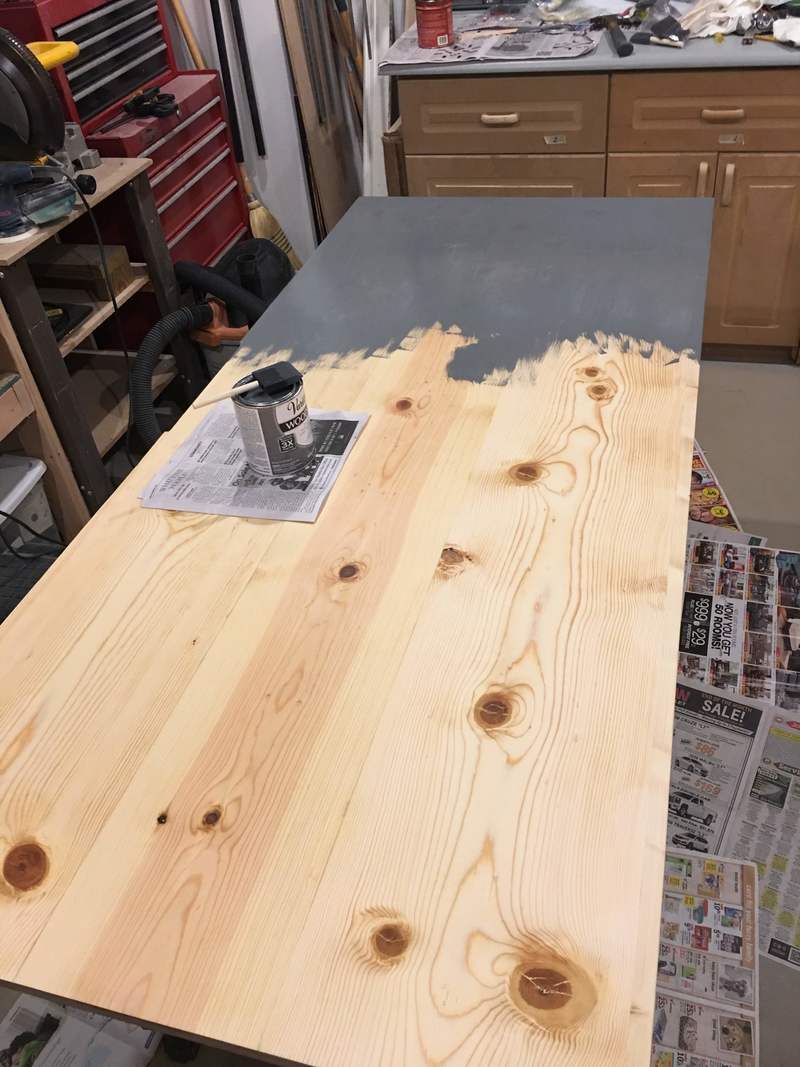
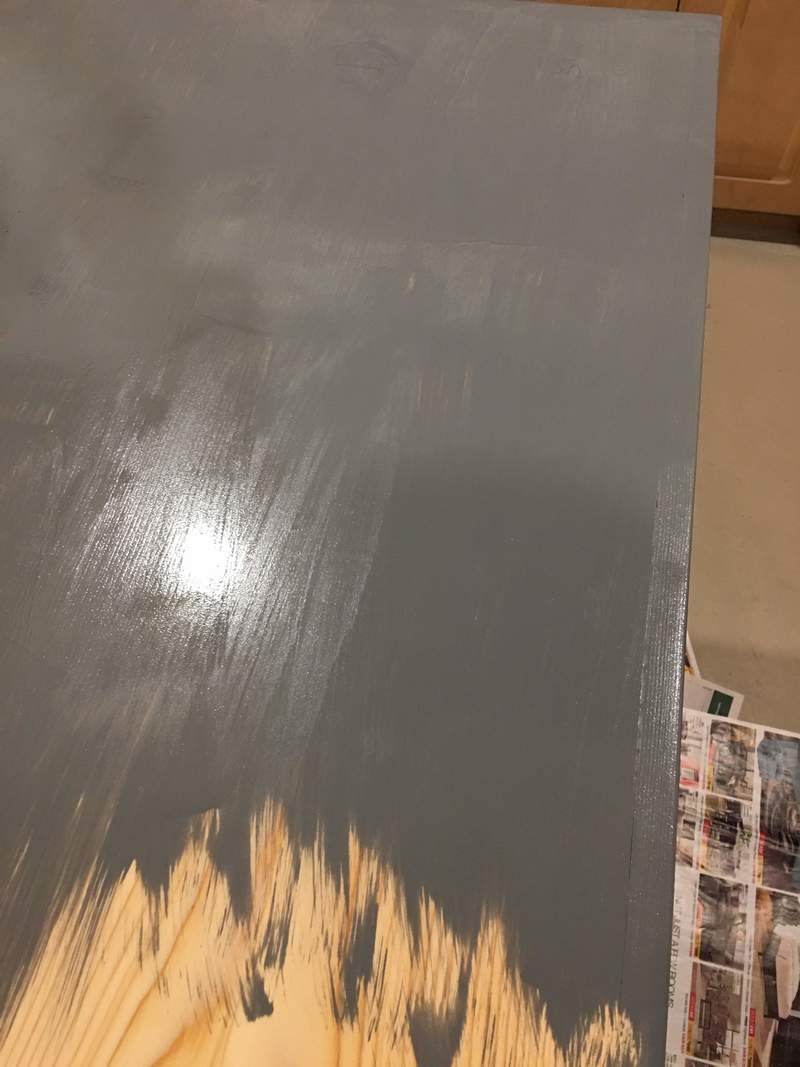
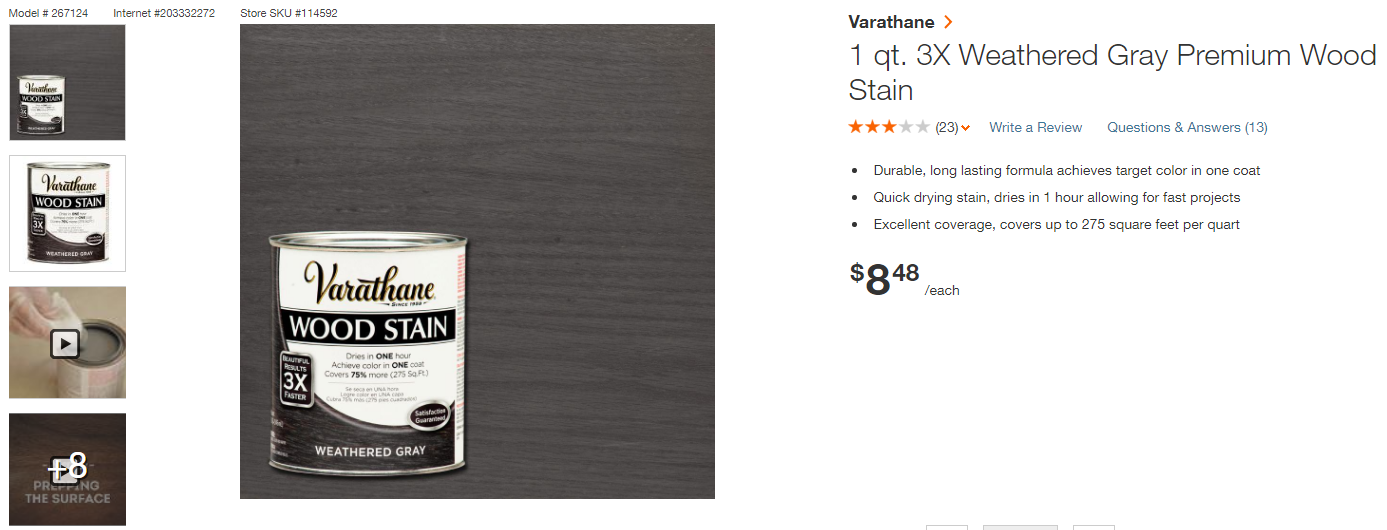
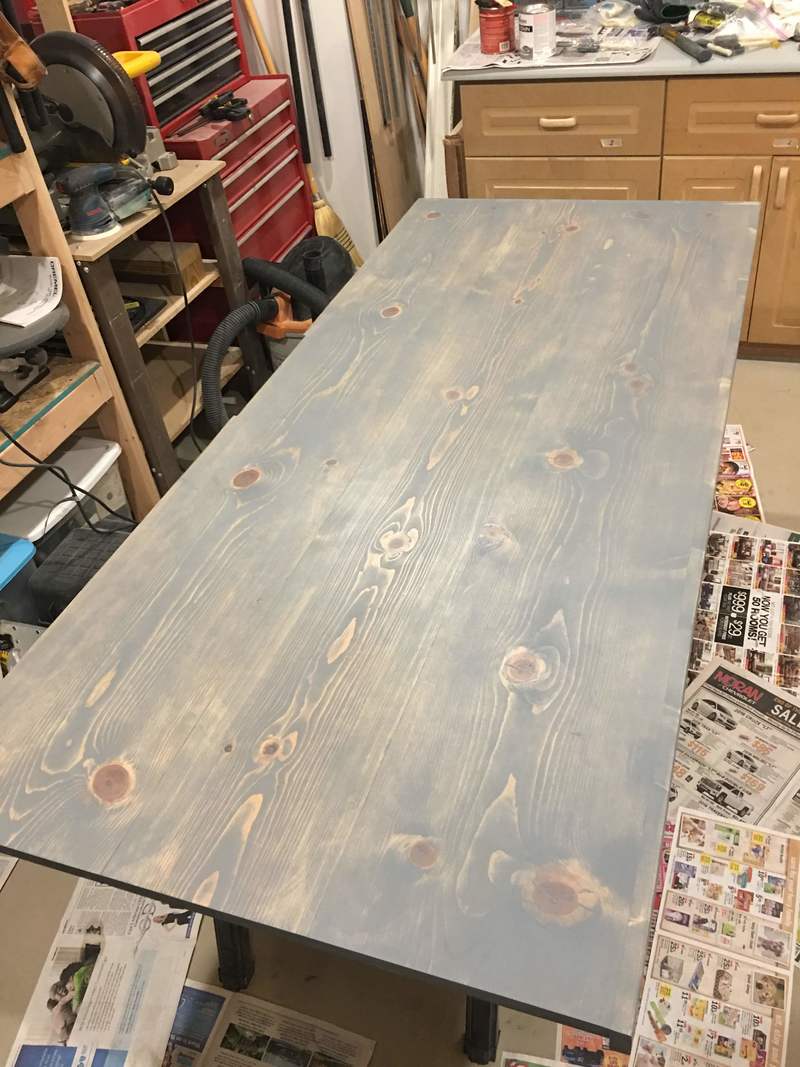
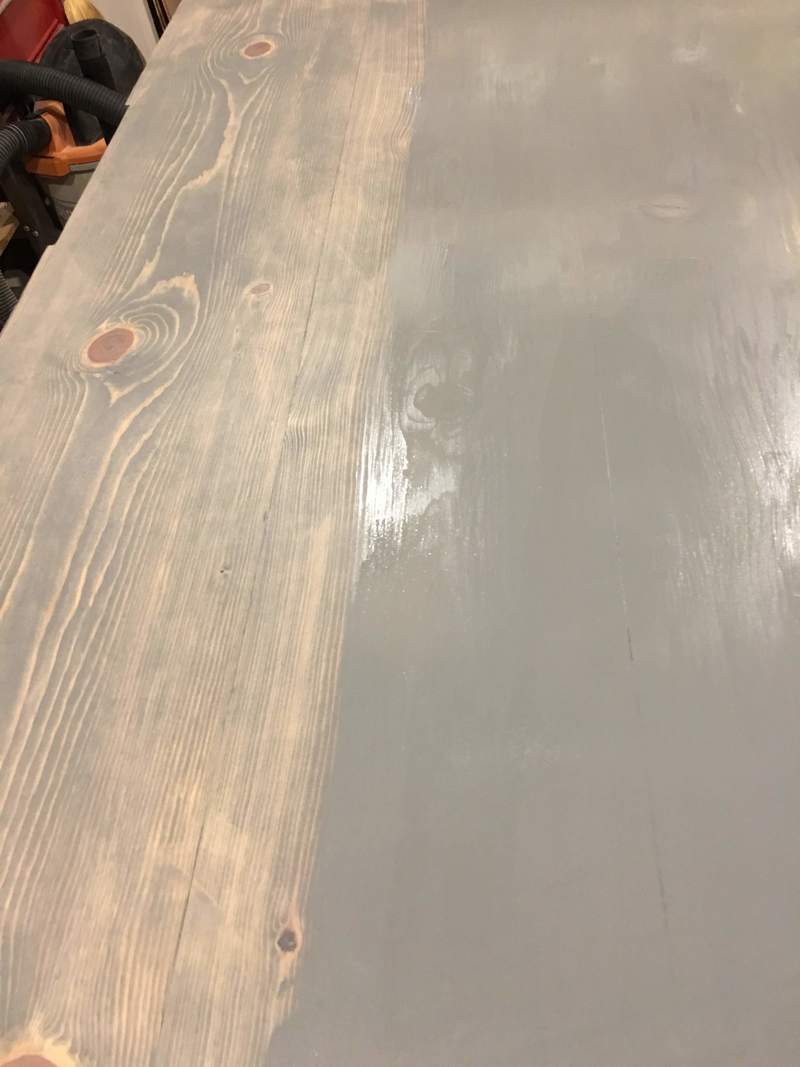
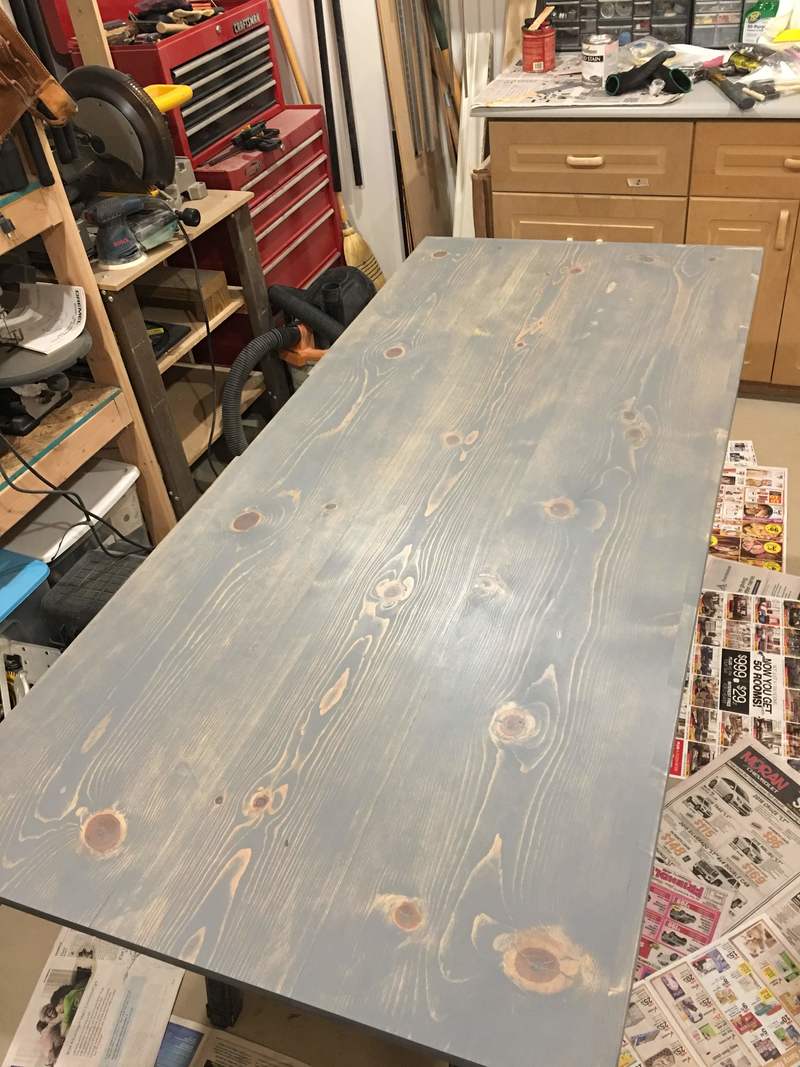
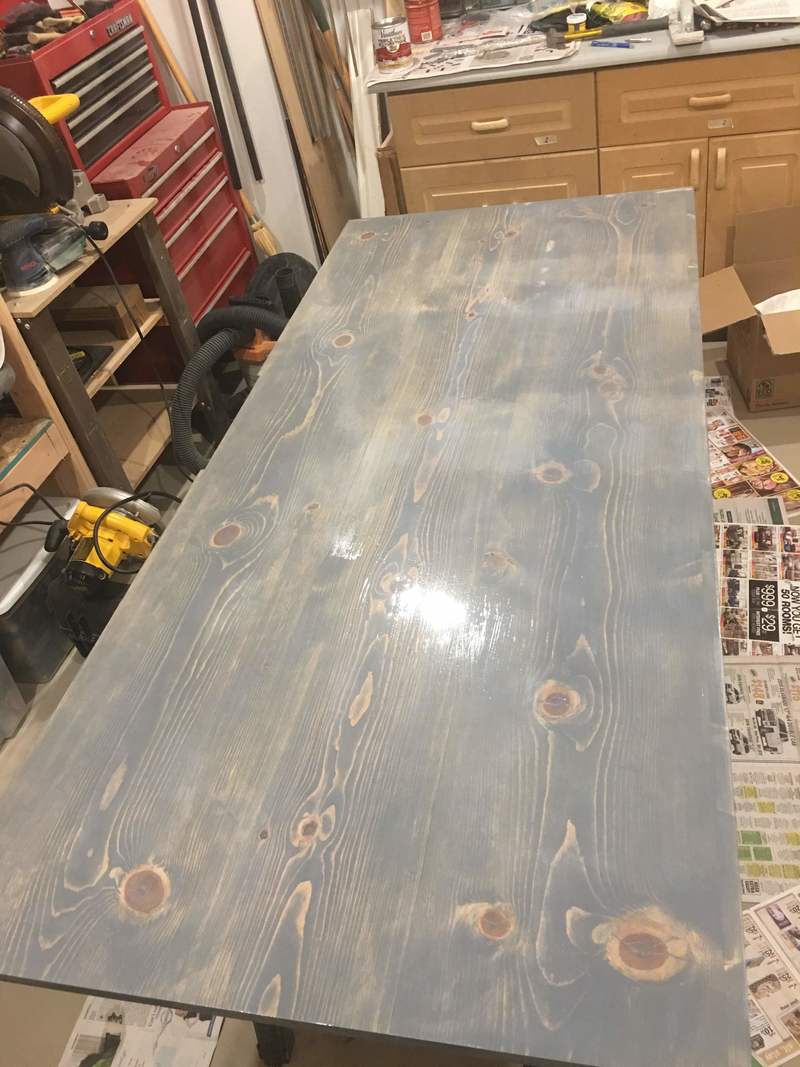
I used a pre-stain conditioner on the wood since this is pine. I then used a stain and a color I had never used before for this counter top. It is Varathane stain, Weathered Gray color. The stain goes on like paint and got me very nervous after the first application. I followed the directions and applied it, waited 5-10 minutes, then wiped it off.
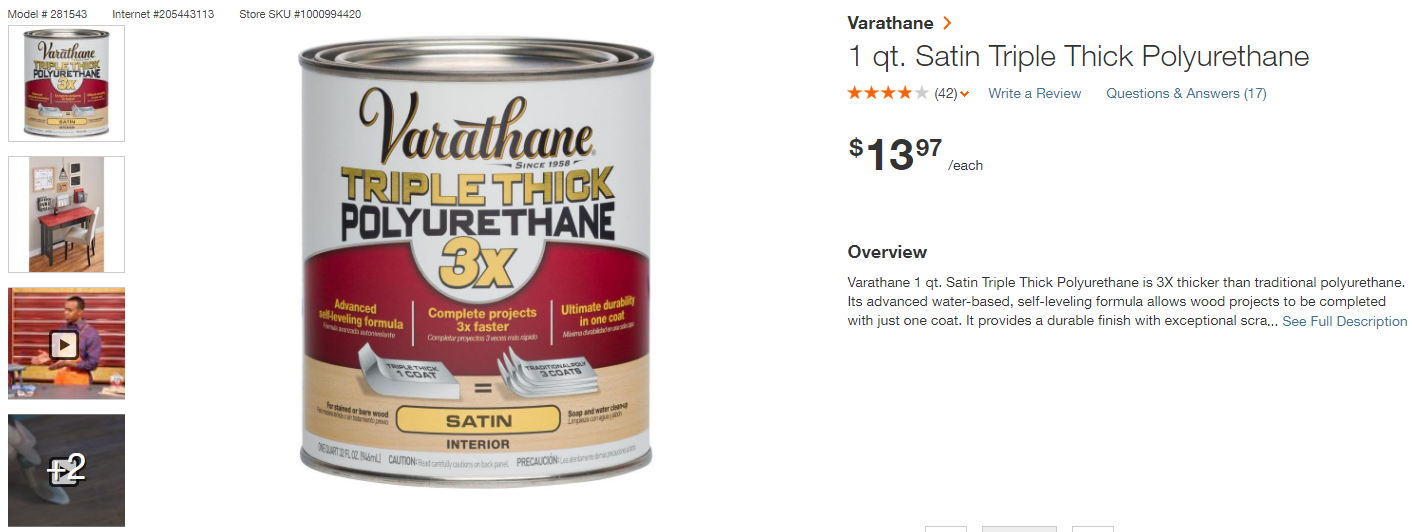
I thought the color was great , but a little light after the first coat. I applied a second coat, waited, then wiped it off. It did not seem to darken much more. I applied the Varathane Satin Triple Thick Polyurethane and the counter top came out great. I had some issues with bubbles in the finish so I can't say I am a fan of the Varathane products. I'm not sure if it were due to the way I applied it or not. However, if it is that hard to apply in order to avoid bubbles, then maybe it is not the right product to use.
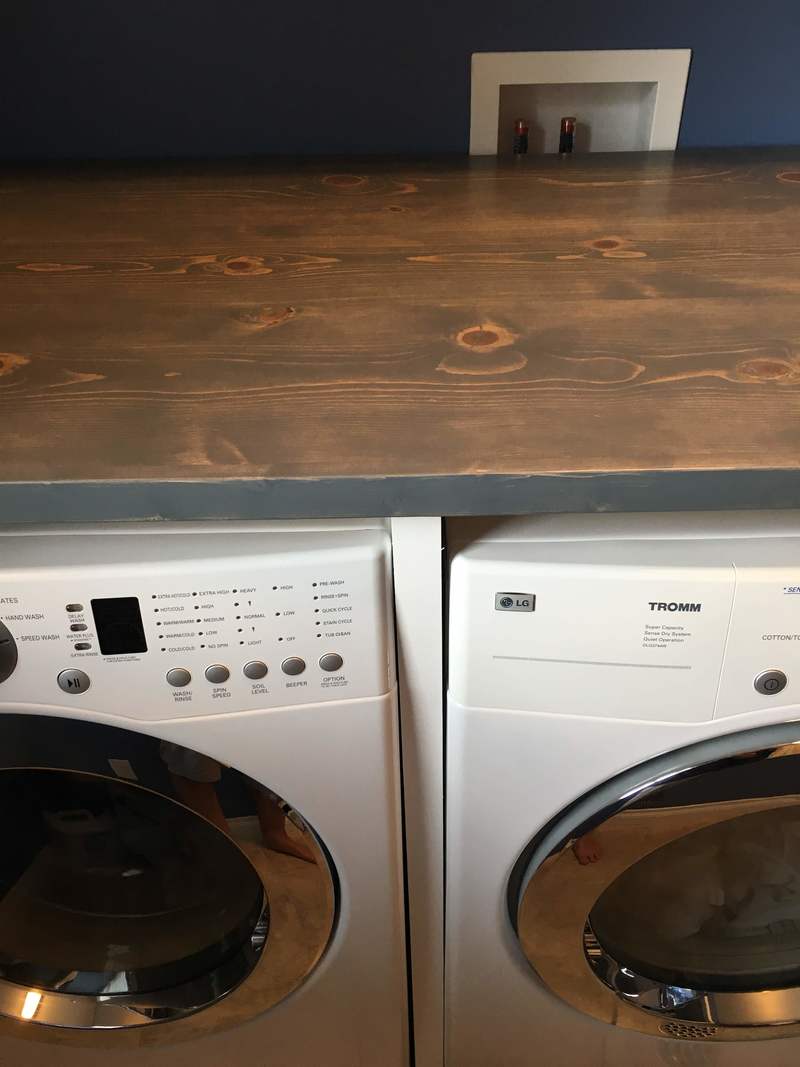
I laid the counter top into place and I have to say, it looks great. I did not secure the counter top down any where. It is just sitting on top of the supports and seems to be pretty secure. My wife found a sign to hide the utility box and it matches perfectly.