Budget Sofa Table
|
This is a very low-budget sofa table with a built-in USB charger and outlets.
This site contains affiliate links to products. A commission may be received for purchases made through these links. This site is also a participant in the Amazon Services LLC Associates Program, an affiliate advertising program designed to provide a means for us to earn fees by linking to Amazon.com and affiliated sites.
Part 1: Wood Table Top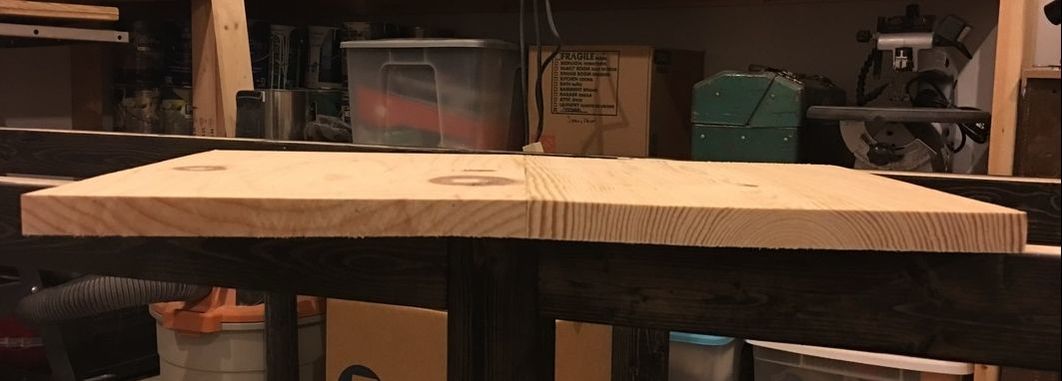
I needed to fill an empty space behind a sectional couch so used two 1"x 10" boards for the top, which is about 18" when assembled. Since you can't really see the legs, I used low cost 2 x 4s. However, since you can see the table from the side, I did rip down the 2x4s to look more like high quality wood.......more about that later.
Once again, since I went into a lot of detail on how to build the bar sofa table top, I won't explain that here. So, onto the USB outlet and then the legs. 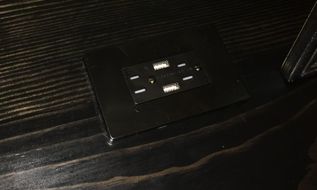
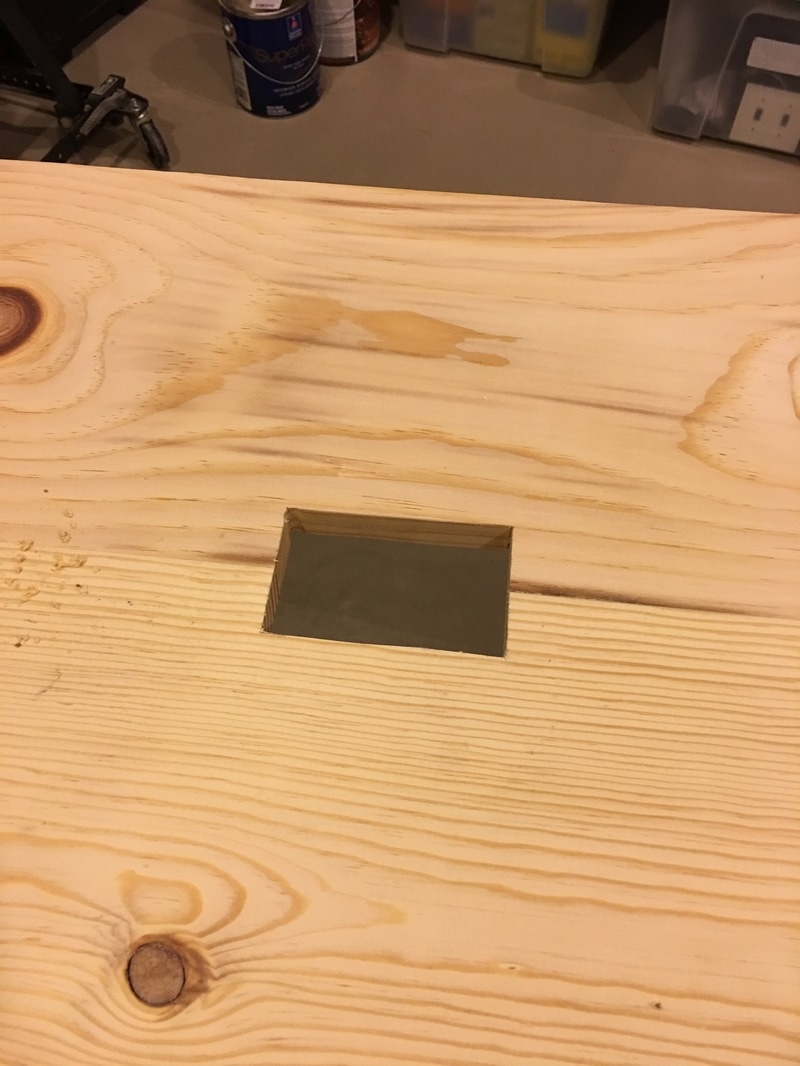
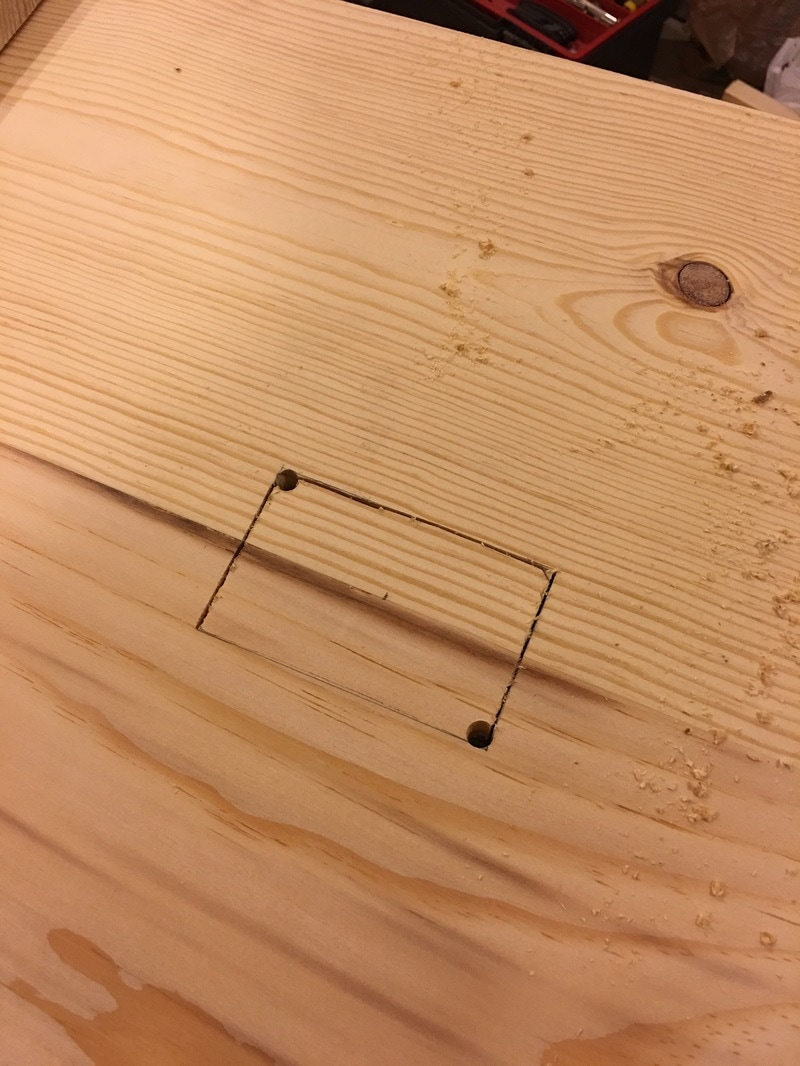
You will obviously need to cut a hole in your table top. I put mine roughly in the middle of the table. The reason it was not exactly in the middle was due to the support structure below, so don't cut the hole until your legs and support structure are built.
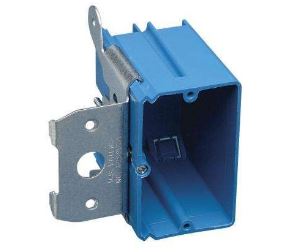
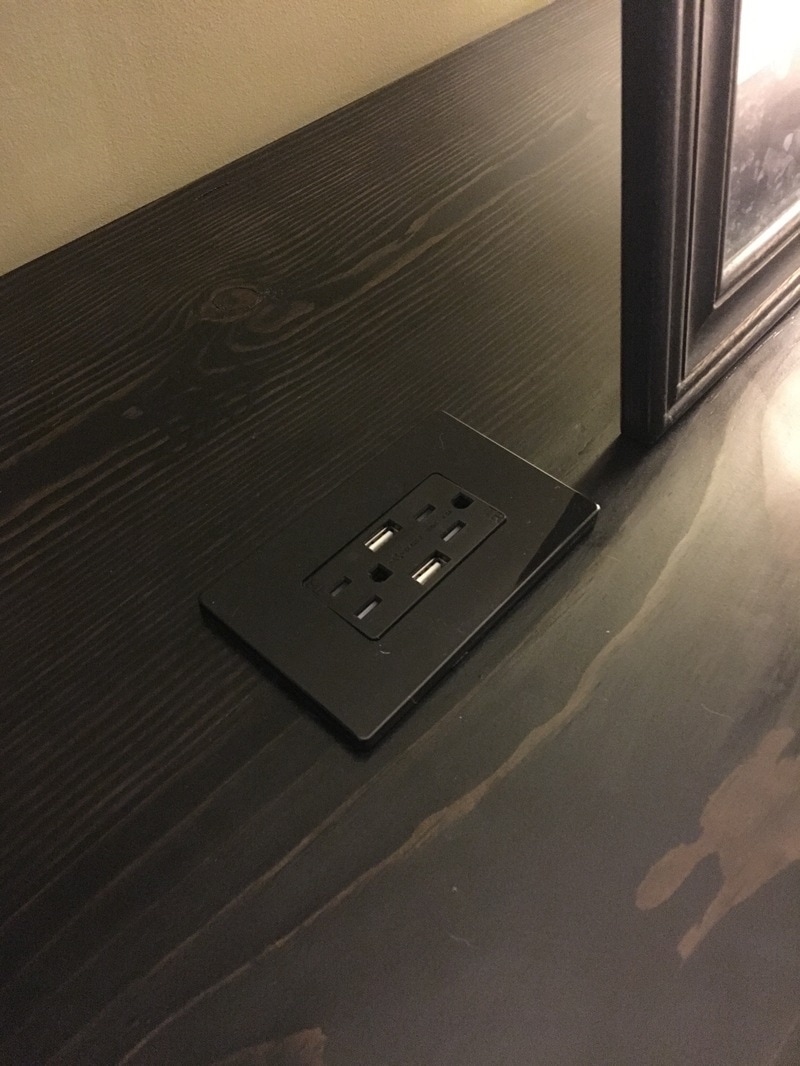
I purchased the gang box at Home Depot (Model# B121ADJ-40R) because it had a metal bracket to allow me to secure it to the table.
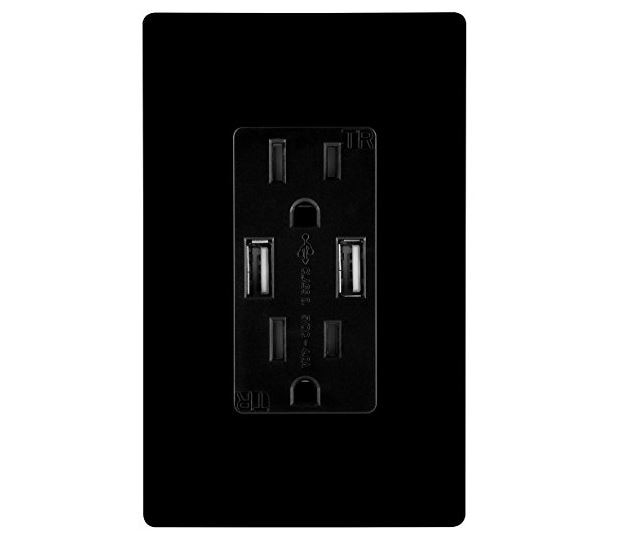
I purchased the USB outlet on Amazon (TU2154A Dual High Speed USB Charger Outlet) due to the price, which was $18.89. I also wanted black to blend in with the table top. 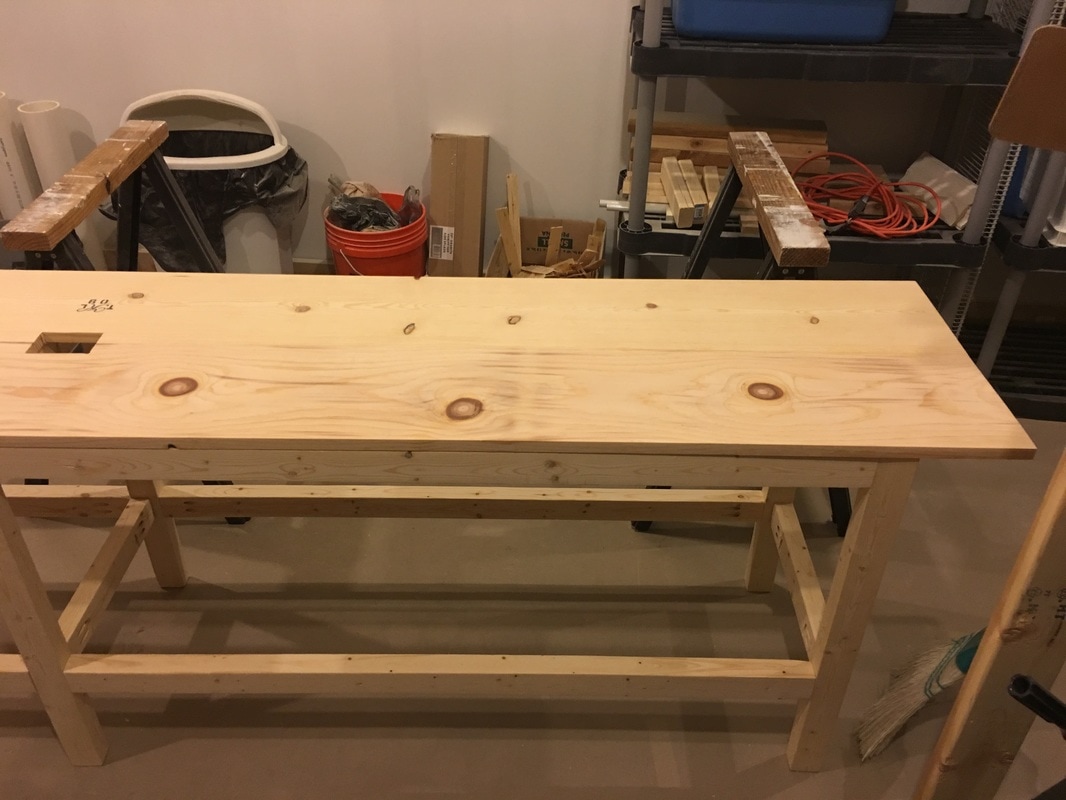

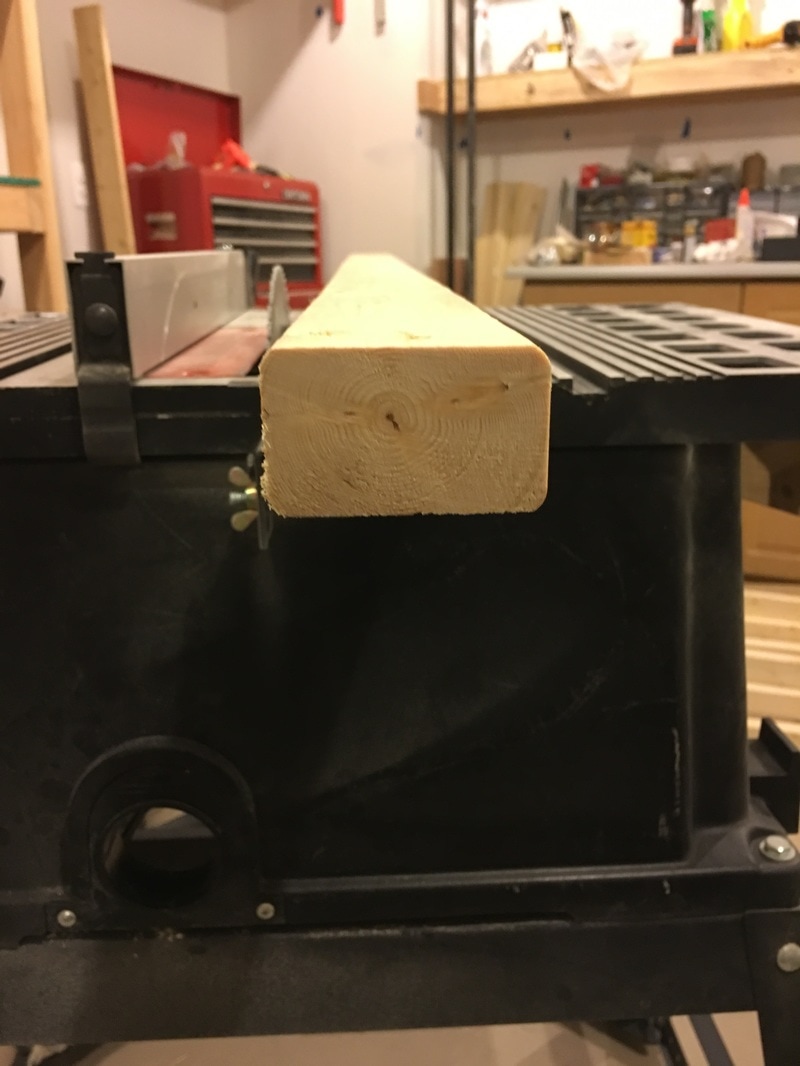
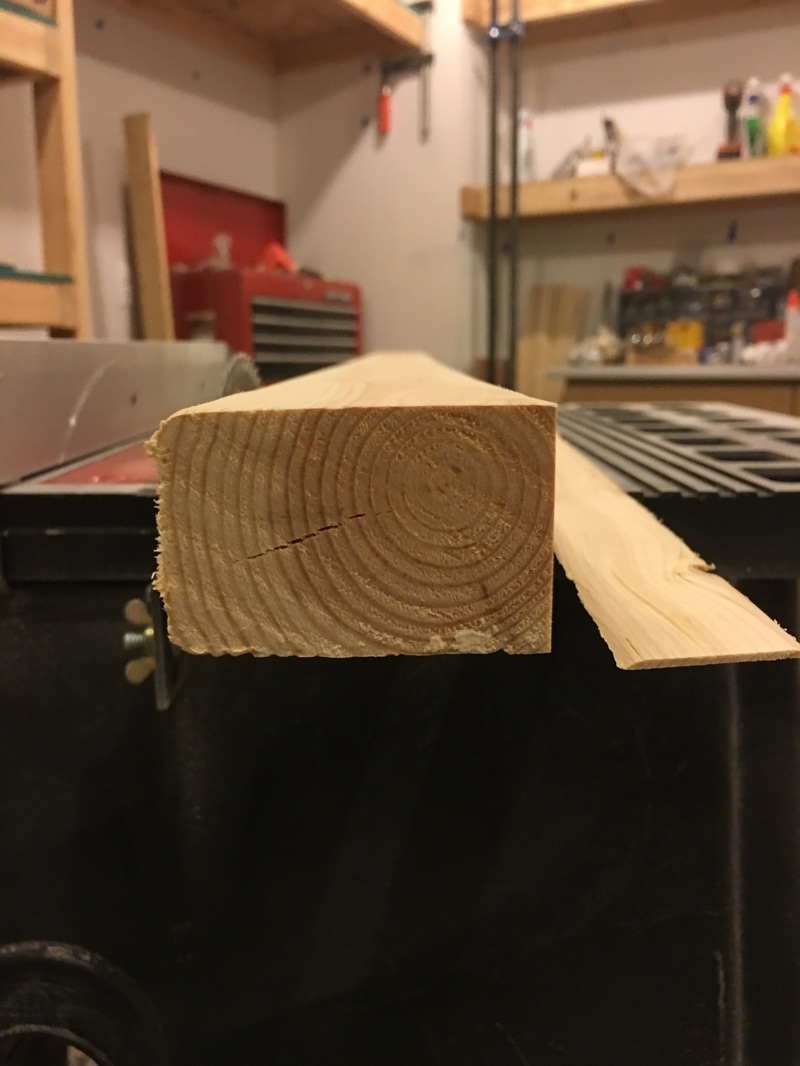
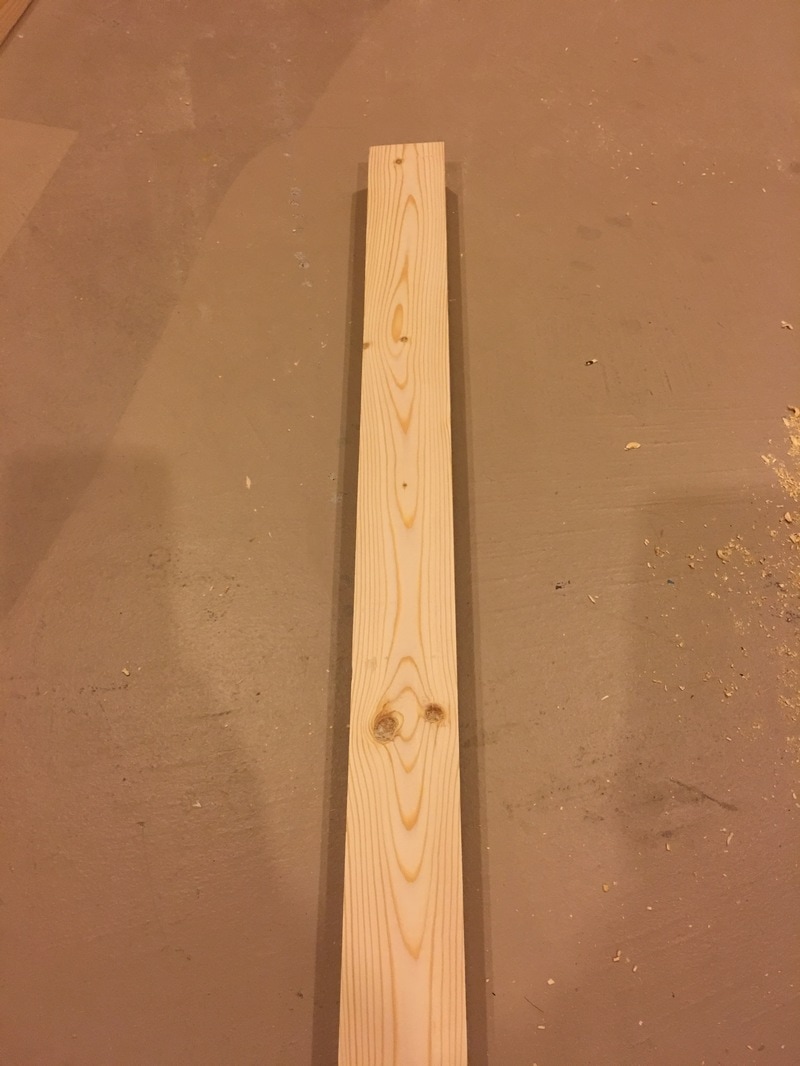
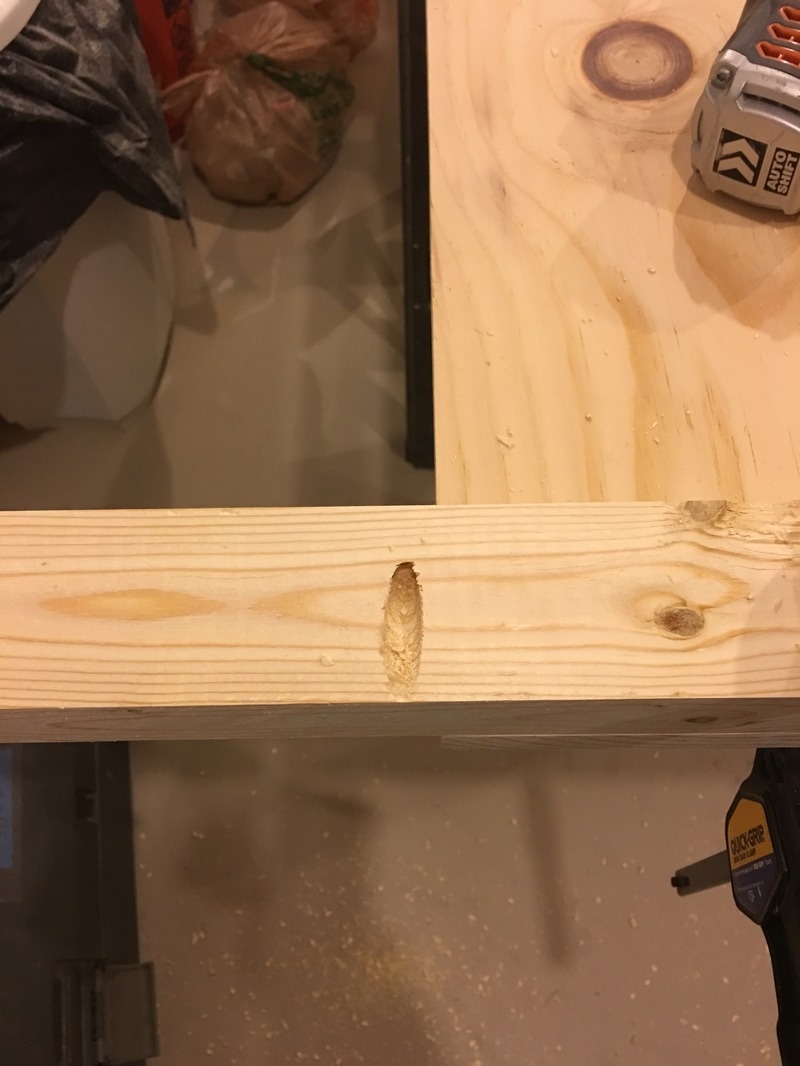
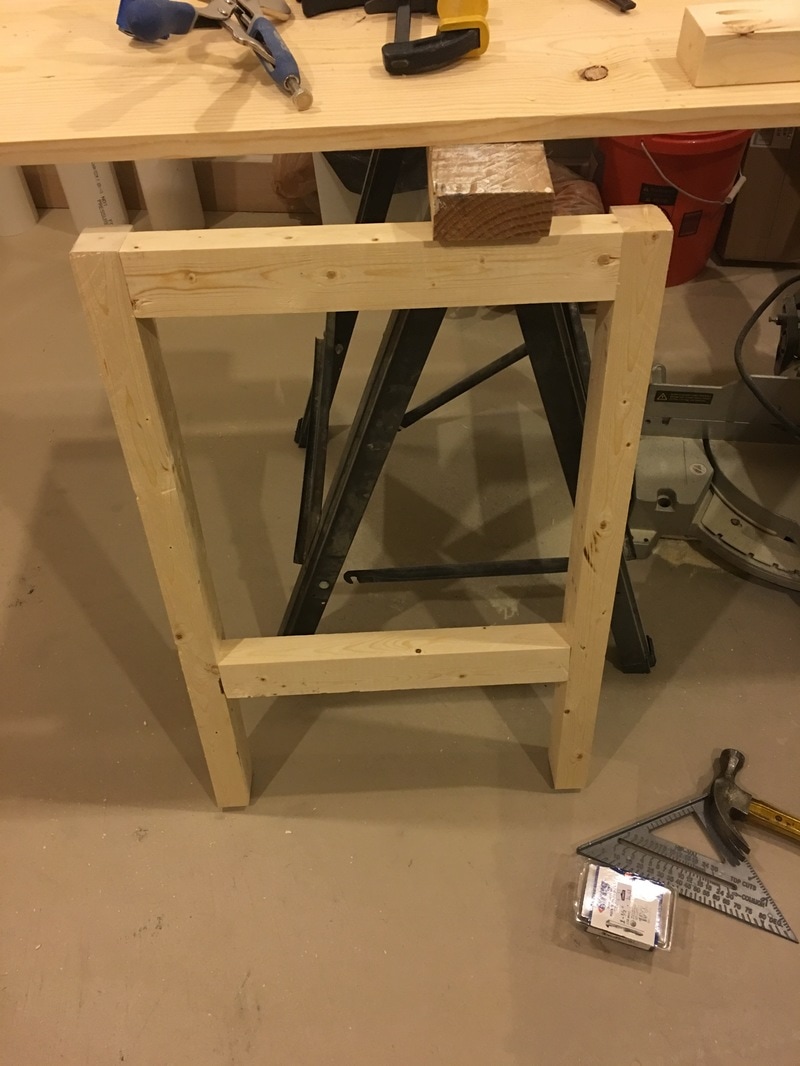
I actually used 2x3 lumber because I wanted the pieces to be more square and 2x3s are cheaper than 2x4s.
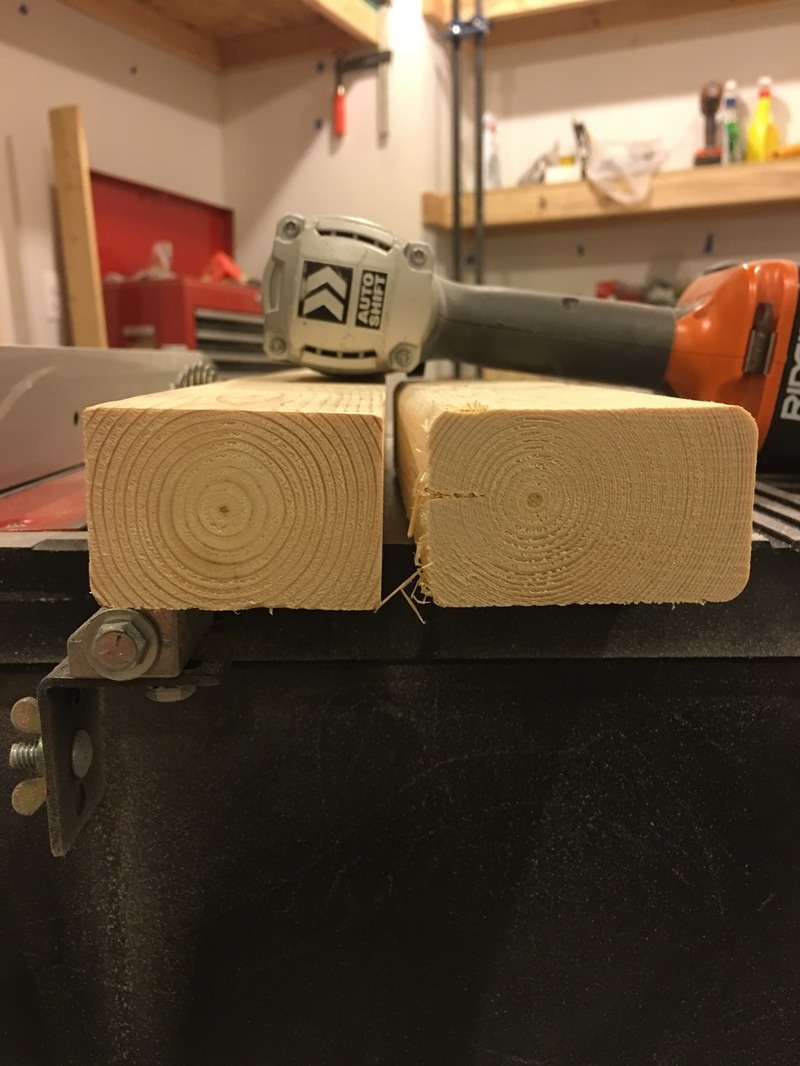
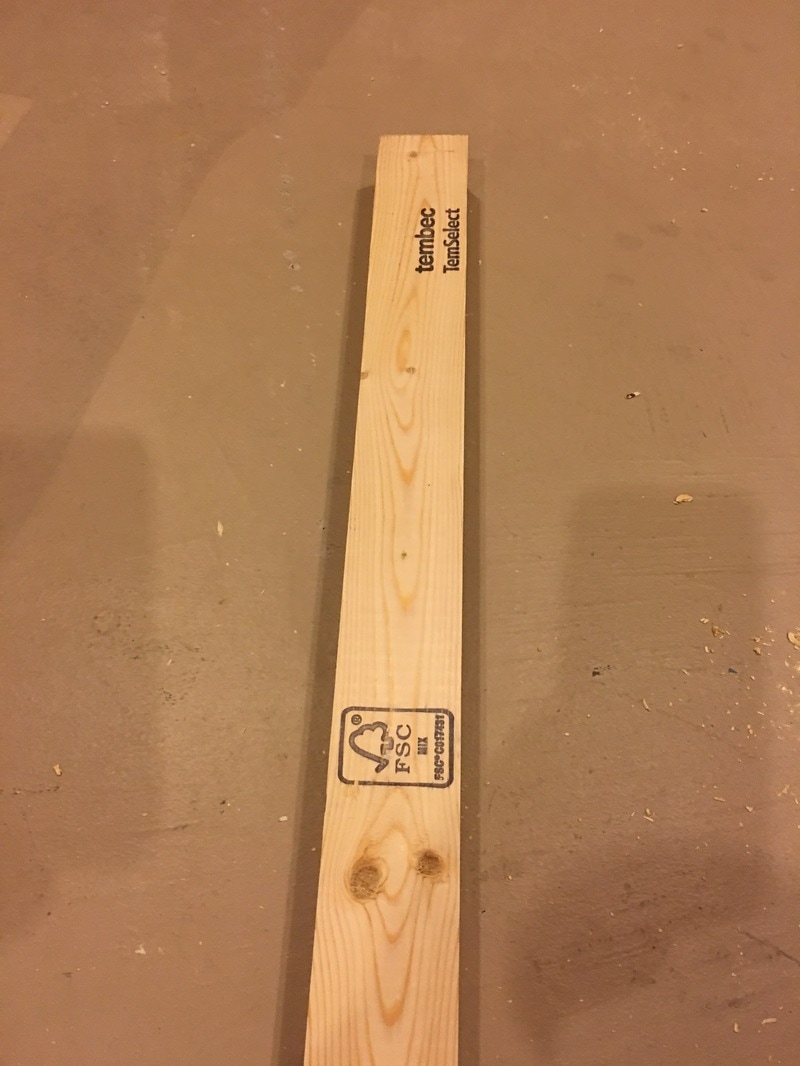
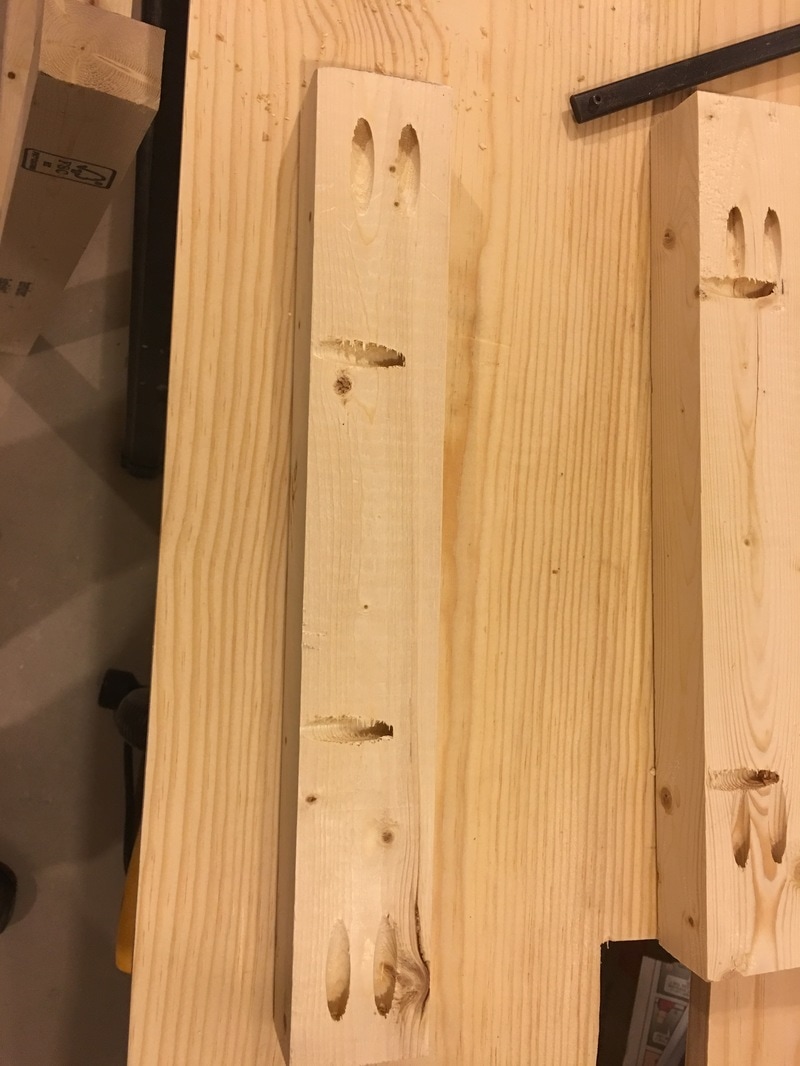
The first picture shows how an untouched 2x3 looks.
The second picture shows one side cut off. The last picture shows a comparison before and after. The cut pieces look like wood you may build furniture with as opposed to looking like studs. I just think it looks better. In the end, it is still low quality wood with a lot of surface imperfections.
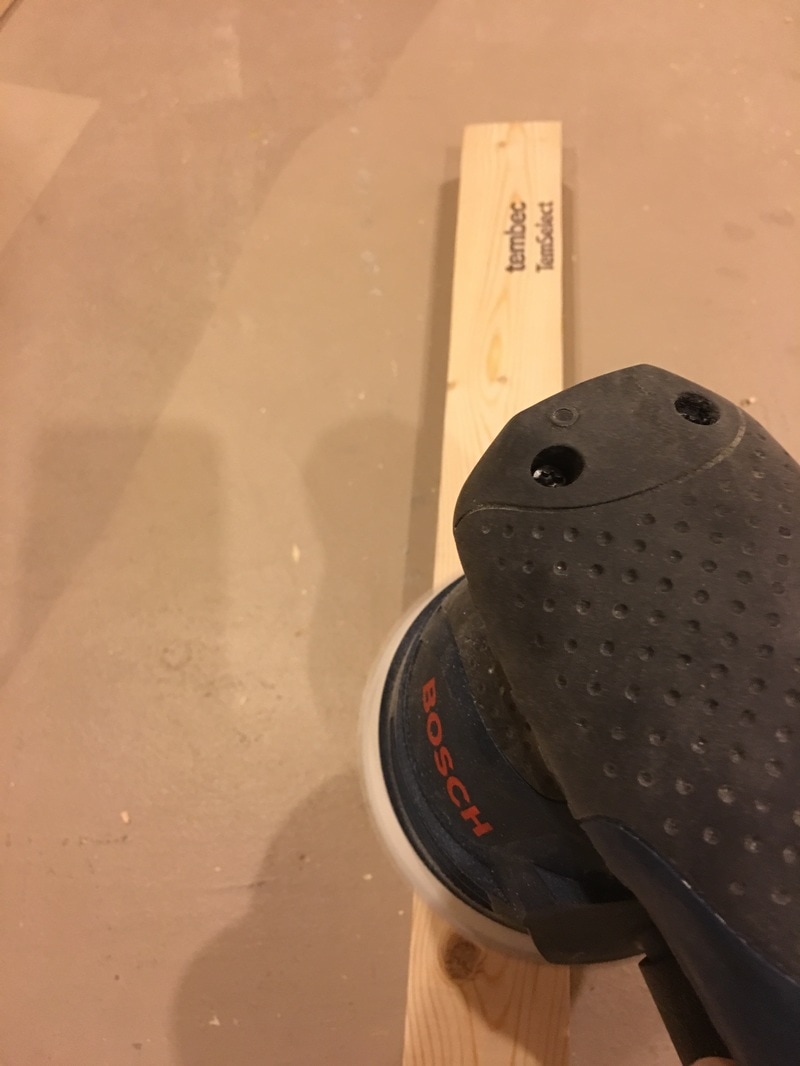
After cutting the boards to size, I cleaned them up using a palm sander. All of the stamps had to be removed.
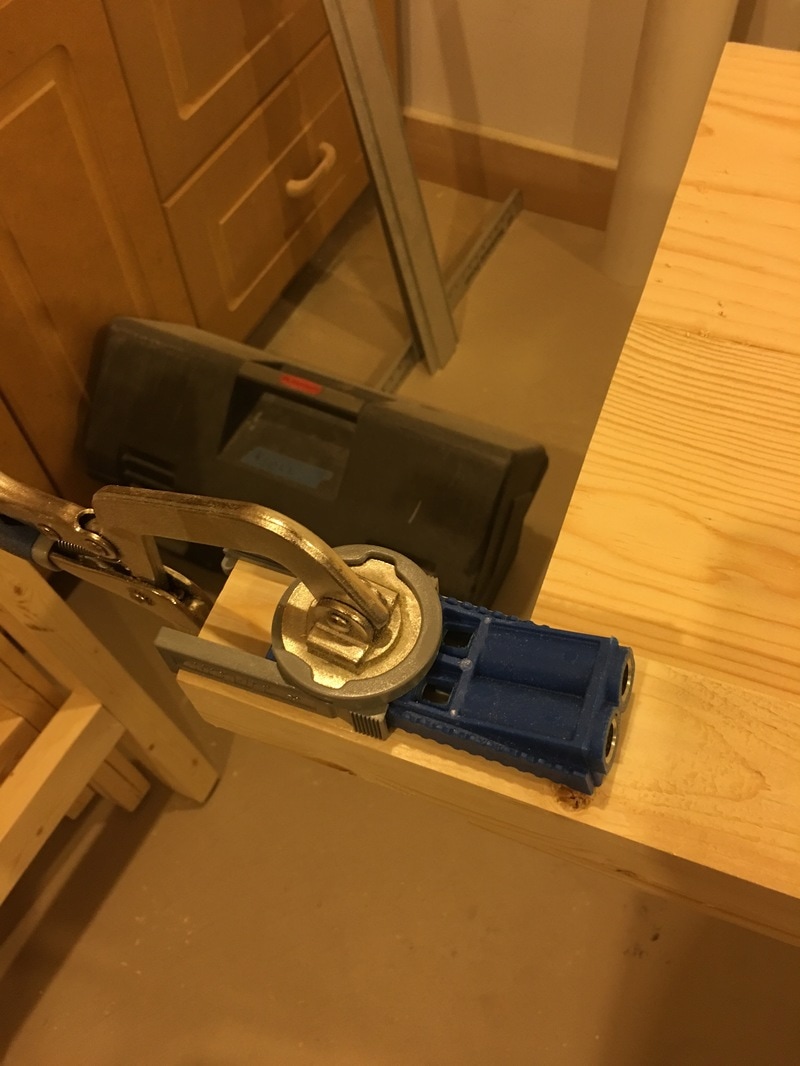
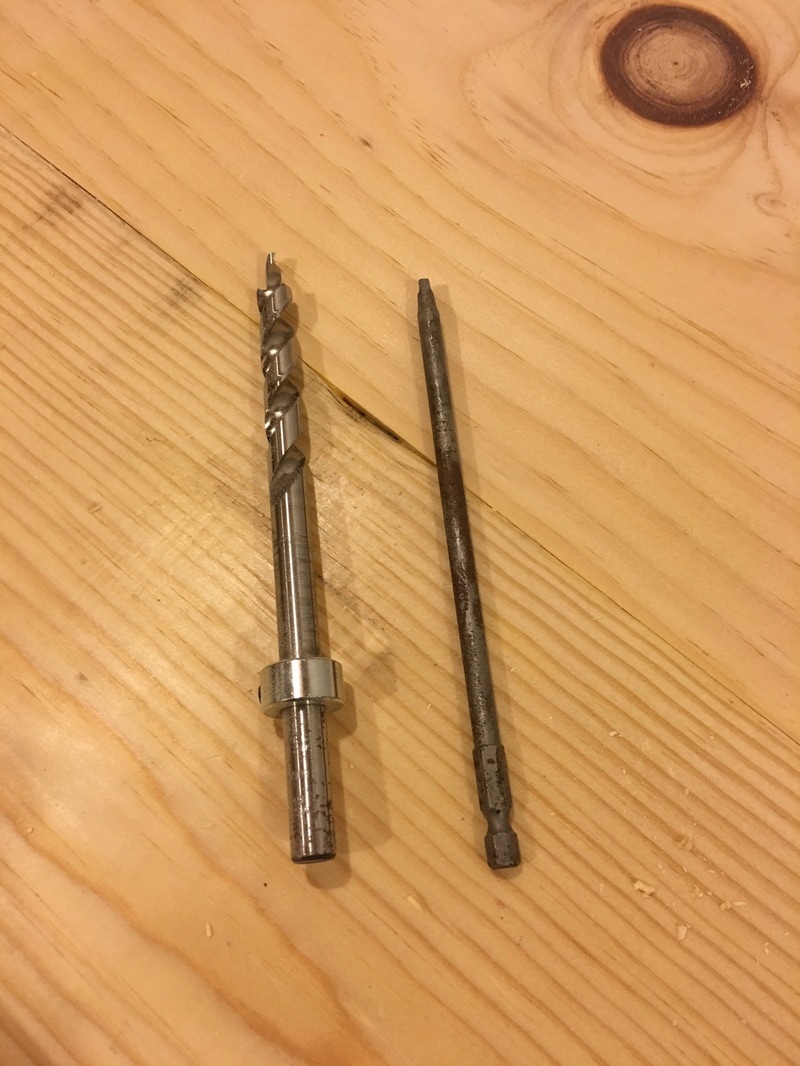
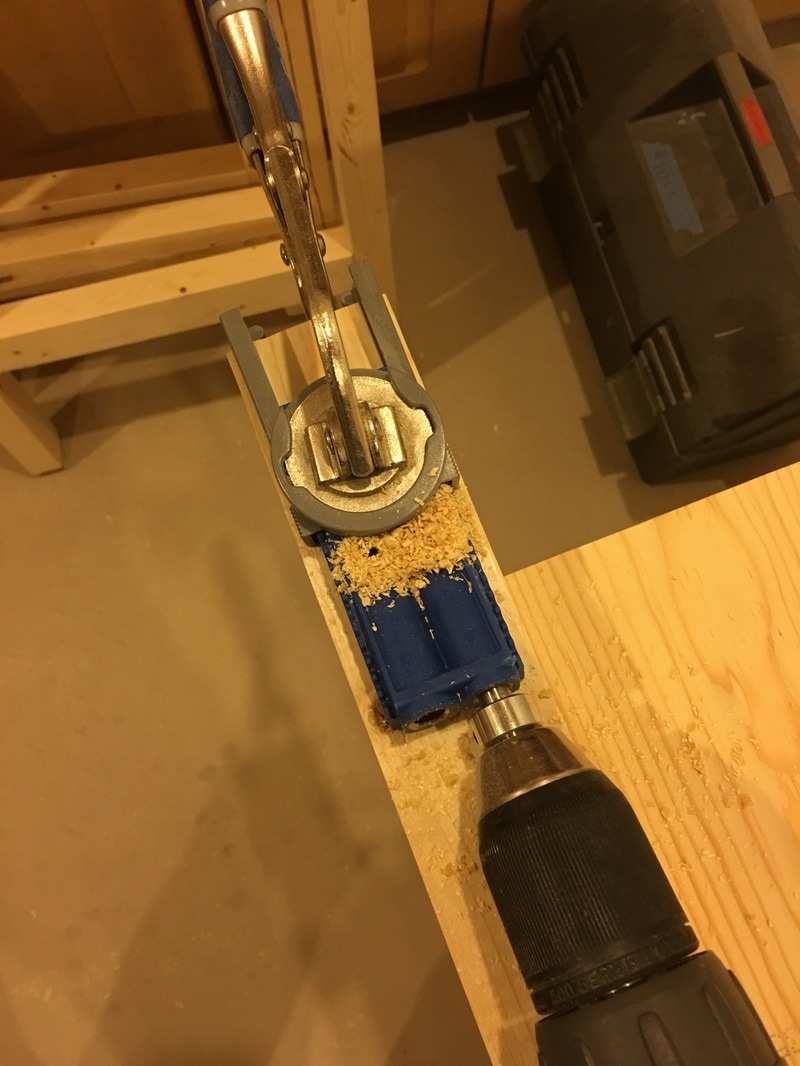
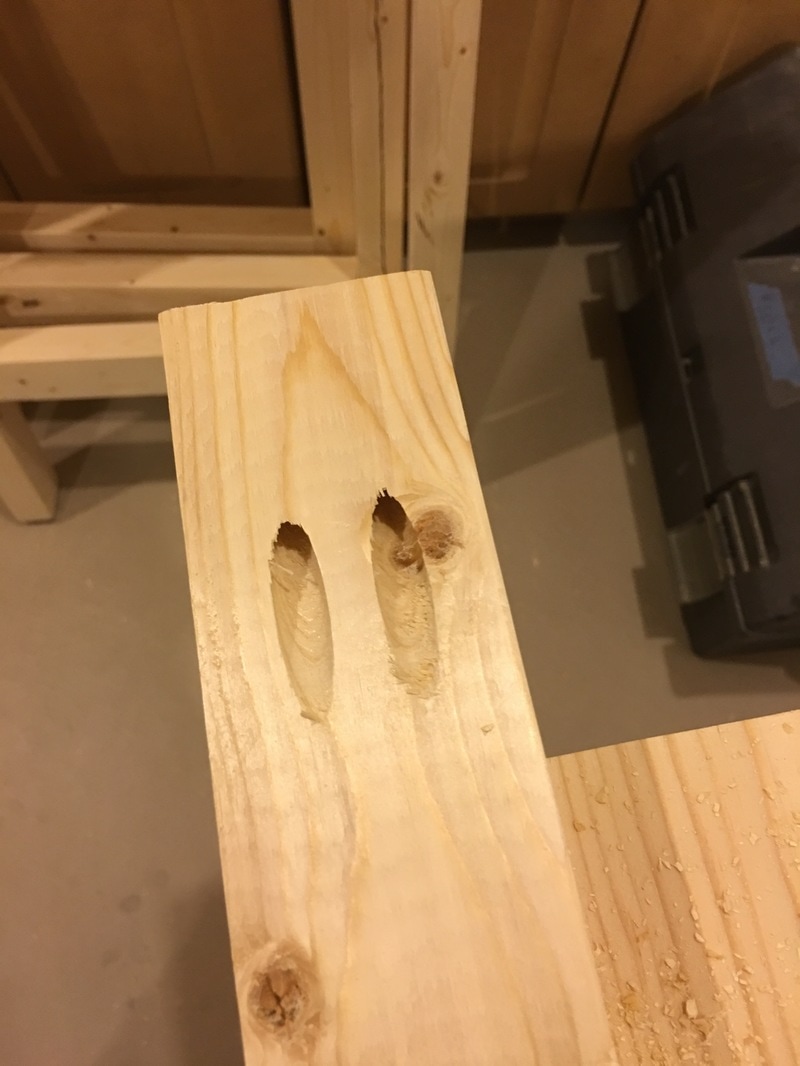
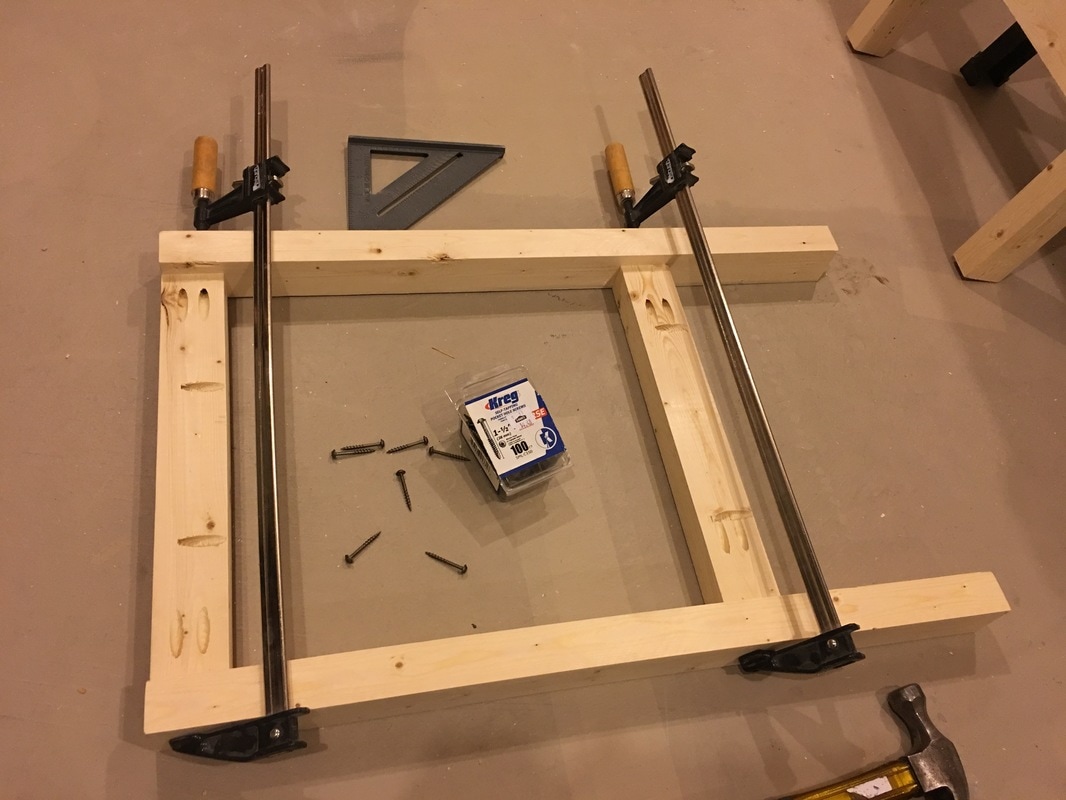
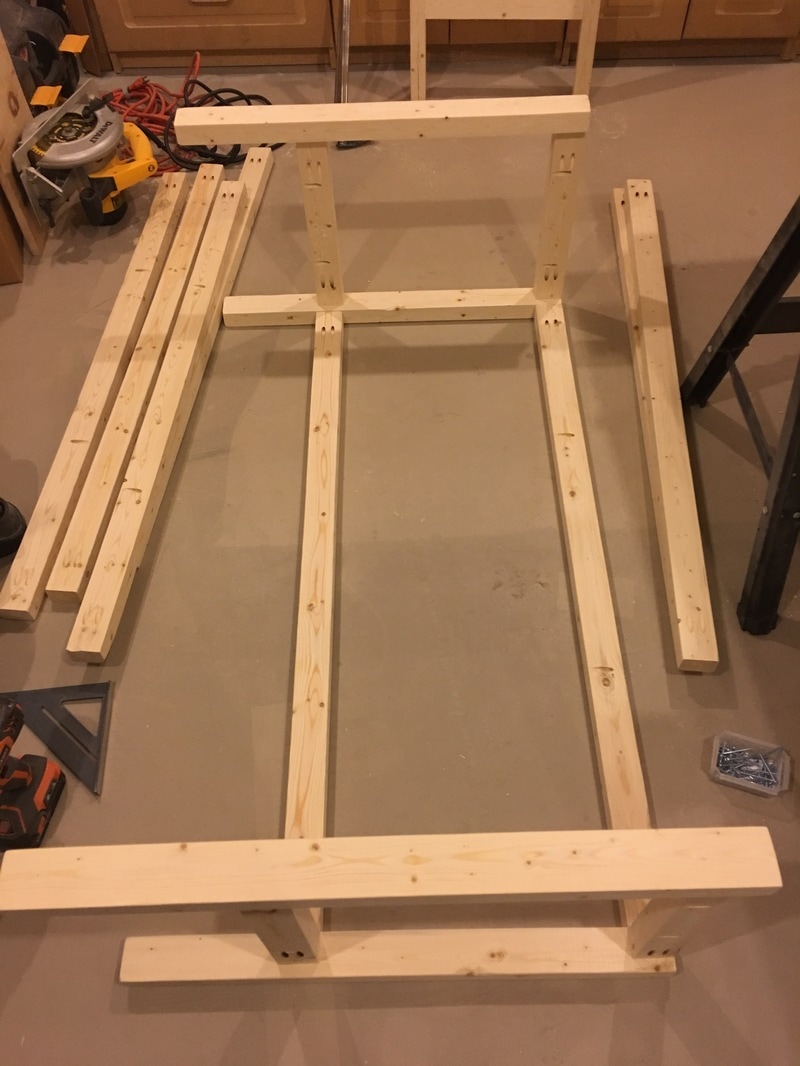
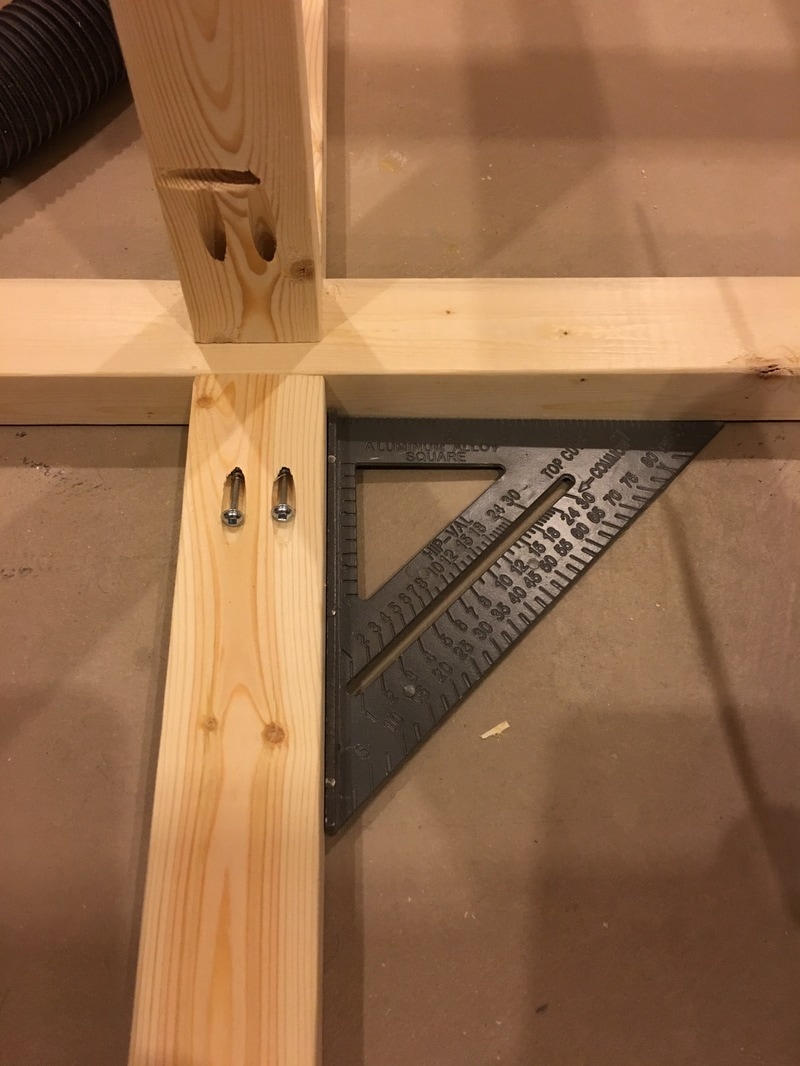
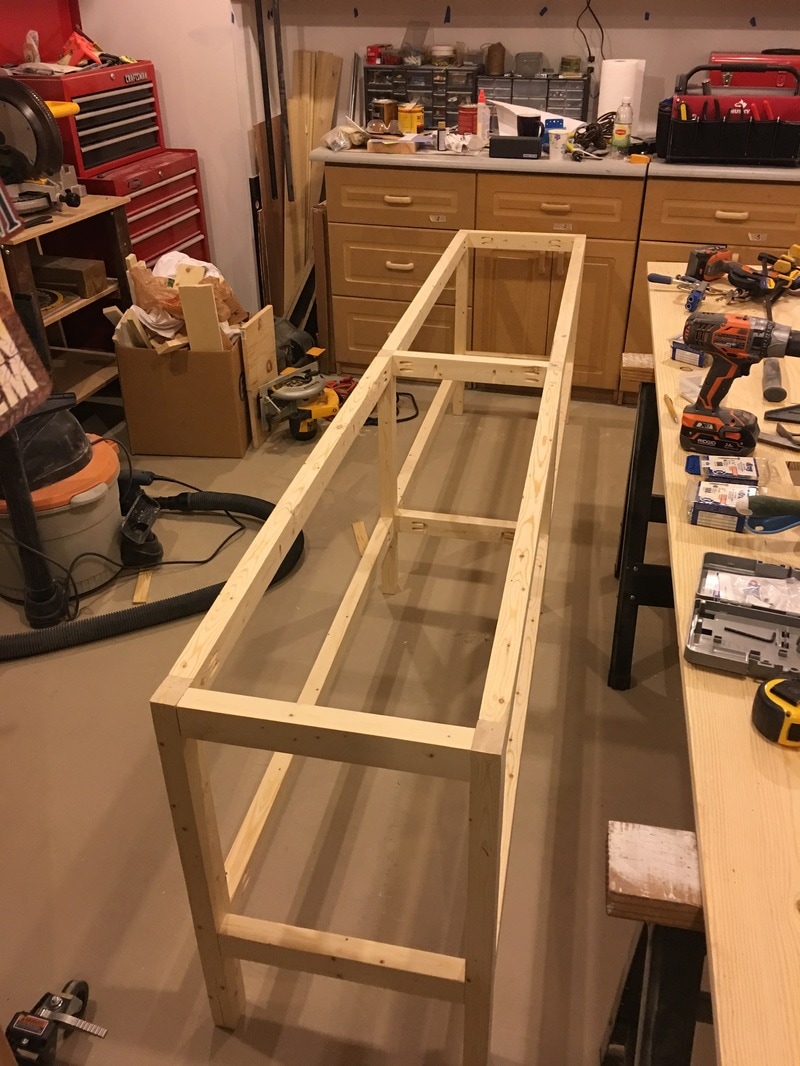
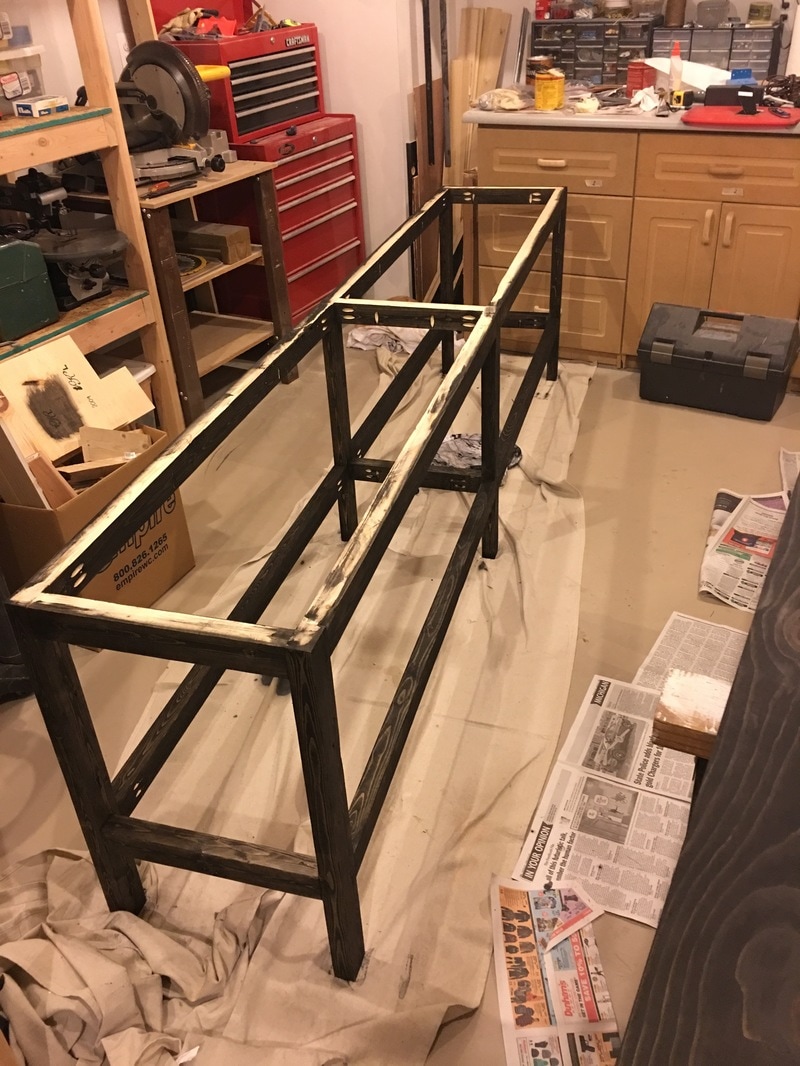
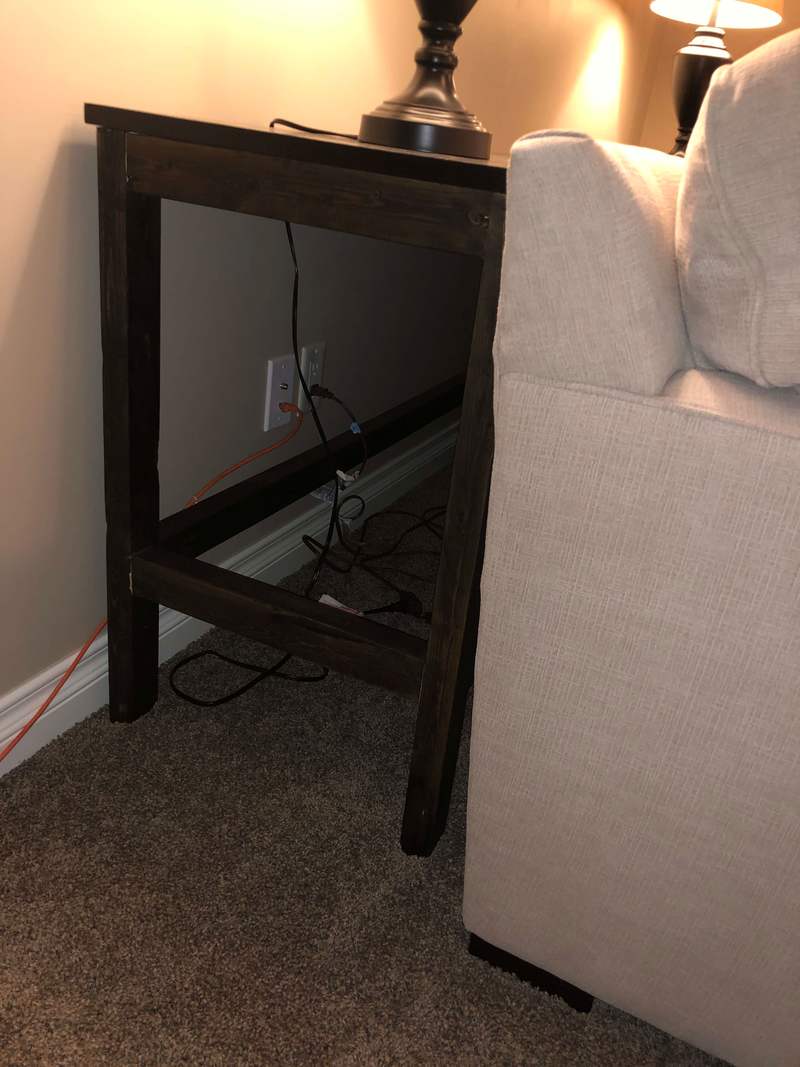
I used a Kreg Pocket Hole Jig to assemble the table. The jig allows you to "hide" the fasteners, or at least put them in inconspicuous places. The Kreg jig comes with the jig, special drill bit and special driver. I think you have to buy the clamp separately. I had to drill a LOT of holes to assemble to entire structure and top.
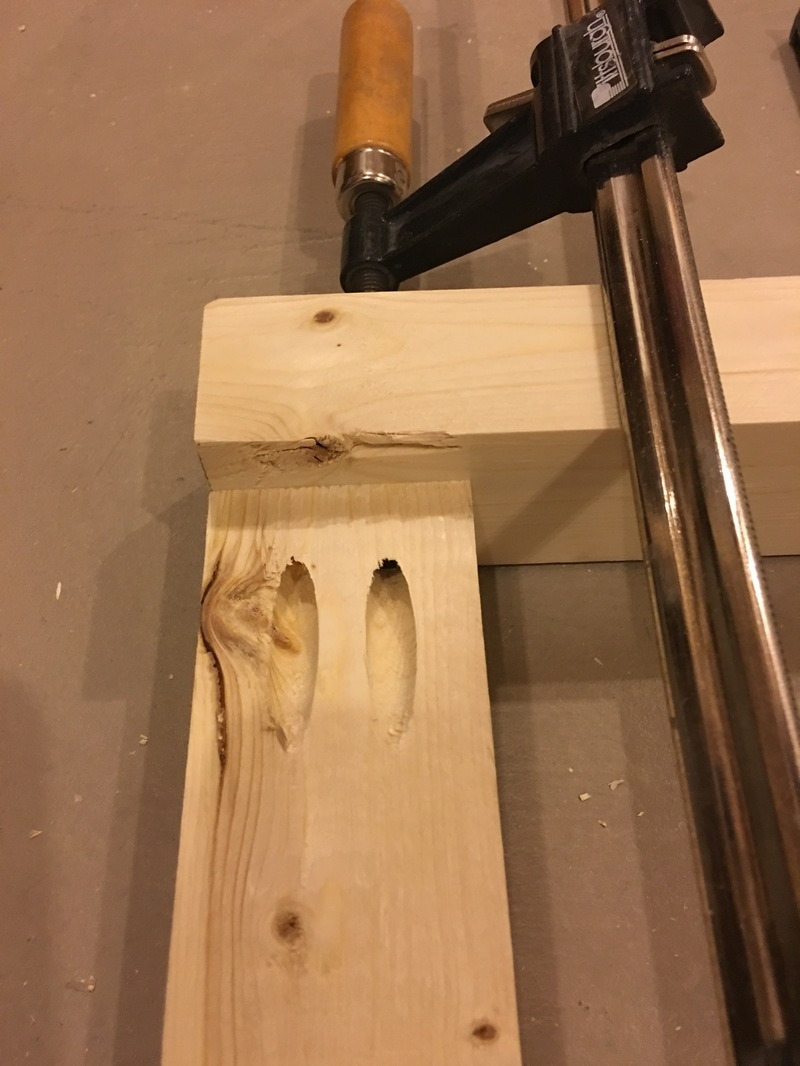
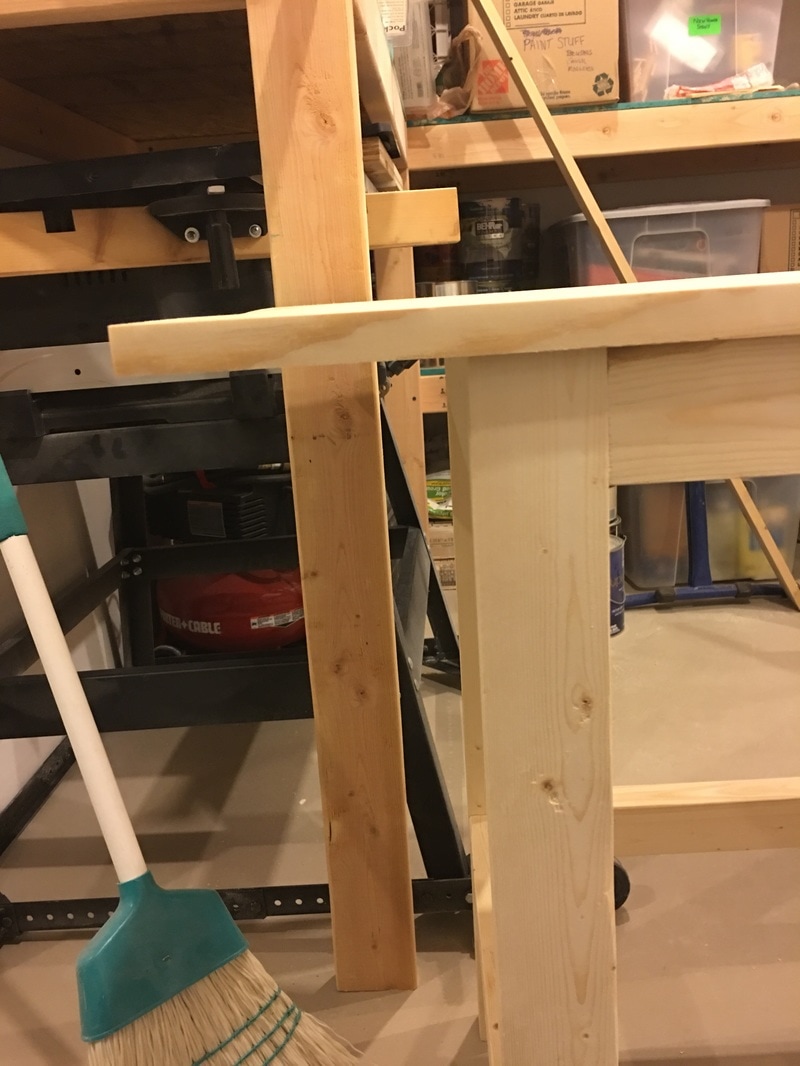
I also used clamps to help hold the pieces as I assembled them. Special pocket hole screws are required and can be purchased at the big box stores. I also had to add pocket holes to secure the top to the legs, as you can see in the last picture above.
As I assembled the pieces, I sanded them again, since the pieces never go together perfectly.
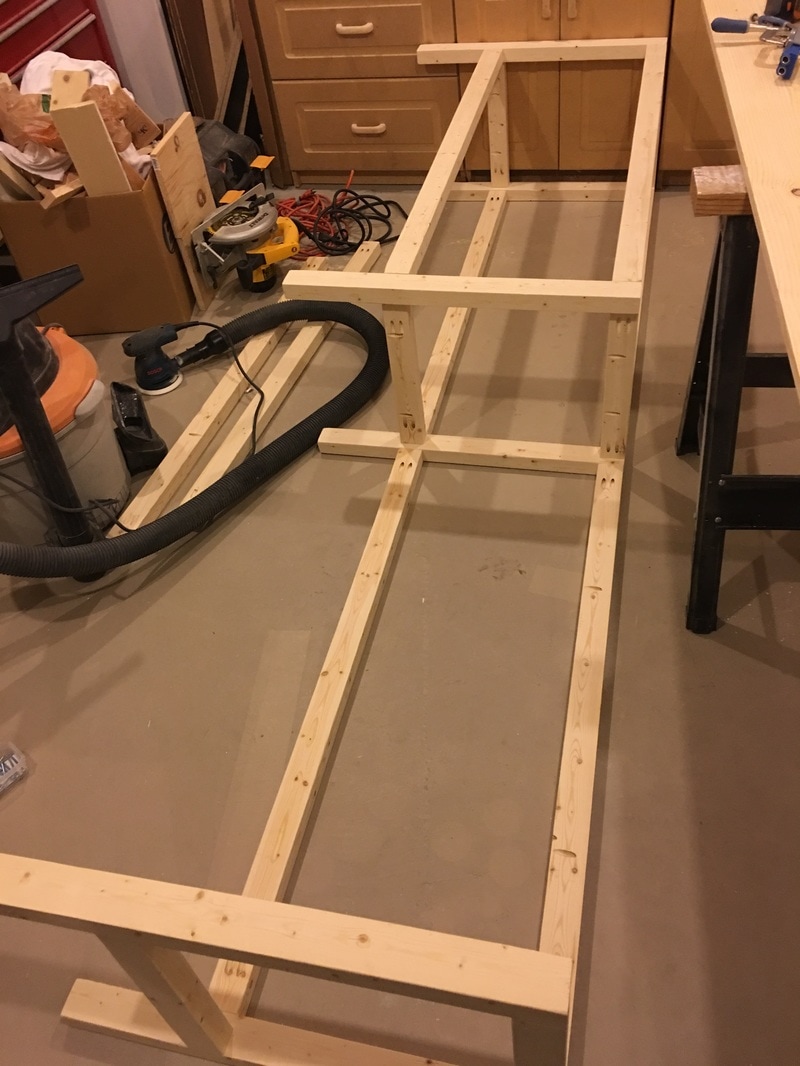
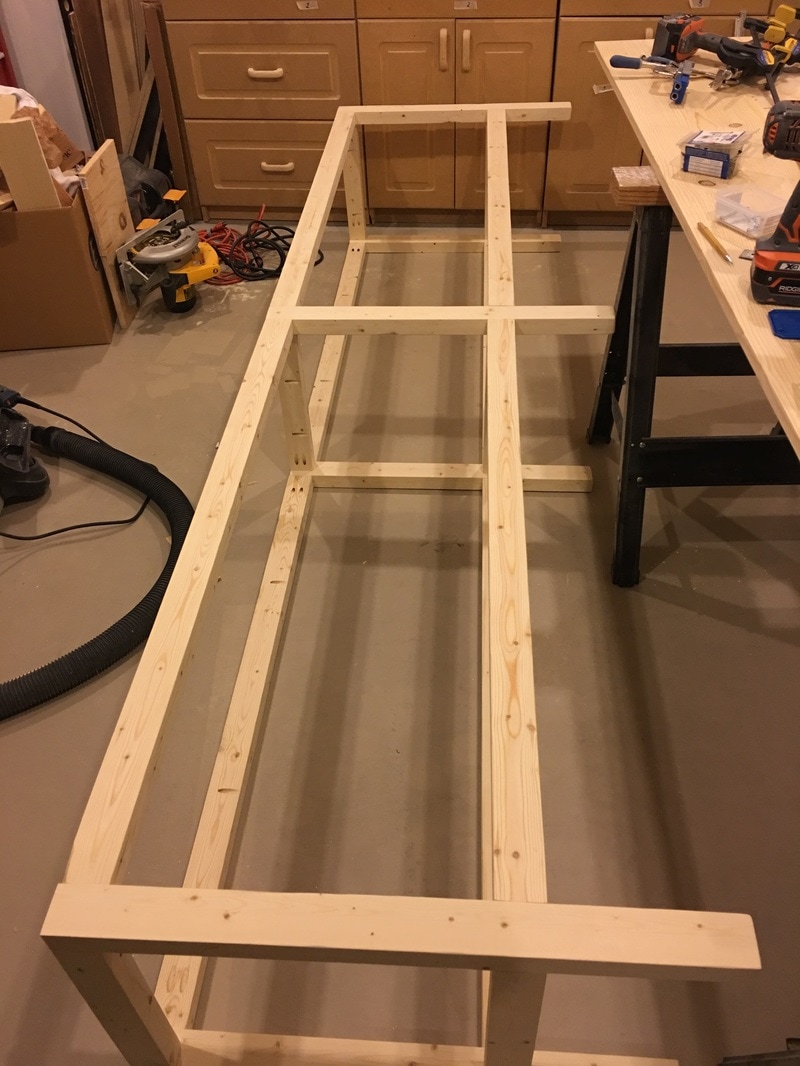
My sofa table is 9.5 feet long. So I had to make 3 sets of legs and assemble the table in 2 parts.
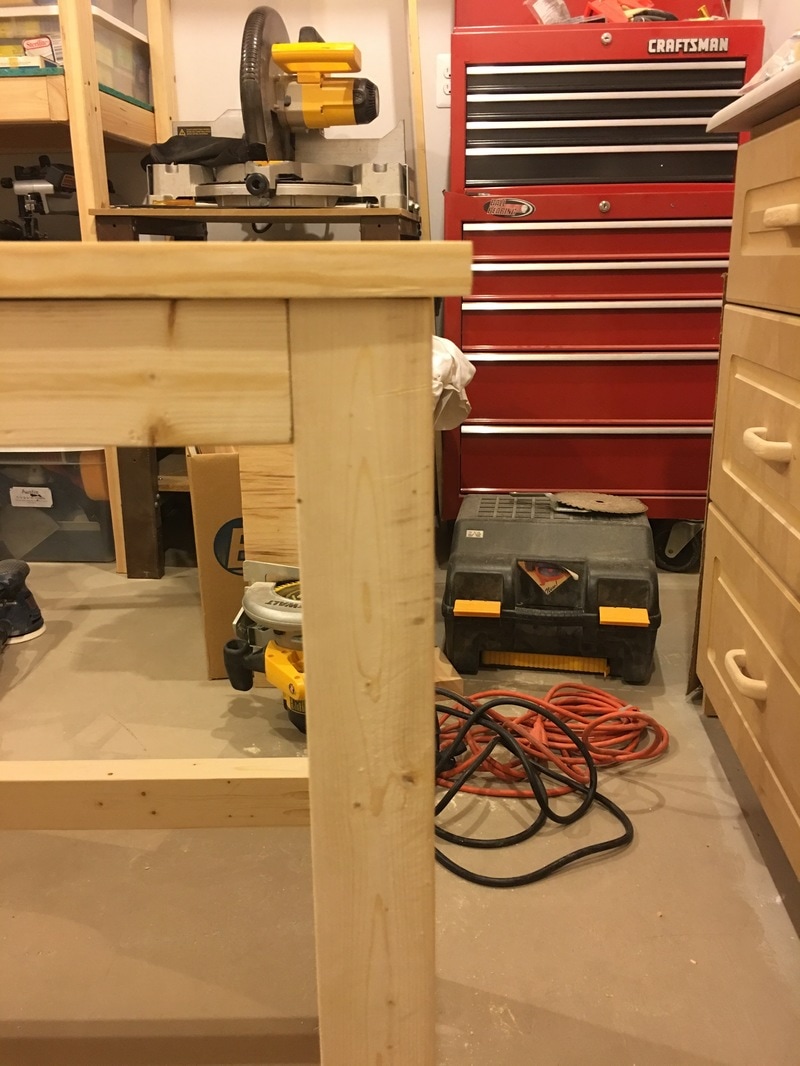
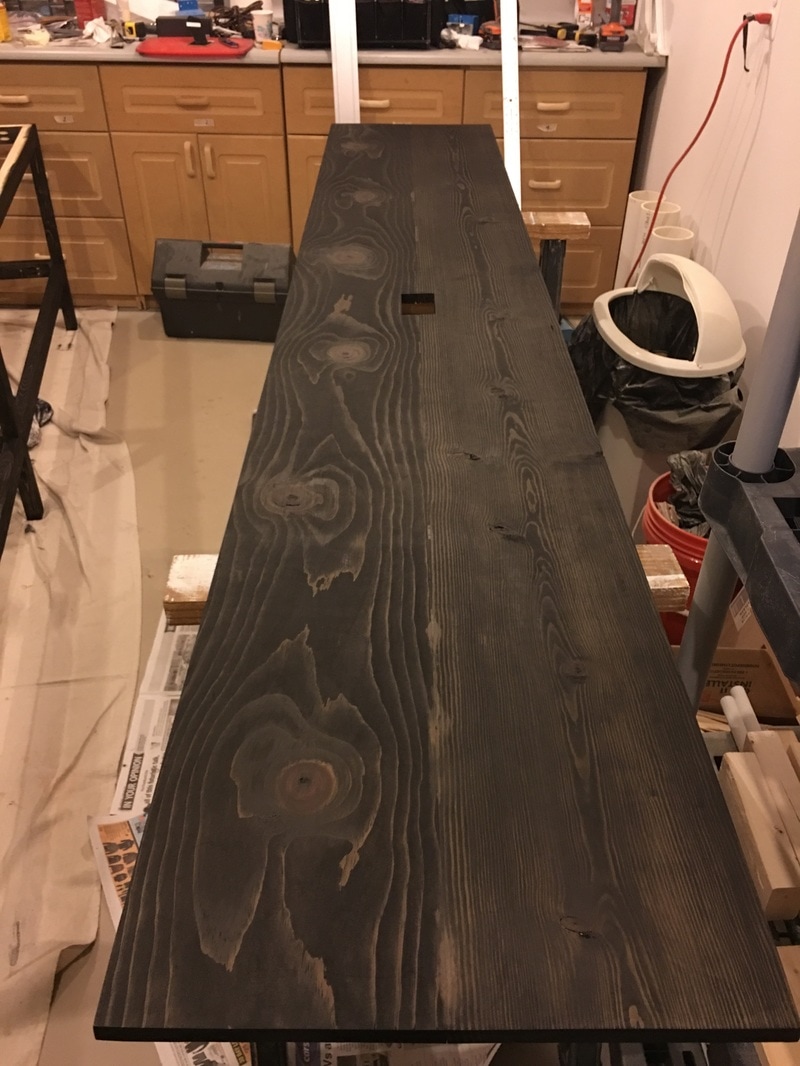
I placed the top on the structure to get the final length. I then cut it to size so I had an overhang on each end like the picture on the right.
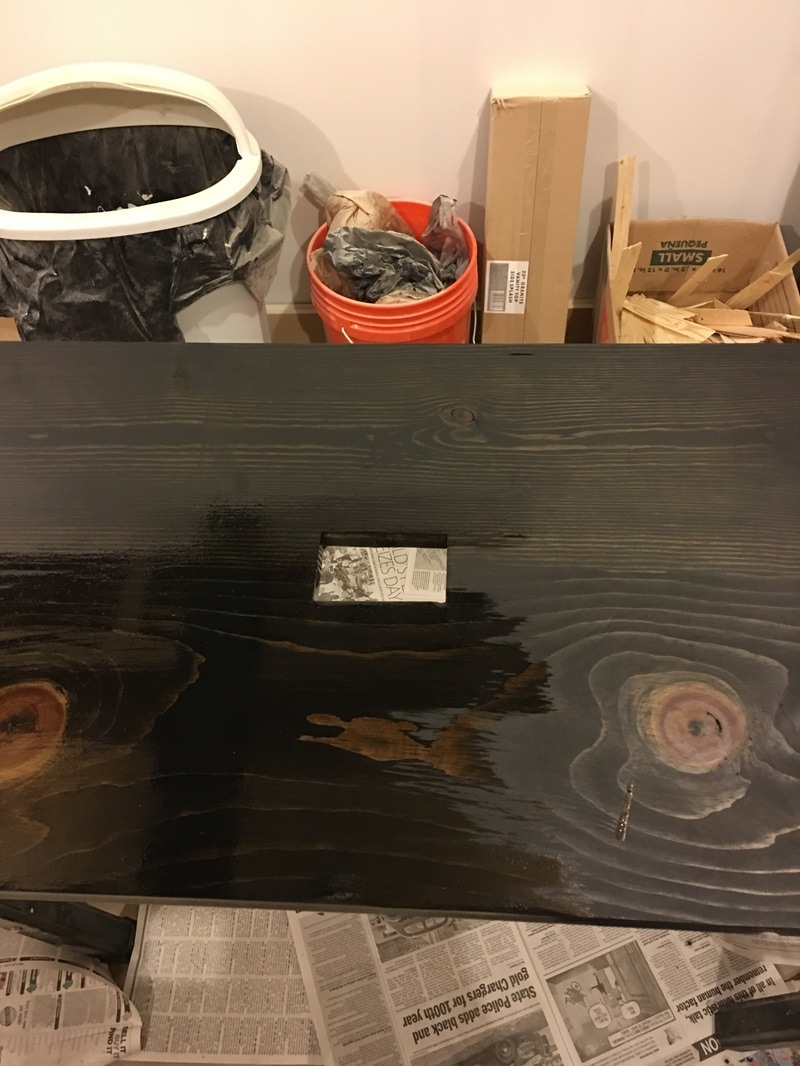
After I had the top cut to length and secured in place, I could then locate the hole for the USB outlet. You can see since there are legs in the middle of the table the outlet had to be placed just off center. I marked the opening using the gang box as a template. I then drilled holes at 2 corners and cut out the hole using a jig saw. I sanded the top one last time and it was now ready for staining.
I won't get into details on the staining or polyurethane finish. Staining the legs was a bit tedious since I needed to get stain into all the pocket holes. I used Q-Tips to which worked great. I also used the Q-Tips to get stain into any surface imperfections, which there were many. Even though the boards are cheap pine, they look great after the stain and clear coat are applied. The knots look really cool and the grain really stands out. I used an Ebony Minwax stain. I tried the stain plus polyurethane in one can on a previous project and the stain looked more like paint. I did not like it at all and won't use it again.
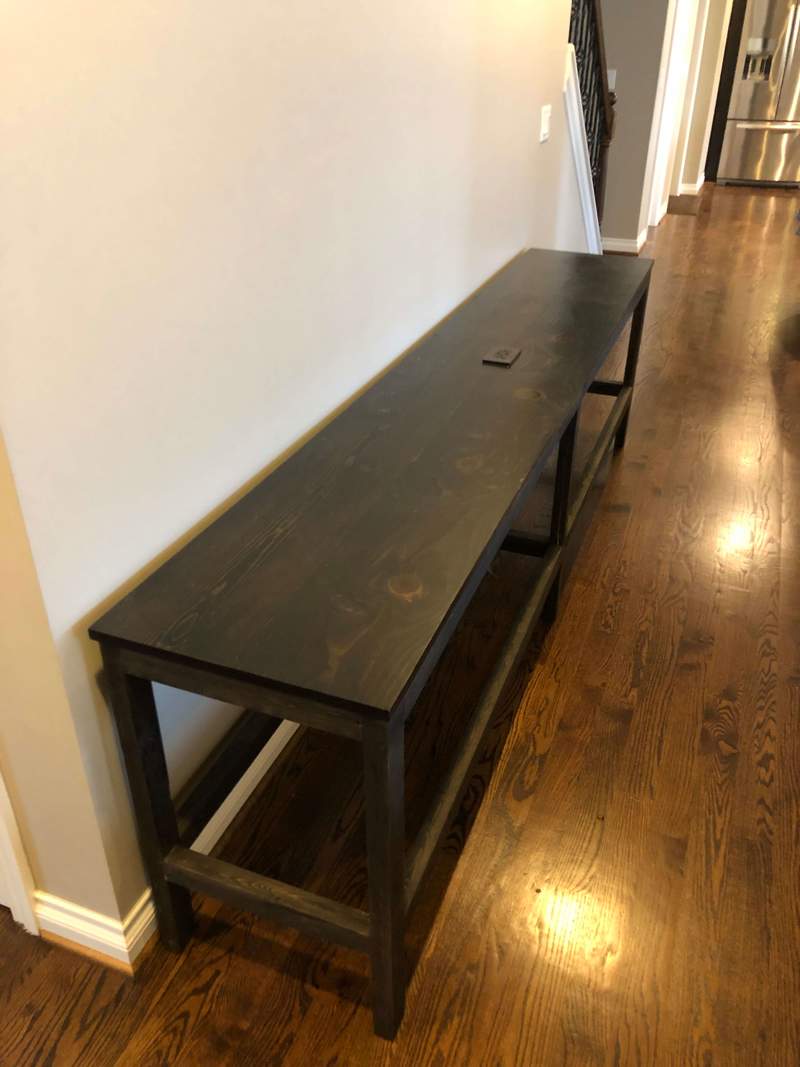
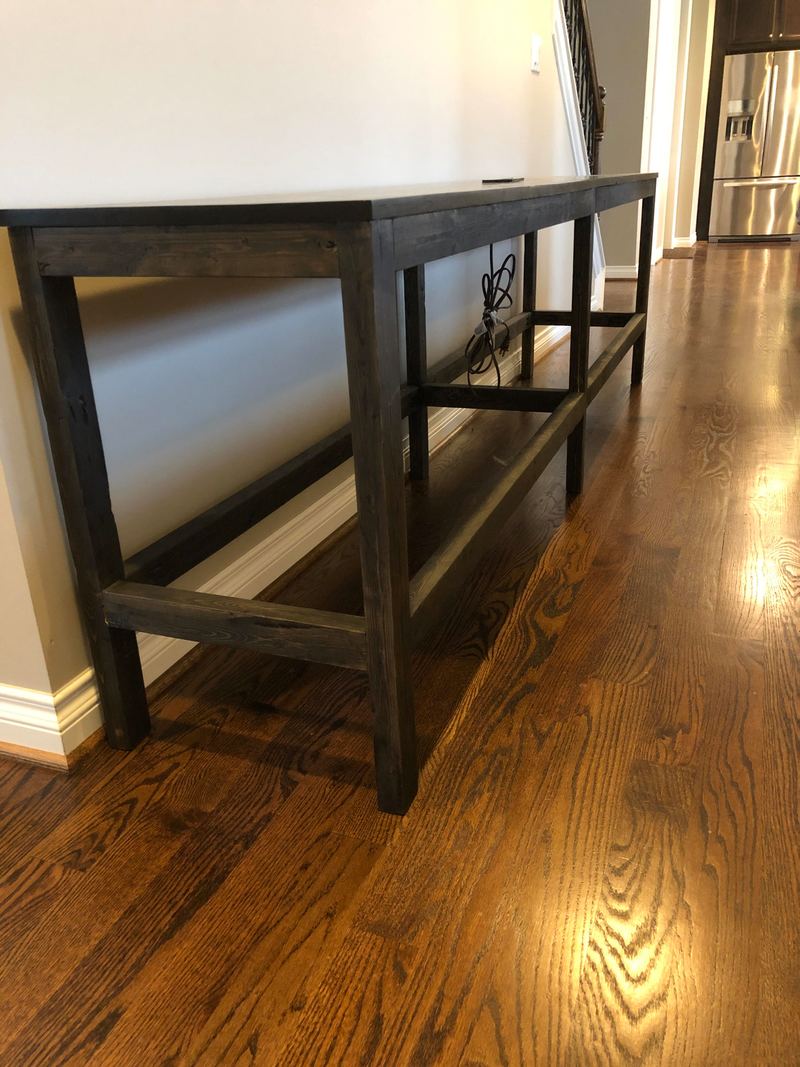
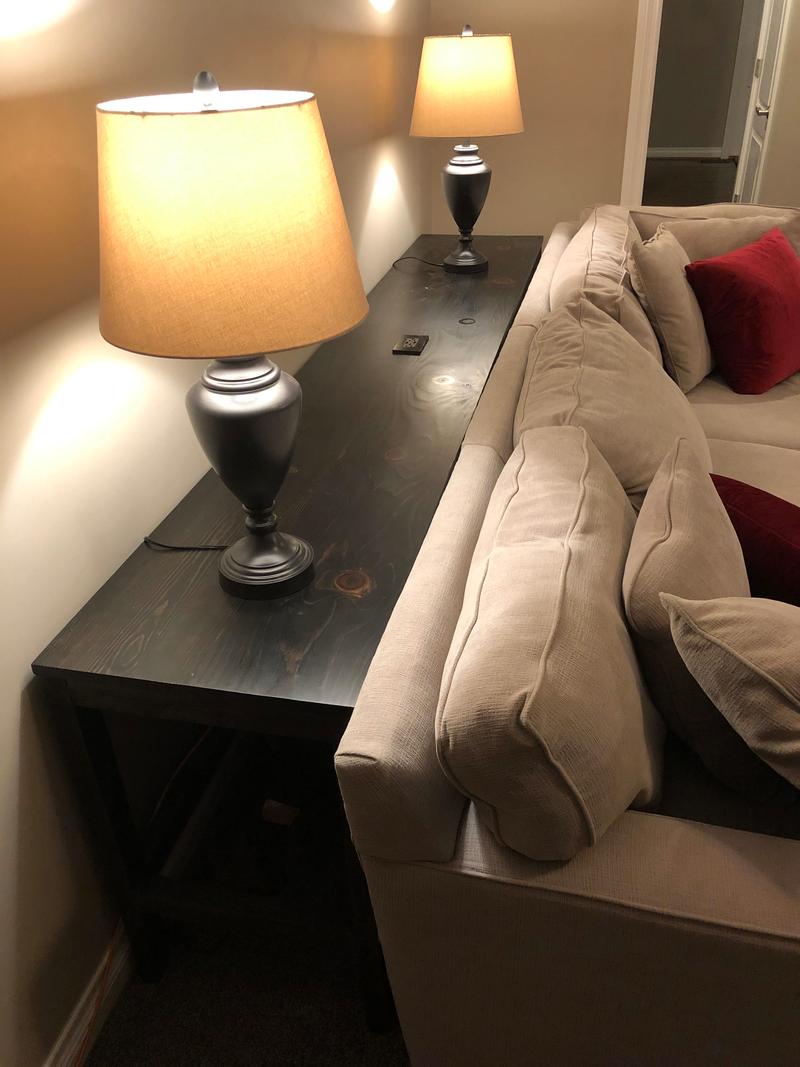
Here are pictures of the finished product before placing the sofa table behind the sofa.
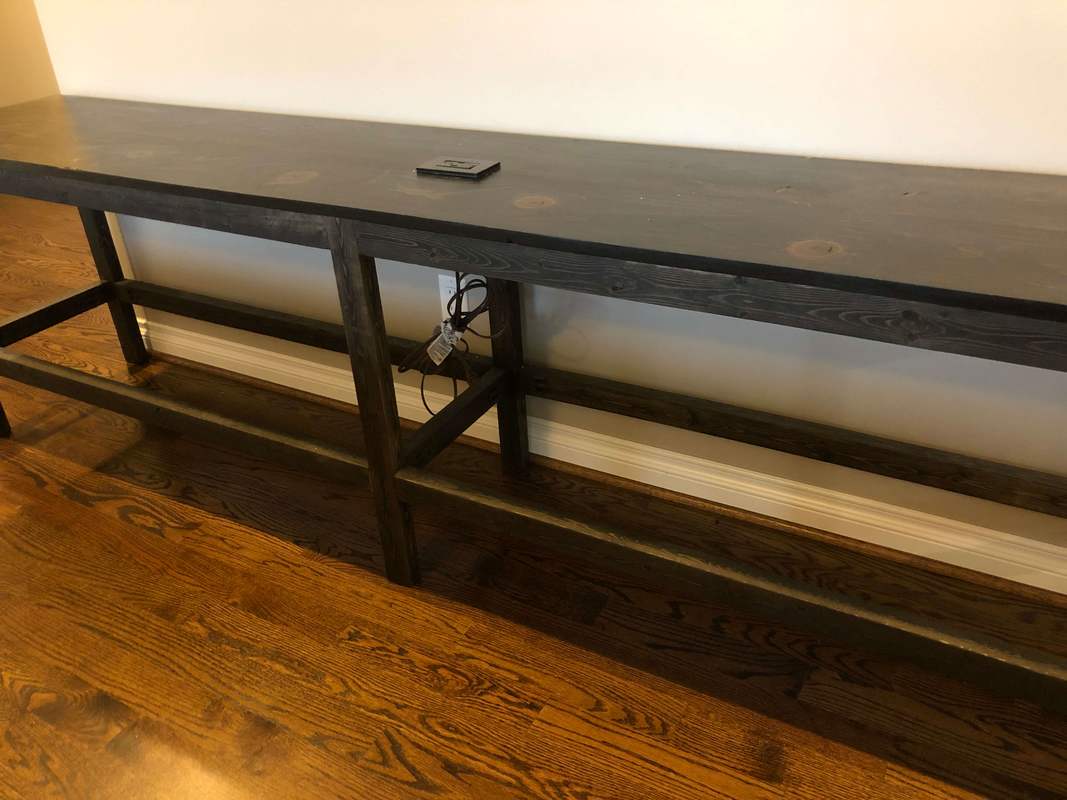
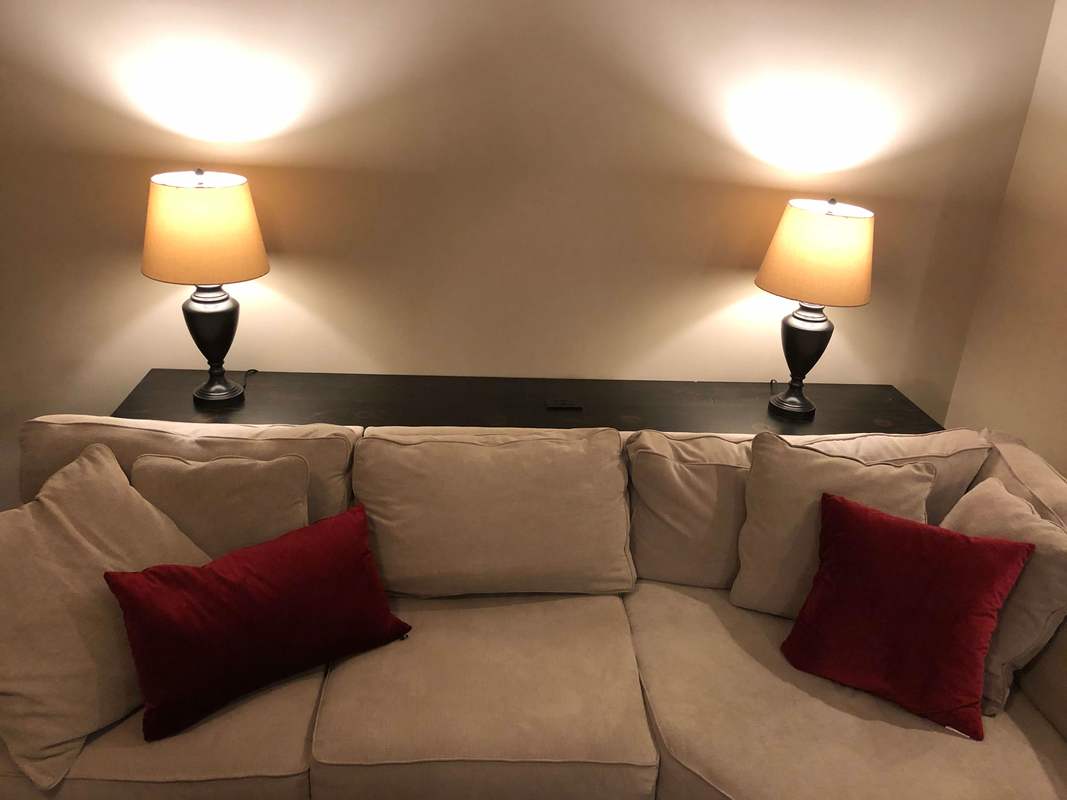
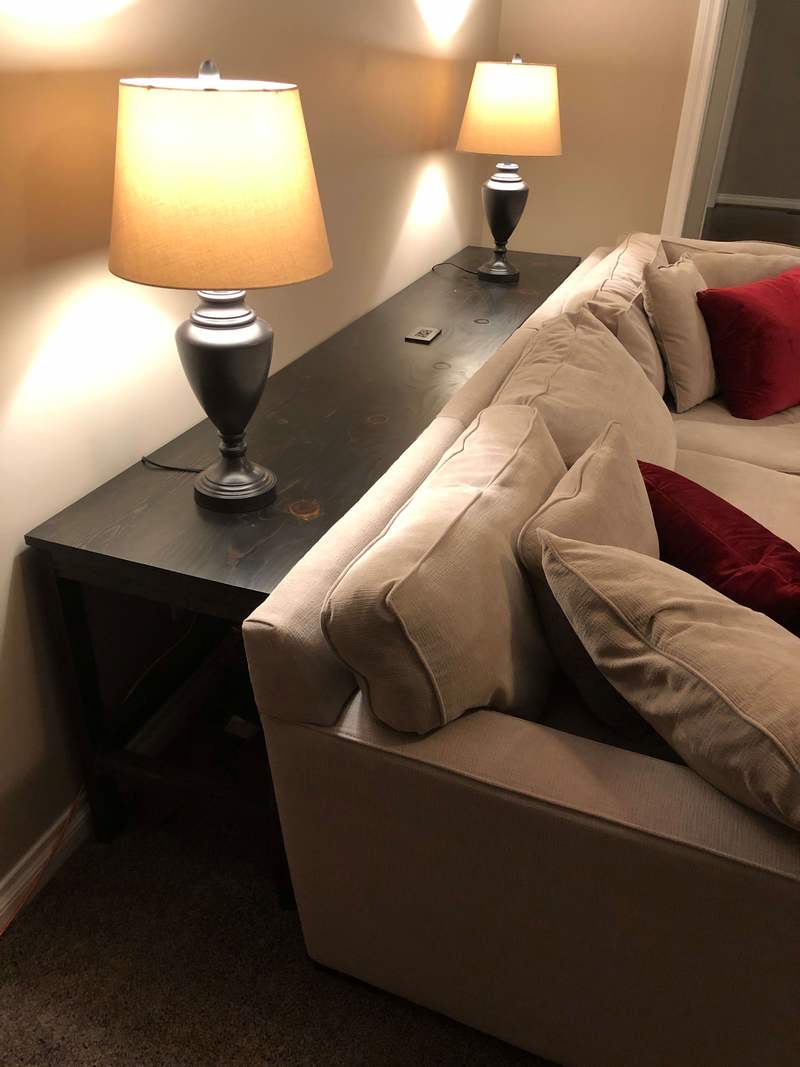
....and behind the sofa.
0 Comments
|