This site contains affiliate links to products. A commission may be received for purchases made through these links. This site is also a participant in the Amazon Services LLC Associates Program, an affiliate advertising program designed to provide a means for us to earn fees by linking to Amazon.com and affiliated sites.
I built the desk top pretty much the same way I built the Sofa Bar top (See Sofa Bar Table for details). The desk top is built from 2x10 lumber and I had a very tough time finding decent wood. After a trip to a second big box store, I found 3 pieces that looked very good. I brought them home and let them sit a few days. When I was ready to start the project, I noticed the wood appeared to be slightly warped. I decided to use the wood anyway, which was probably a mistake. As with the other wood tops I built, I use glue and pocket screws to assemble the table.
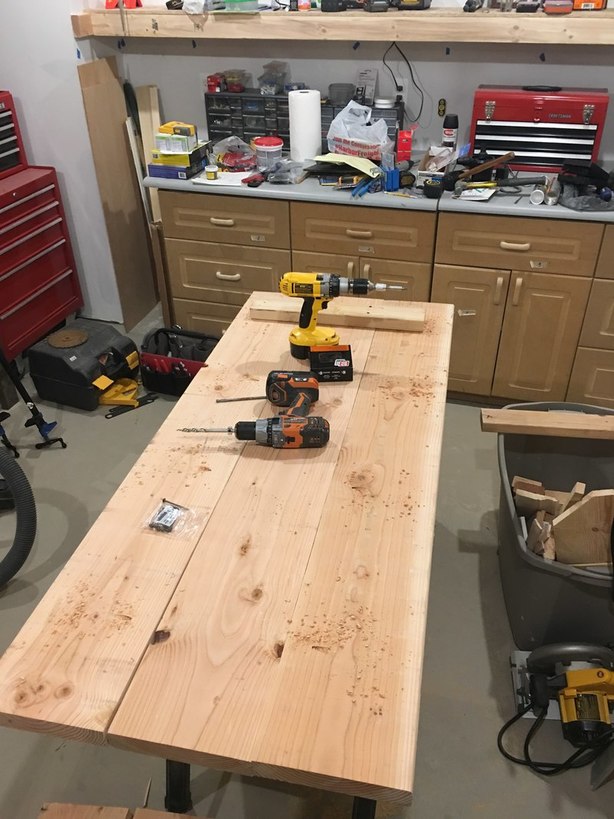
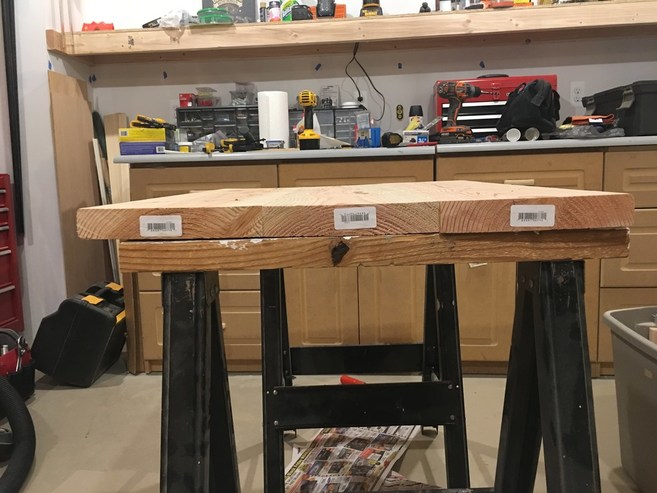
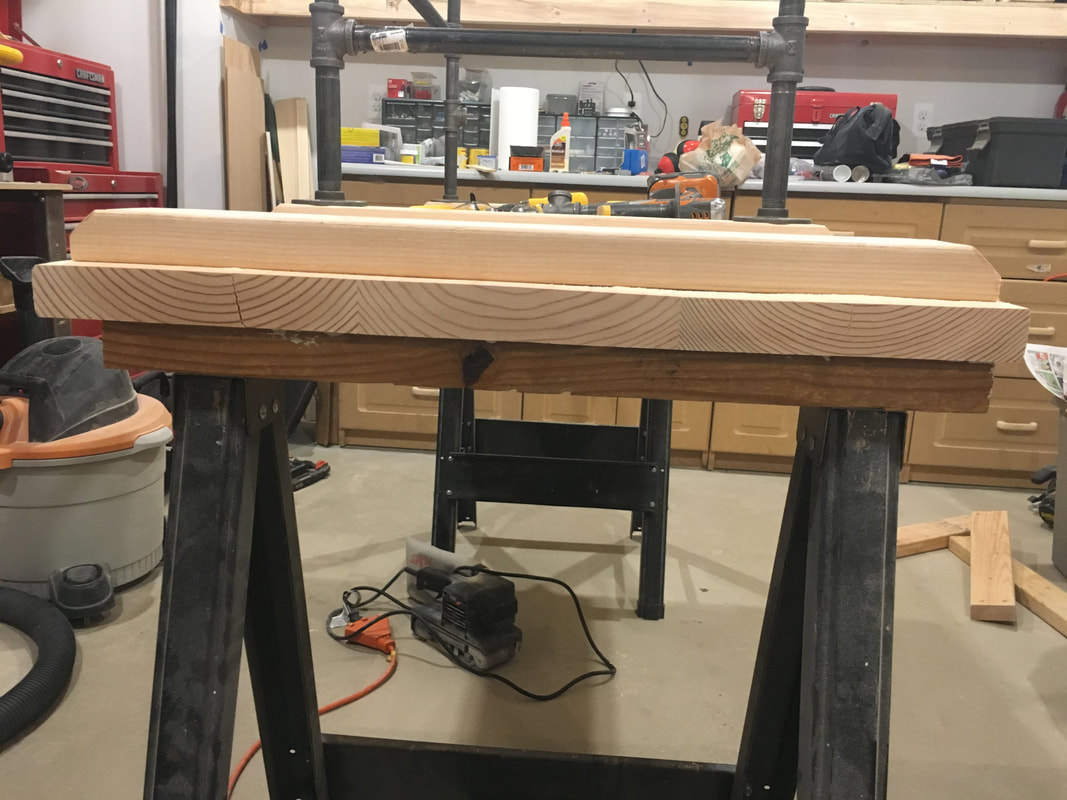
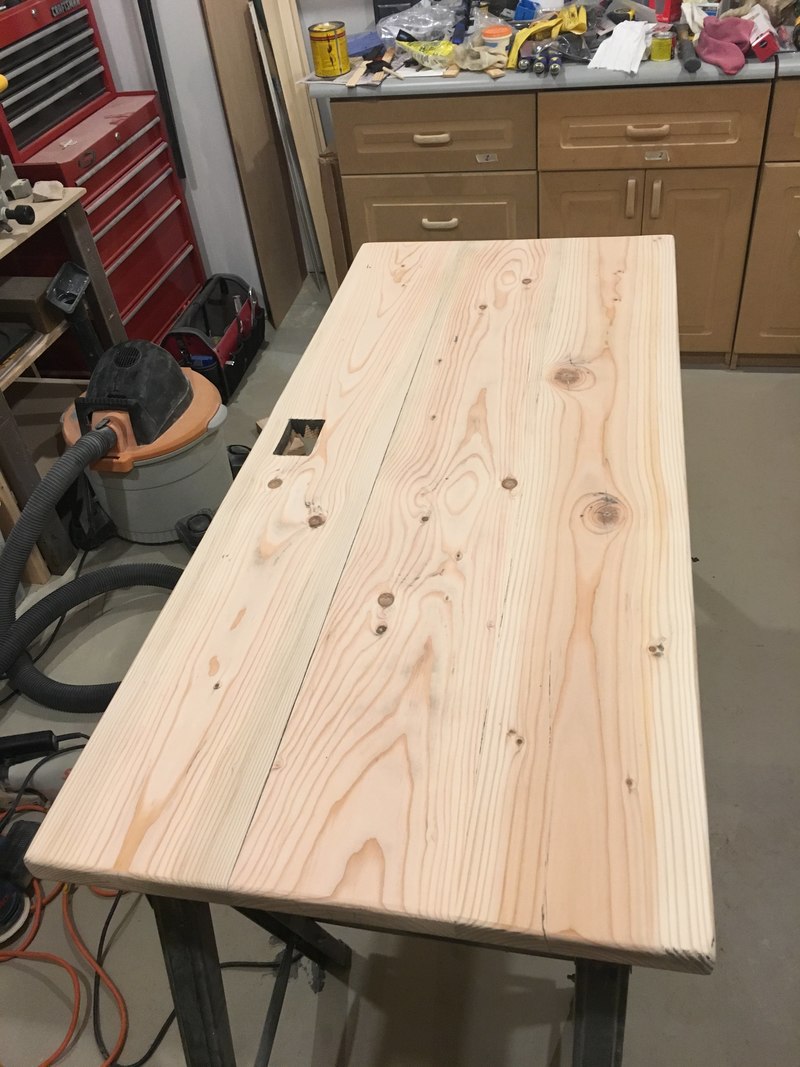
The wood did not look that bad at first. You can see from the picture below that there is only a slight amount of noticeable cupping, which I planned to sand out. The boards, with mating sides ripped to a square edge, are just laying next to each other in the picture below.
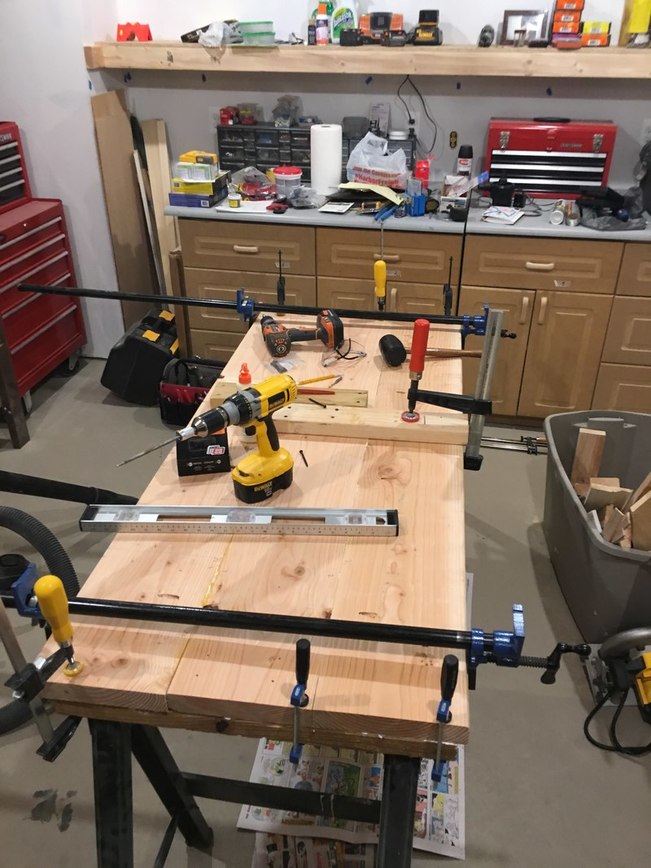
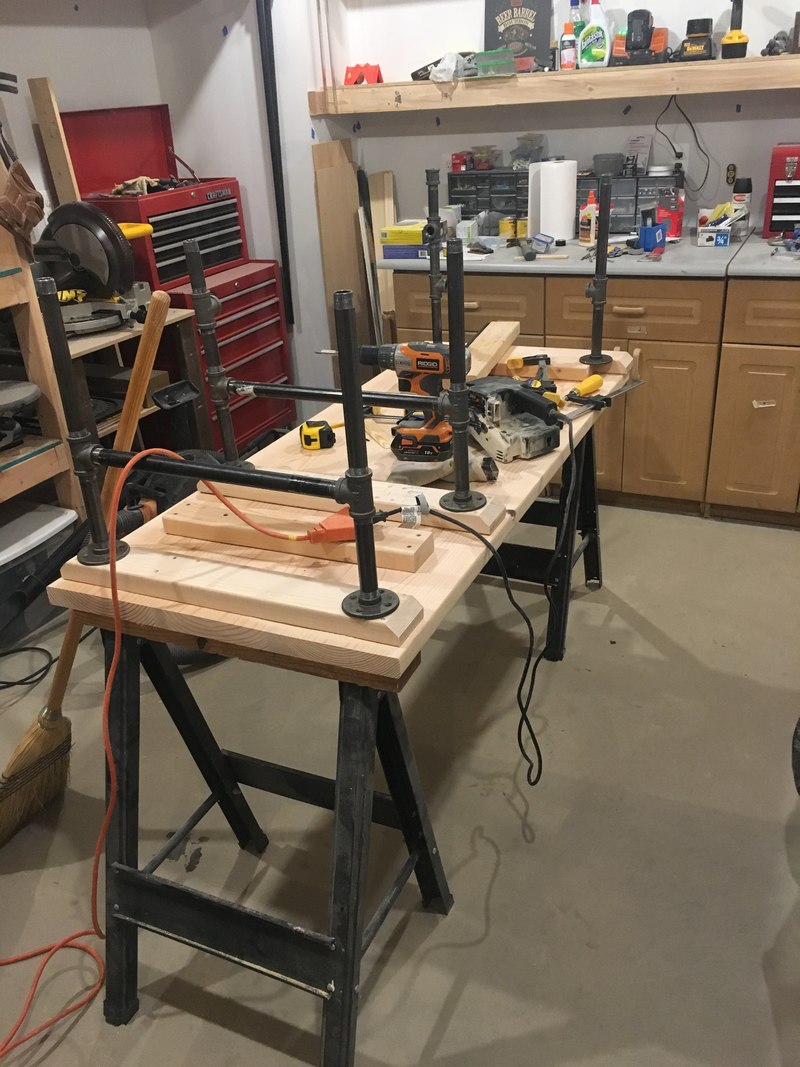
I drilled the pocket holes, applied the glue, clamped the pieces and screwed them together. I then cut the top to length. I used boards long enough so I would have wood left over for the shelves.
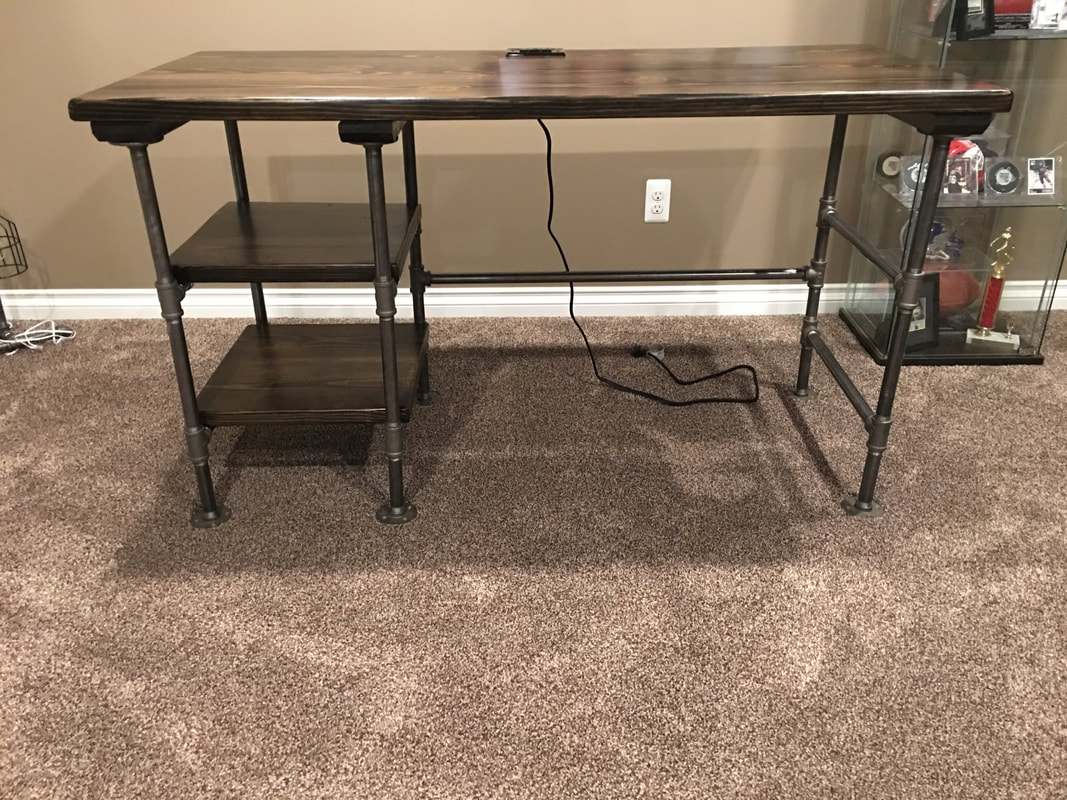
It was at this time I noticed the boards seemed to be a bit warped. I decided to add 2x4 supports for the legs to help "straighten" out the slight warping. This seemed to help. The only issue this creates is that you need know where your legs will be attaching to the table before you can secure the supports to the table. In order to do this, I had to assemble the legs completely before I could determine the locations for the supports. I laid everything on the underide of the table and was able to determine where my legs would would attach to the table. I could now secure the leg supports to the table.
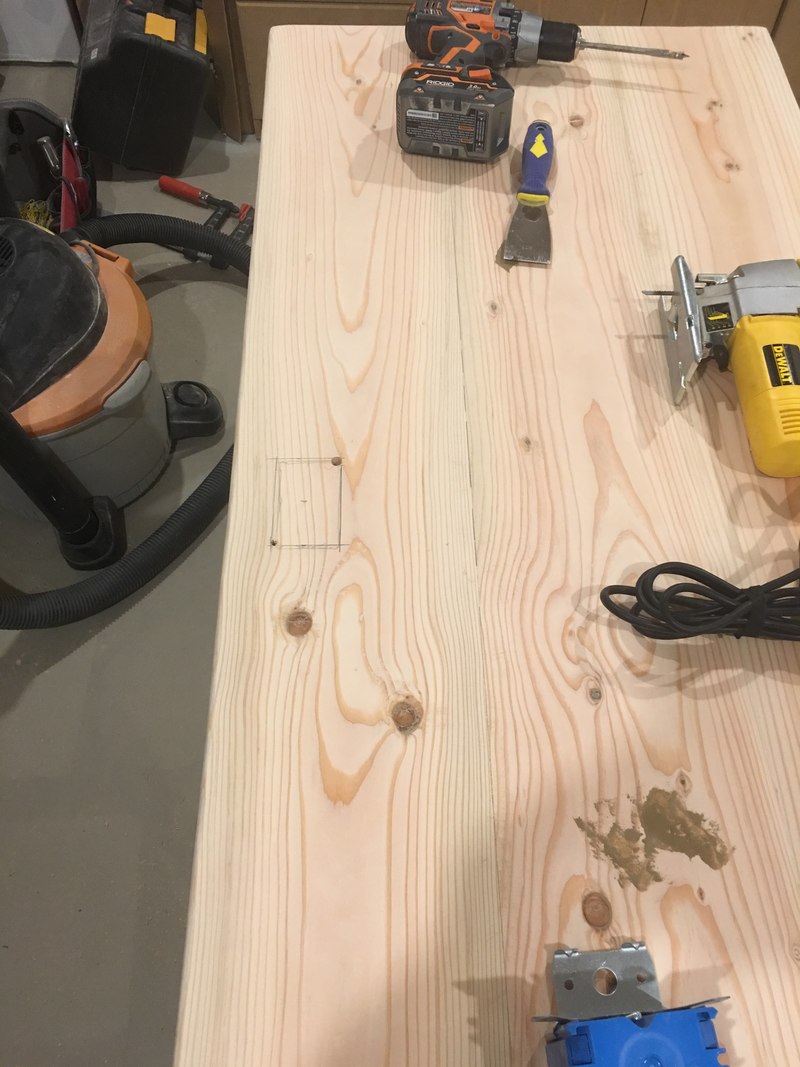
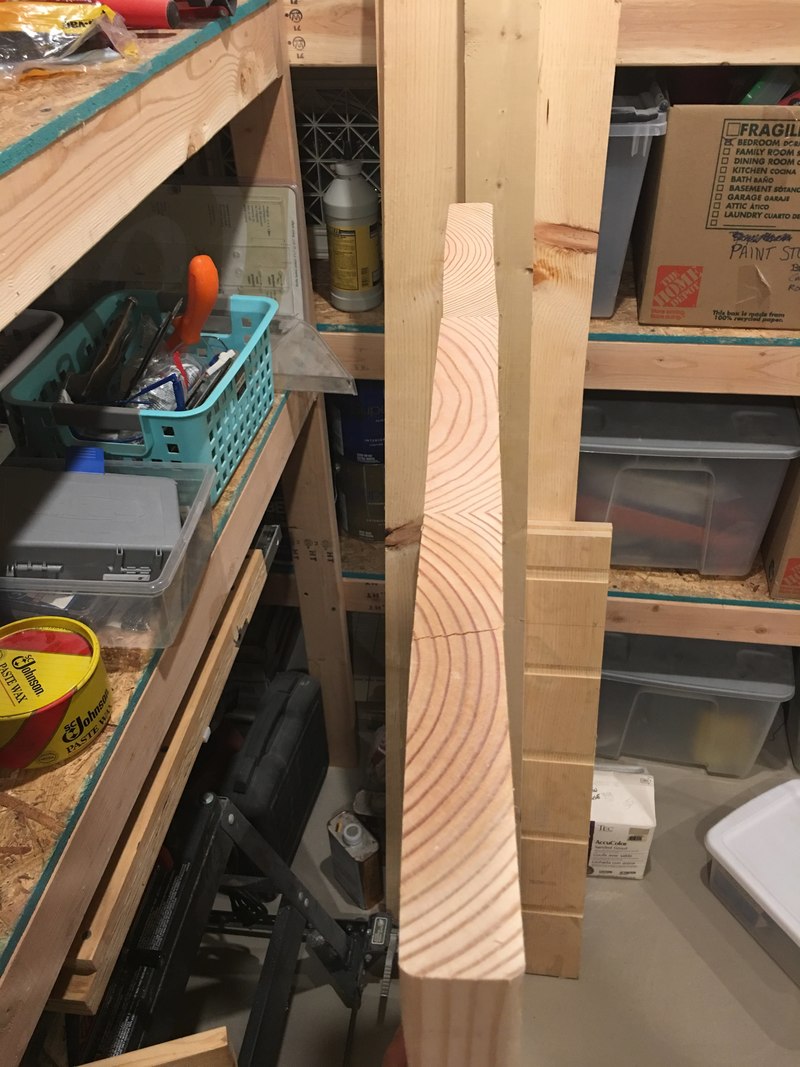
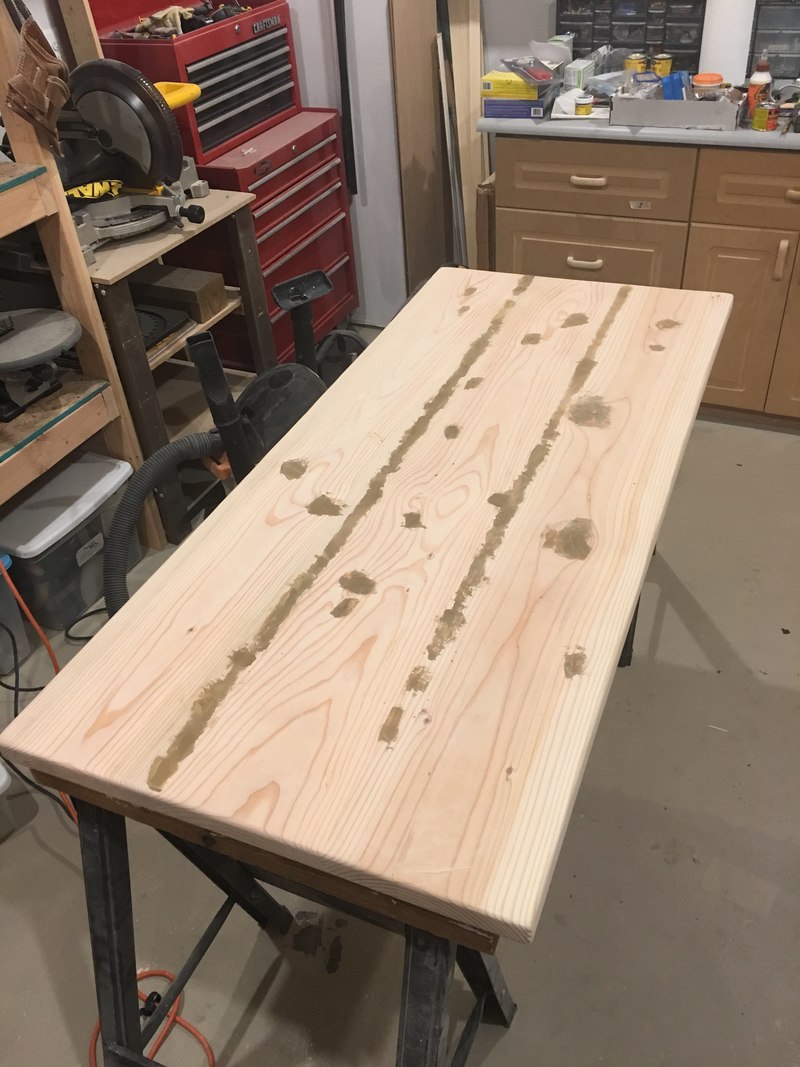
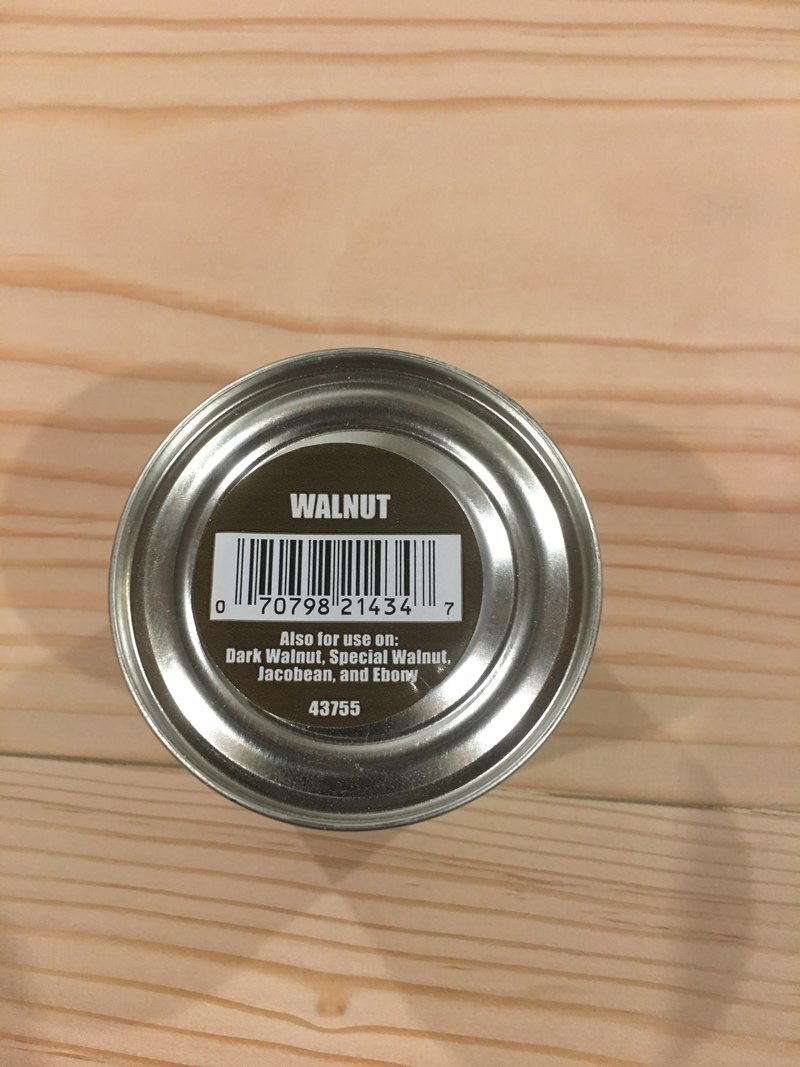
You can see from the picture below on the left that I had quite a bit of sanding ahead of me. I also decided to fill all of the imperfections and gaps with wood putty. I used a walnut color since I was staining the desk a dark color.
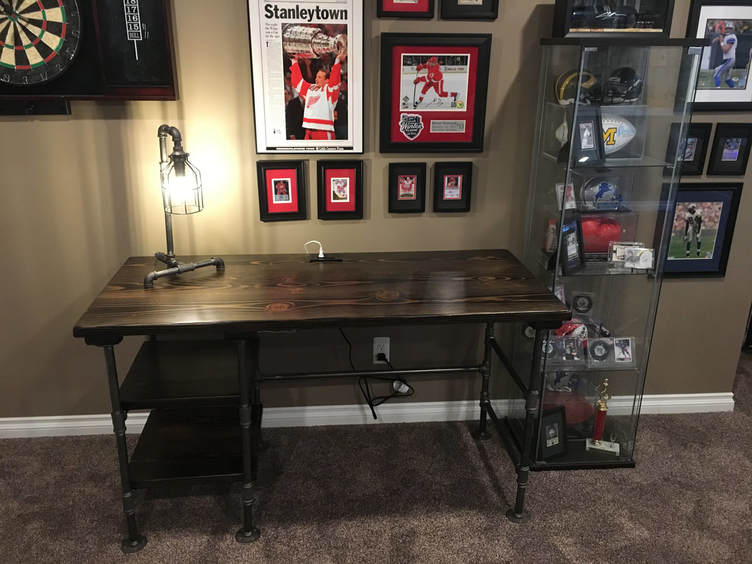
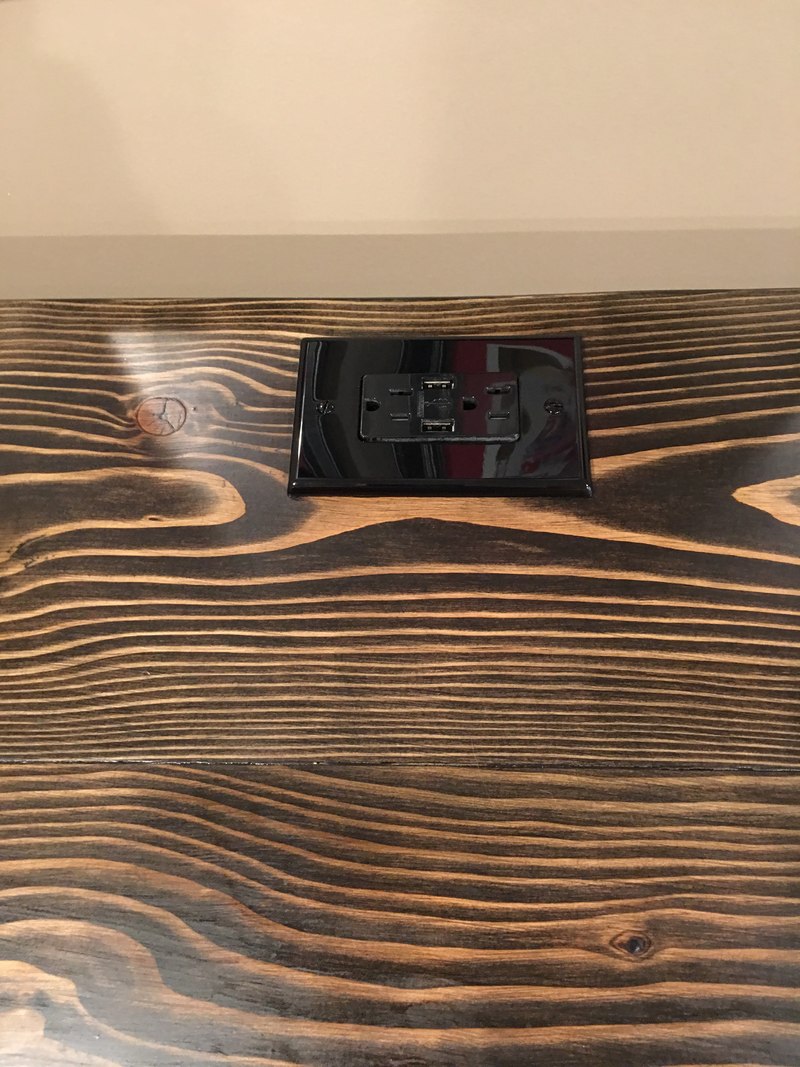
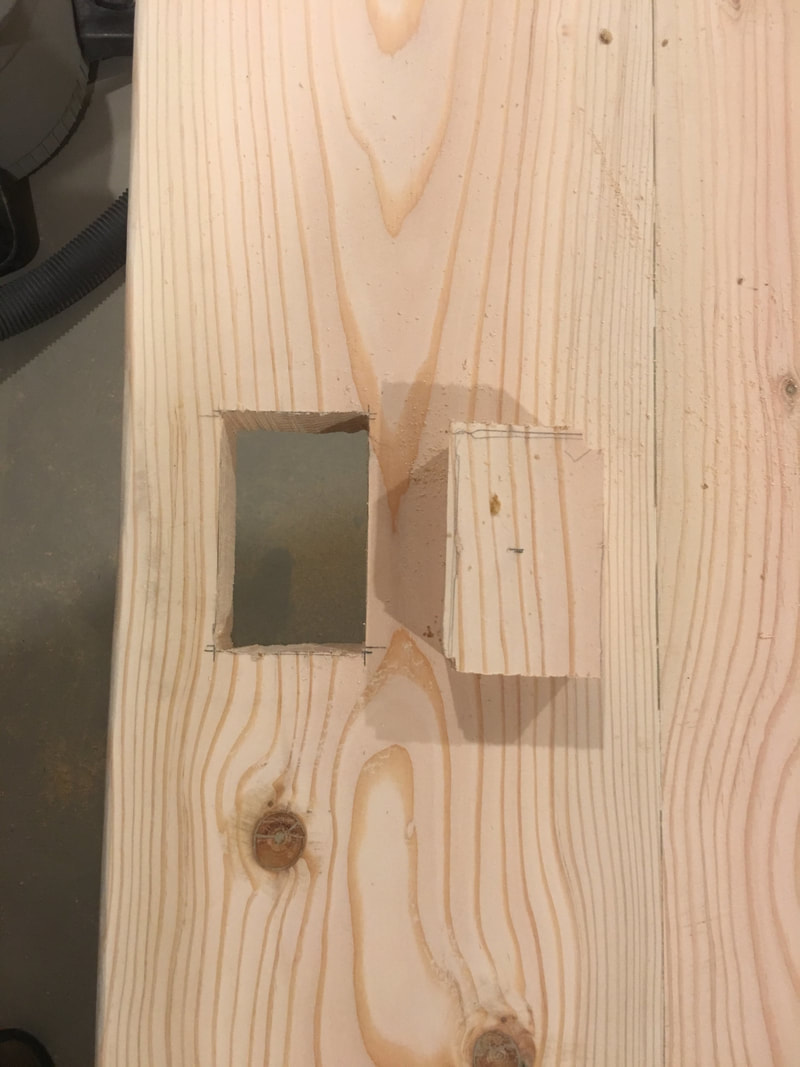
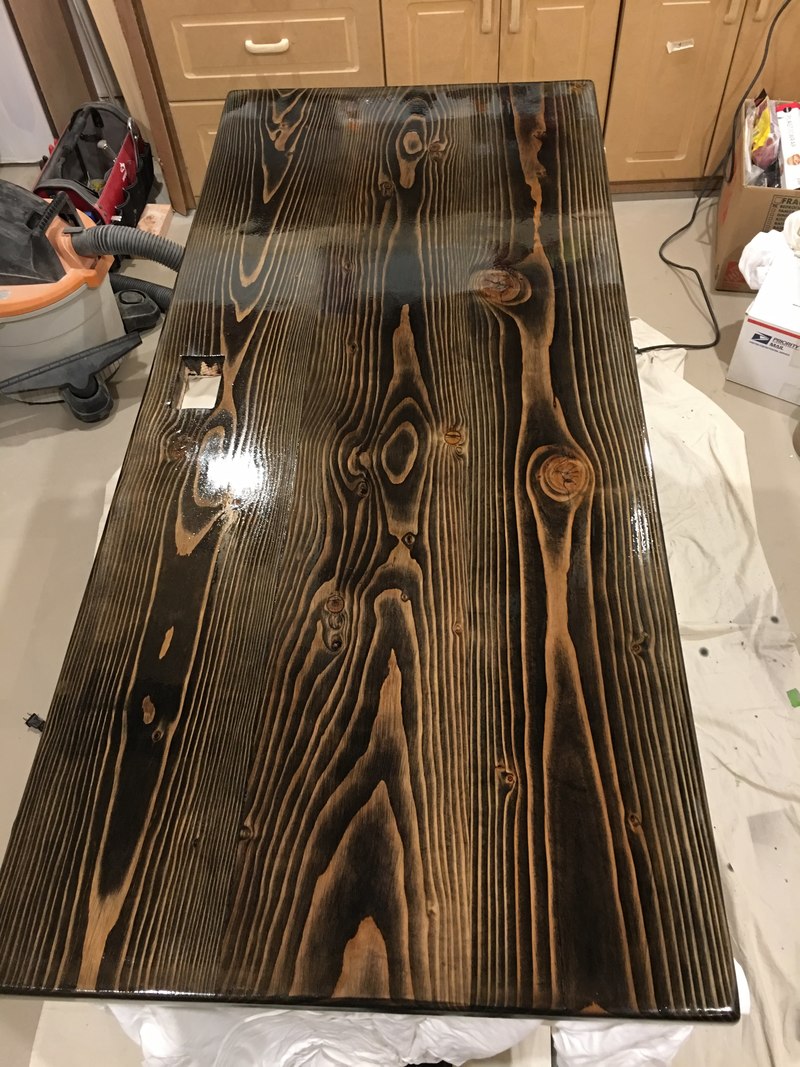
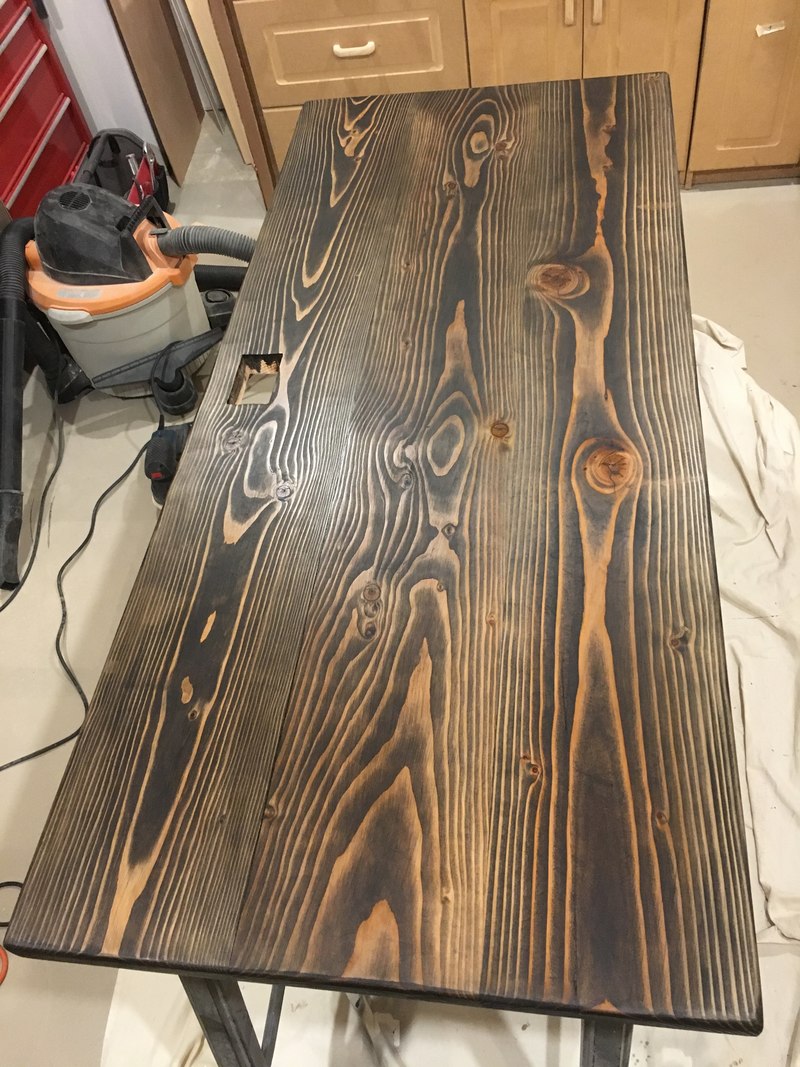
This desk is getting built-in outlets and USB ports so I needed to cut out the opening for the gang box. I chose an adjustable gang box which allowed me to mount it to the bottom of the desk top. The box is installed once the desk top is stained and assembled to the legs. A strain relief can also be added to the metal box, which I will explain later.
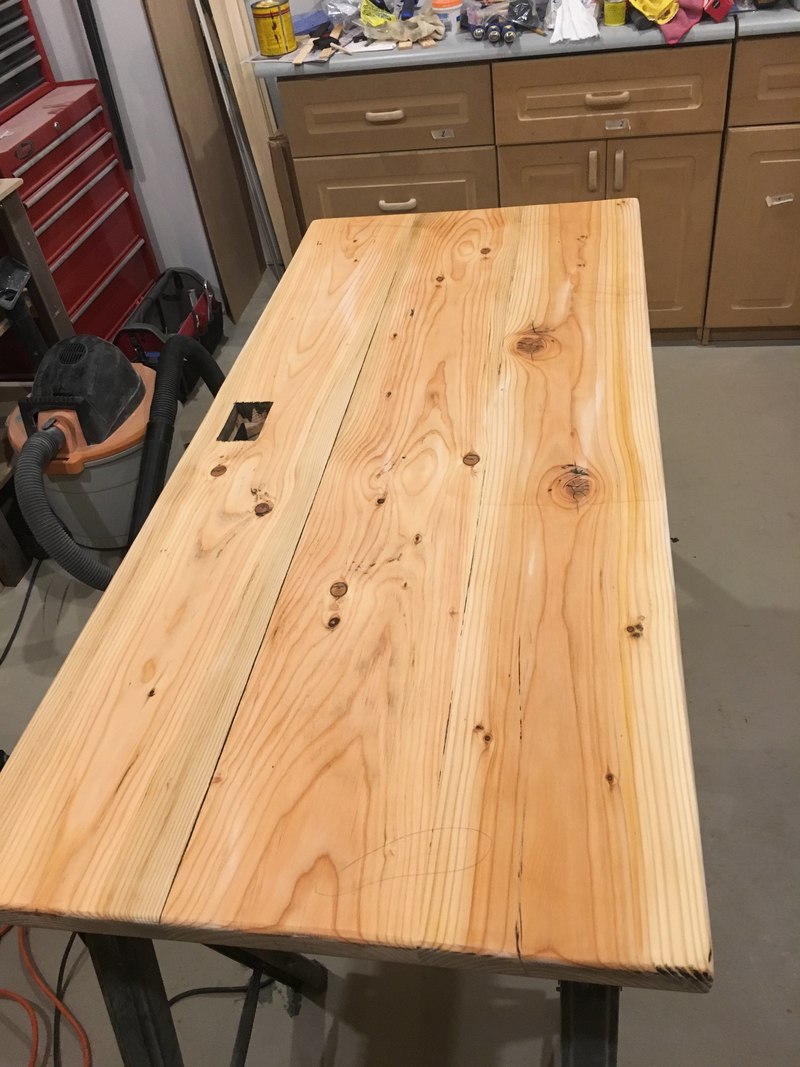
After the table top was sanded with 80, 120, and 220 grit, it was cleaned and wiped with a tack cloth. I applied pre-stain conditioner, which is good to use on pine, and applied two coats of stain (one coat on the bottom).
I also applied three coats of satin clear coat to the top, and one coat to the bottom. The picture below is of wet clear coat.
It was time to move on to the pipes and fittings and assembling the legs.