This site contains affiliate links to products. A commission may be received for purchases made through these links. This site is also a participant in the Amazon Services LLC Associates Program, an affiliate advertising program designed to provide a means for us to earn fees by linking to Amazon.com and affiliated sites.
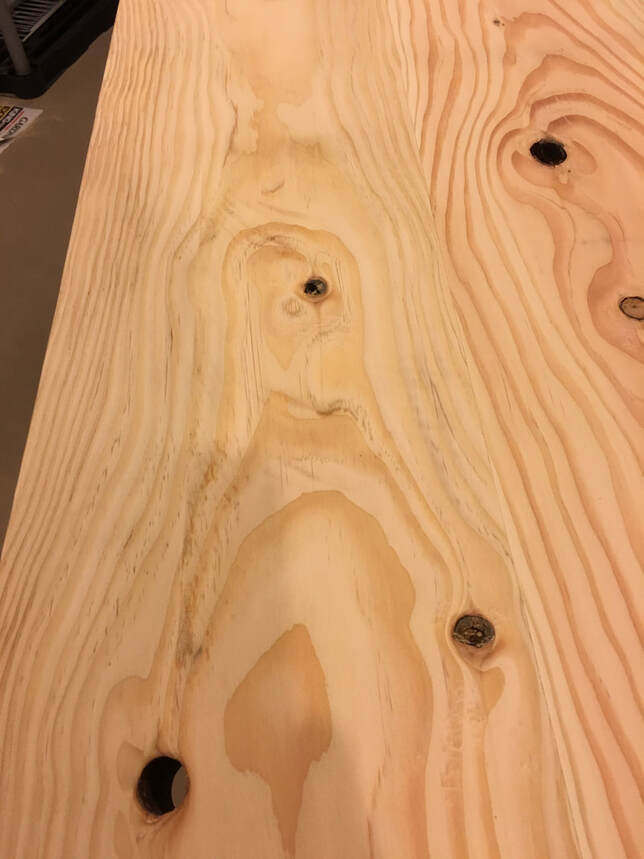
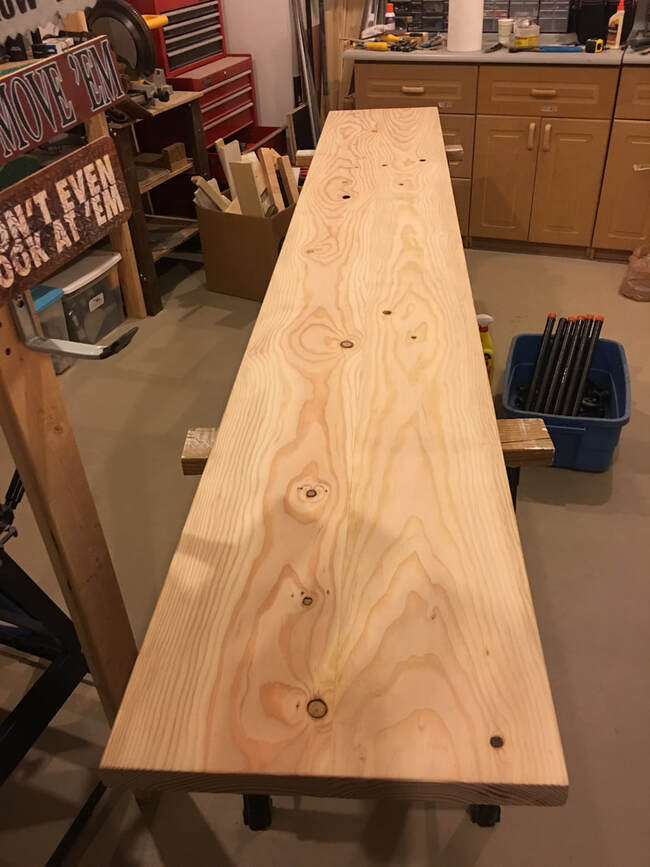
I had a few knots that I needed to glue in because they were loose. I also had a few that fell out and my first intention was to glue them back in. However, when I realized one of the knots was missing I decided to leave a couple of them out. The holes in the table look great and add to the rustic character.
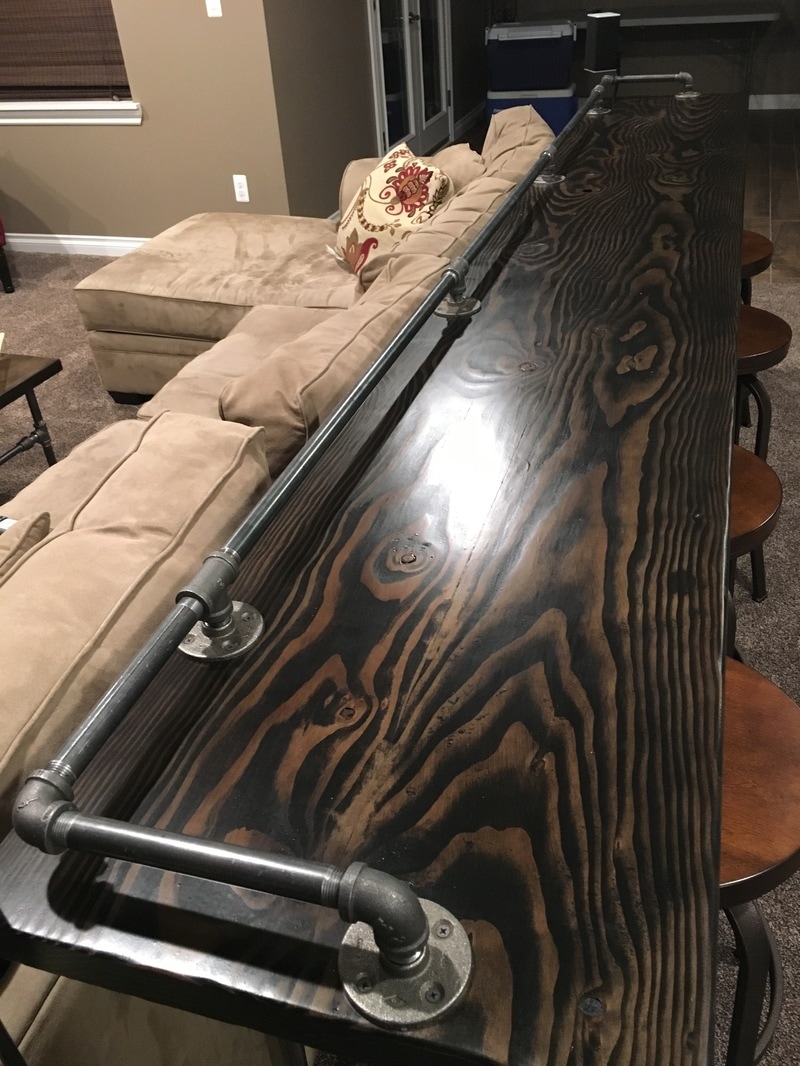
Once it was completely sanded it was tough to see the joint between the boards. It was now ready for staining and finishing.
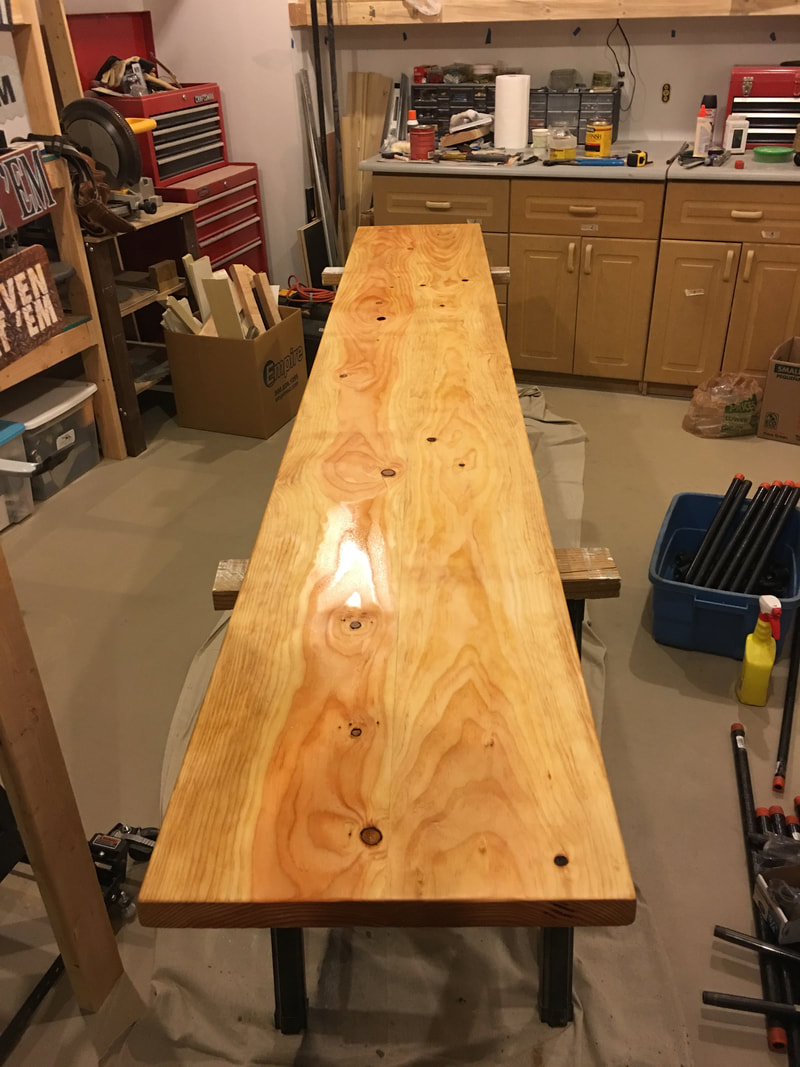
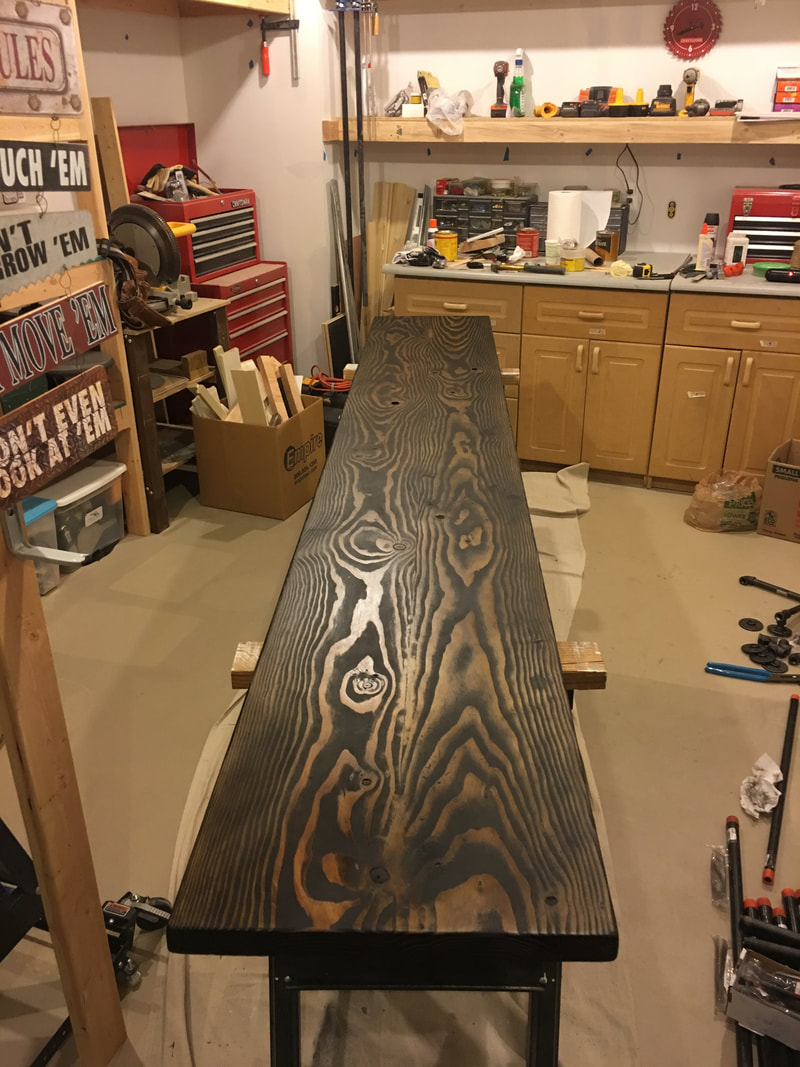
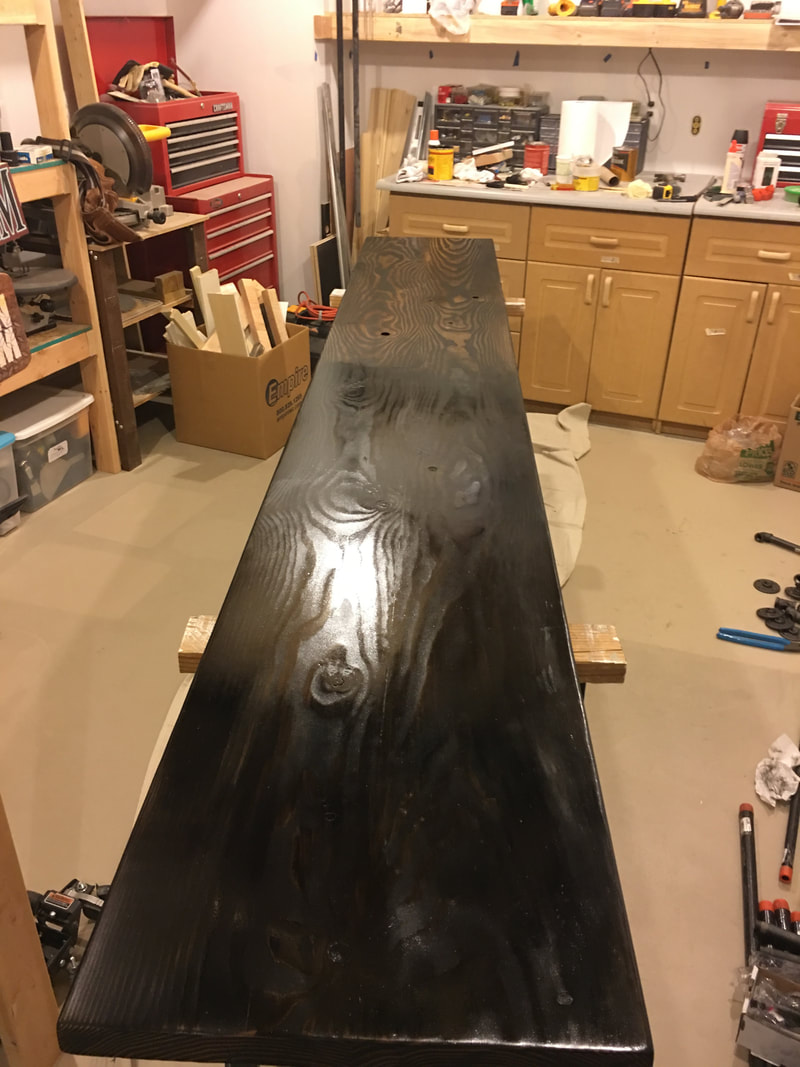
I won't get into a lot of detail here regarding the finishing of the wood. I used wood conditioner before I stained. Just follow the instructions on the can. I put two coats of stain and three coats of polyurethane satin finish. We can now move on to the pipe legs and rails.
Part 2: Pipe Legs and Rails
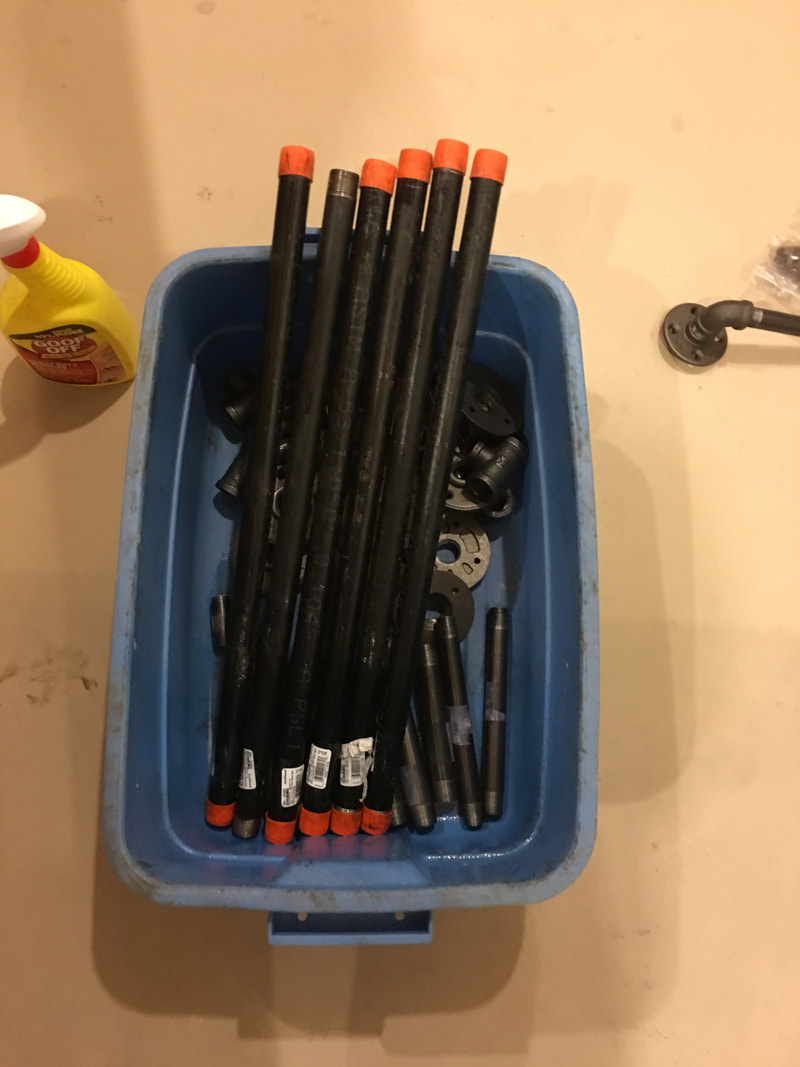
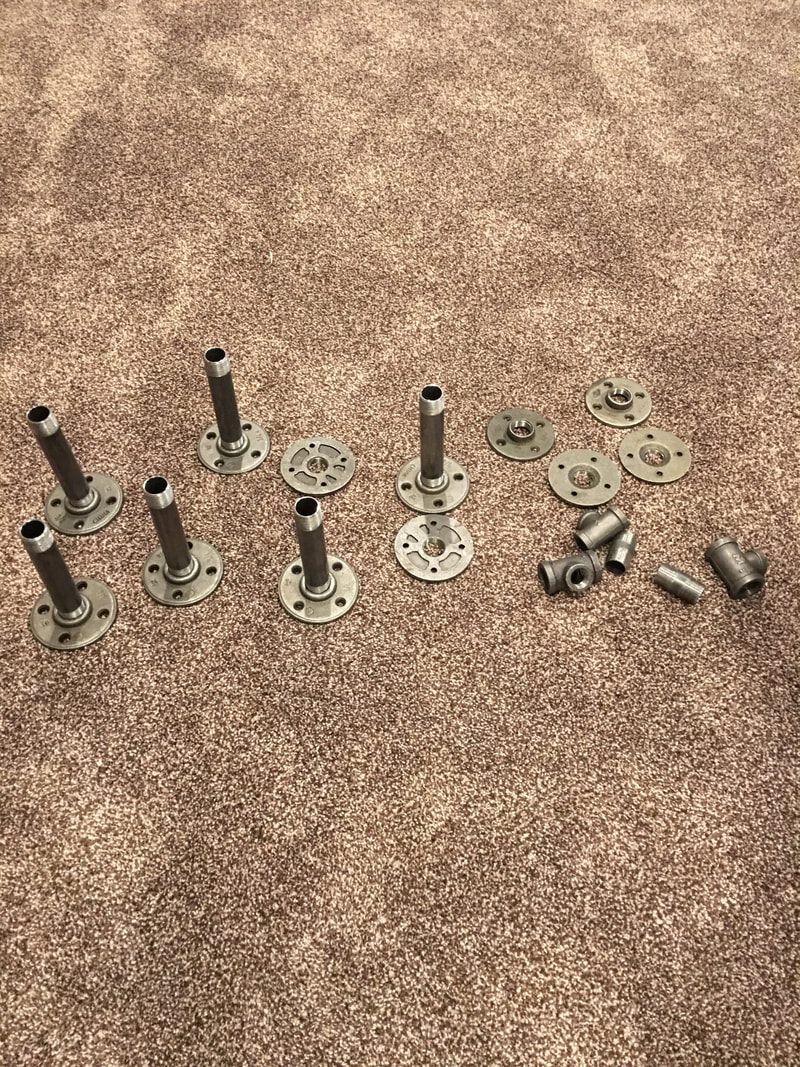
Putting together the legs and rail were a bit of trial and error. So, I bought several lengths of pipe and pipe nipples and put them together to determine what I needed. Once I had a pretty good idea of the pieces I needed, it was time to clean the pipes and fittings.
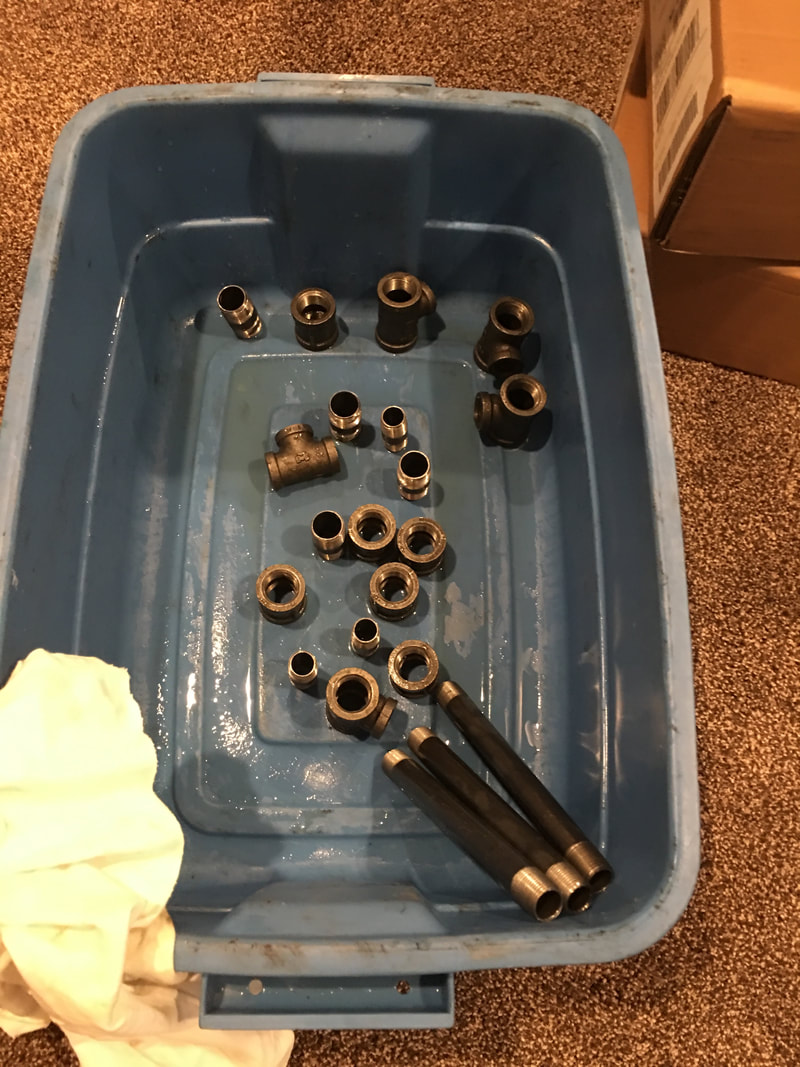
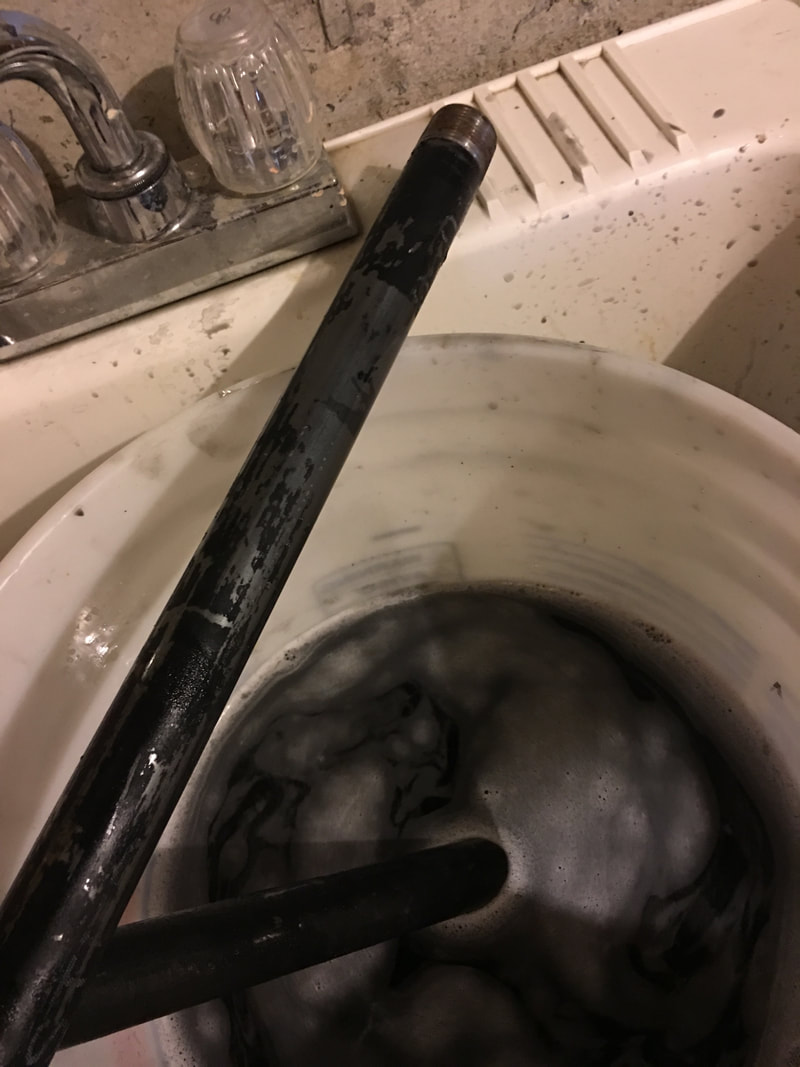
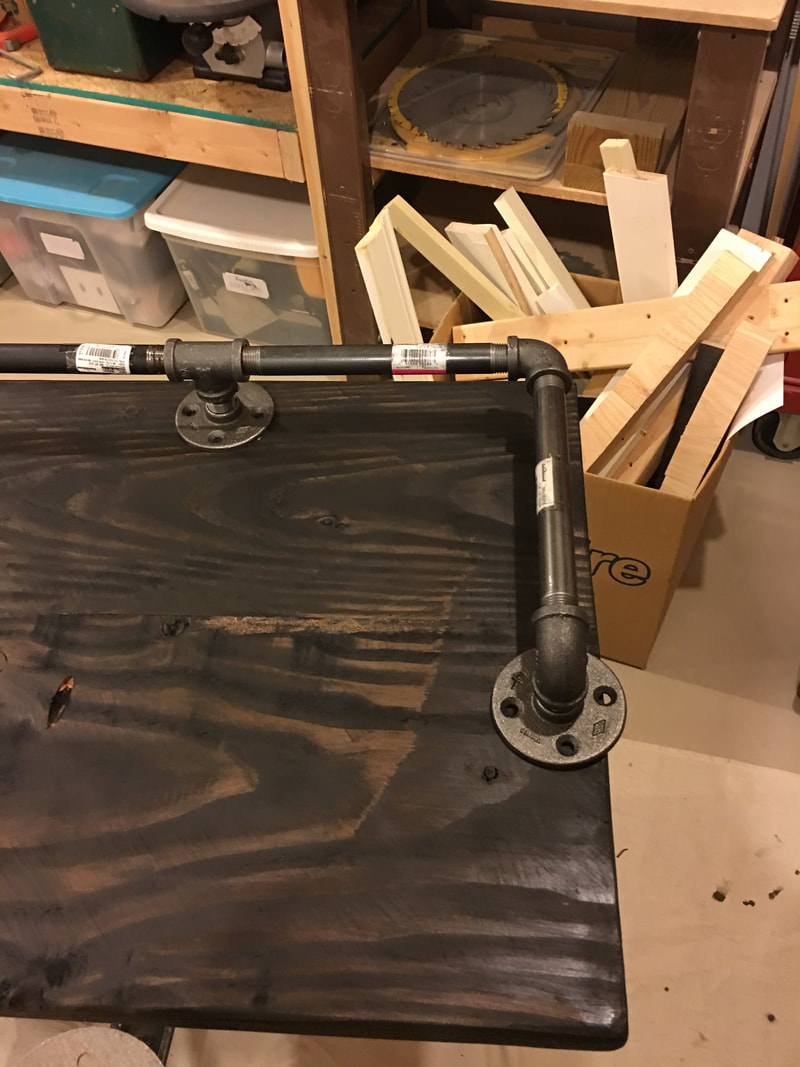
All of the pieces need to be cleaned. They have some sort of oil on them. Some of the longer pipe nipples that don't come in a bag have stickers on them. The long pieces of pipe have a black coating on them. This was the worst part of this project and took me a long time. I soaked the fittings in warm water with TSP and that removed almost all of the surface oil. I scraped the stickers off of the pipe nipples and sprayed them with Goo Gone. This stuff removes stickers pretty well but you need to first remove the tape over the stickers. To remove the coating on the pipes, i filled a bucket with warm water and TSP and used the back of a sponge (scrubber part) to remove the gunk. This took a long time and several passes. I also needed to use a putty knife to scrape off some of the gunk.
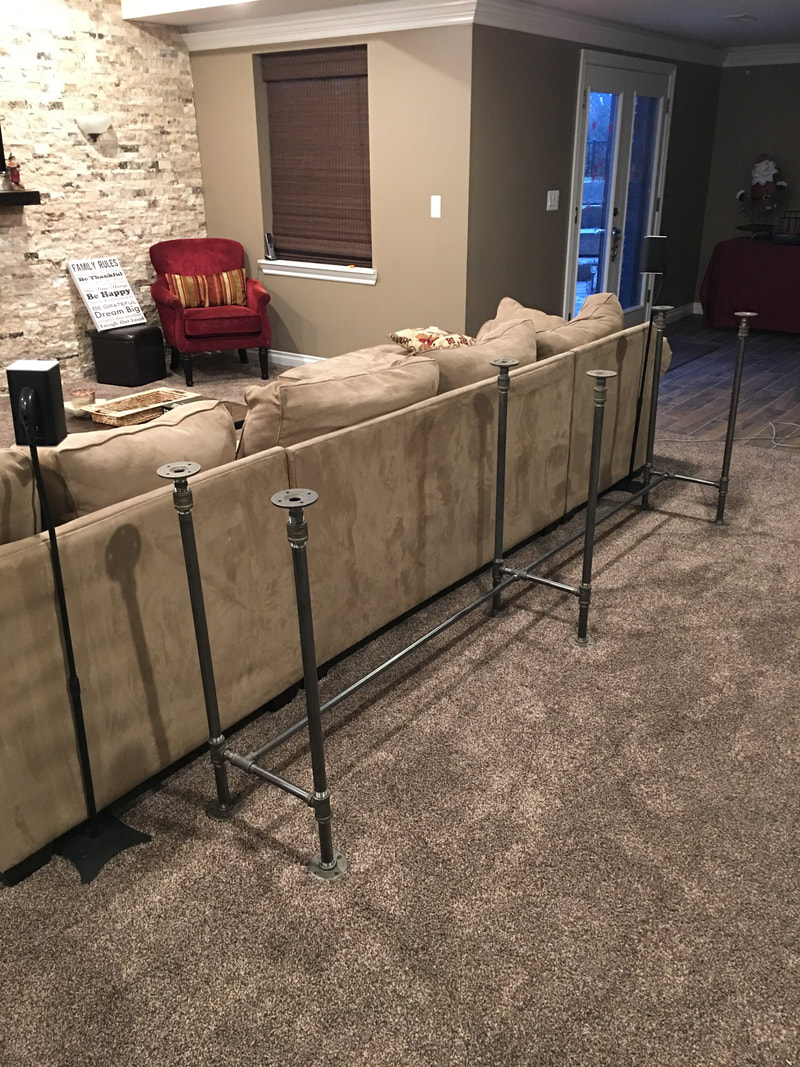
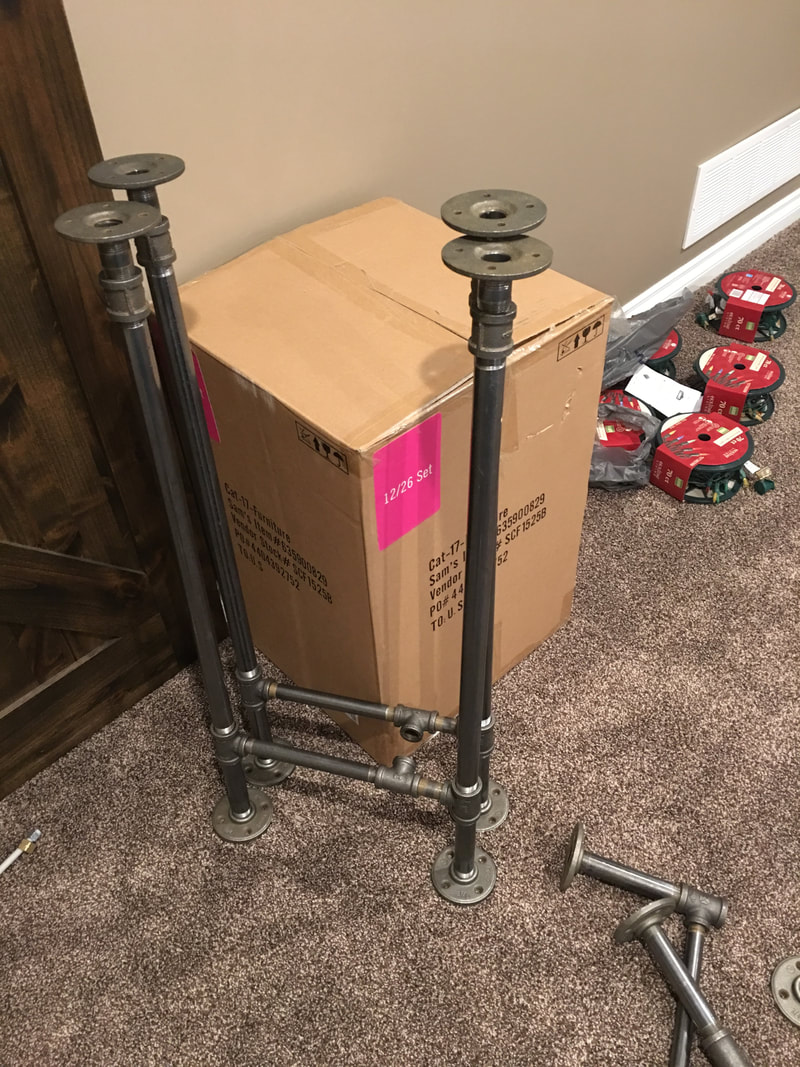
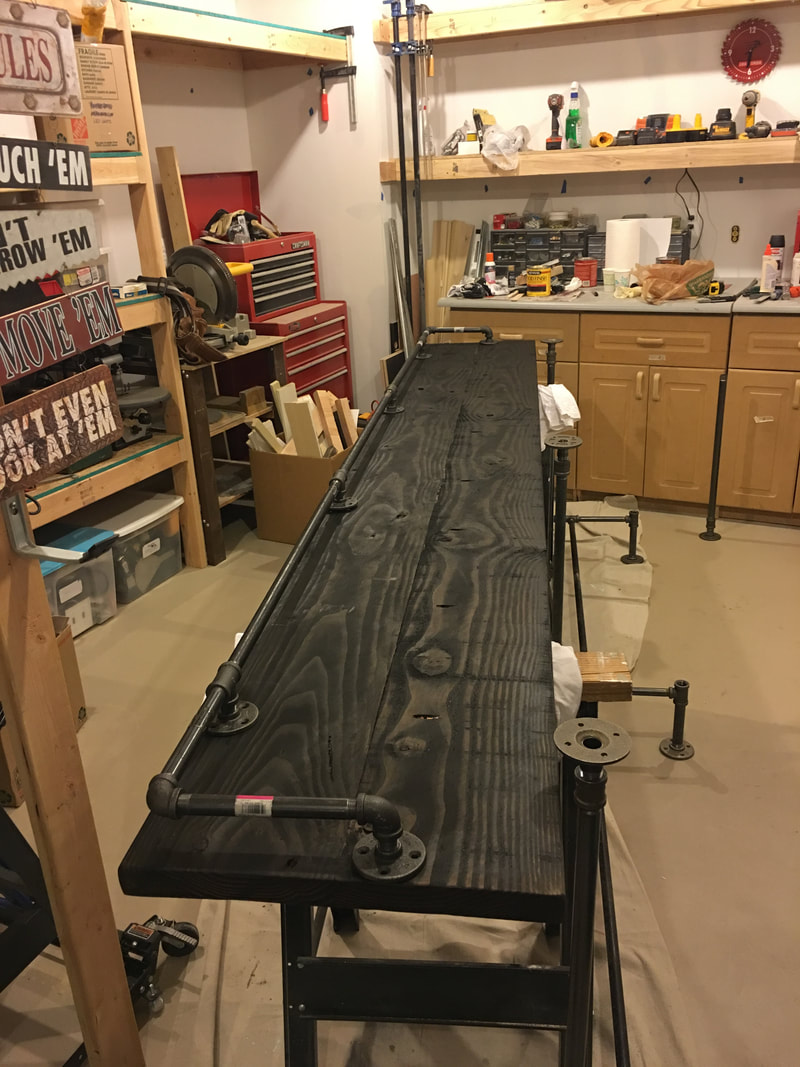
Assemble the parts and tighten them by hand. Check that the assemblies are all relatively the same length. You don't want legs of different lengths. When I first put together the legs I used two 6" pipe nipples for the cross member and they were too wide. I changed the pieces to an 8" and 2" pipe nipple and the width was perfect (I did this before I cleaned the pieces). Once I completely assembled the base, I placed it near the top to make sure it would fit properly underneath.
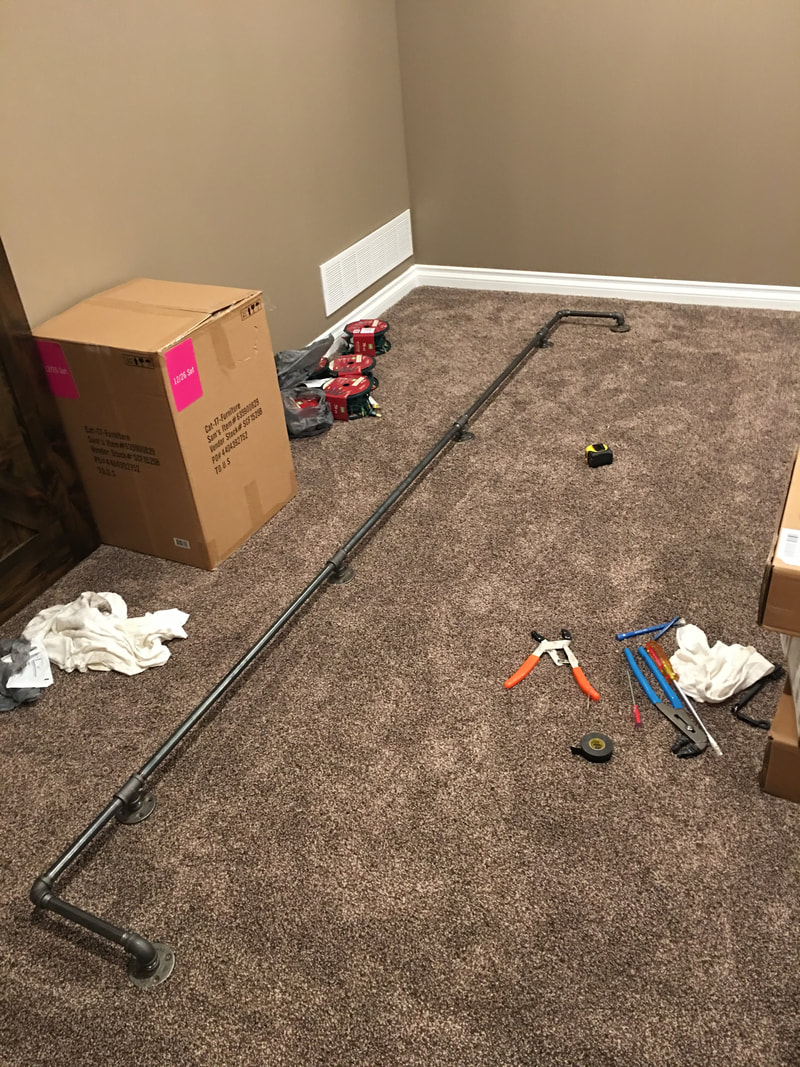
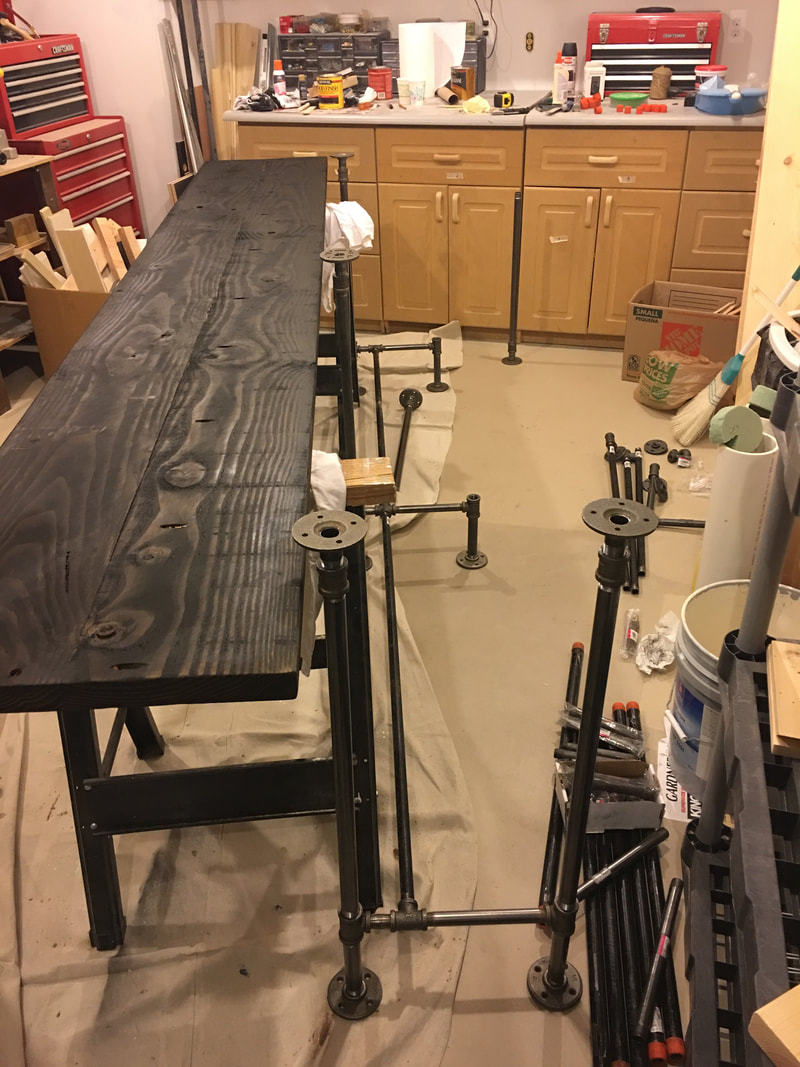
When I first put the rail together, it was not the correct length. However, if I changed any of the pipes to a shorter length I thought it would be too short. So, I laid out all the pieces and I used some paste wax on the threads to make it easier to thread together. With some brute force and some big wrenches, I was able to tighten the pieces enough to shorten the assembly to the perfect length.