This site contains affiliate links to products. A commission may be received for purchases made through these links.
Part 1: Wood Top & Shelf
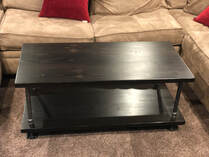
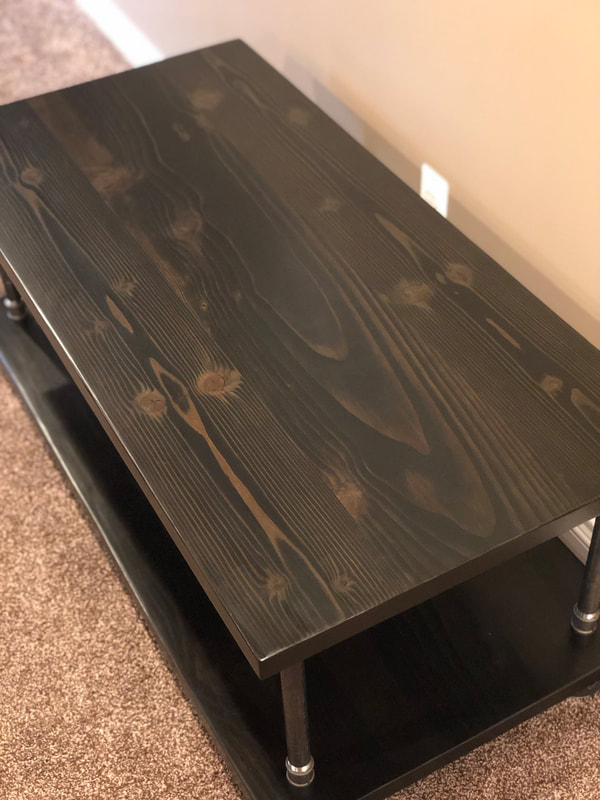
My son recently moved out and asked me to build him a coffee table. He provided the size and color and specified that he wanted a shelf. I scoured the internet for some ideas, and to be honest, I did not love the designs of the coffee tables I saw with a shelf. So, I cam up with my own design, which I think looks pretty cool.
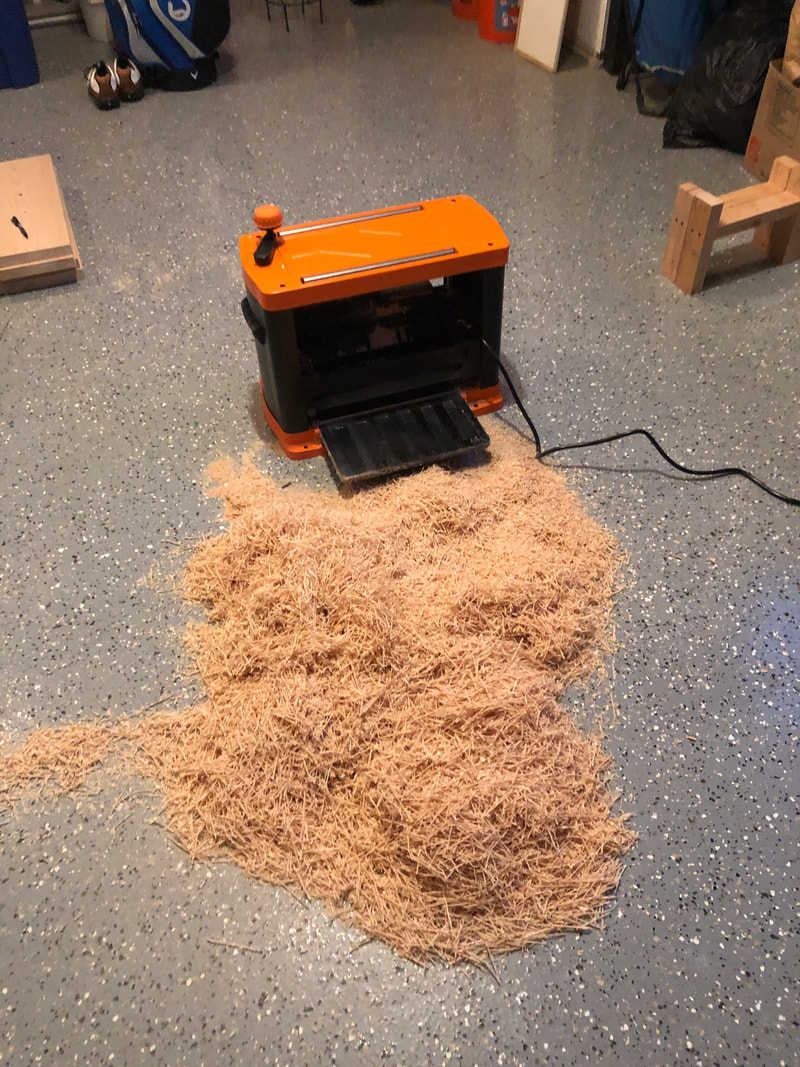
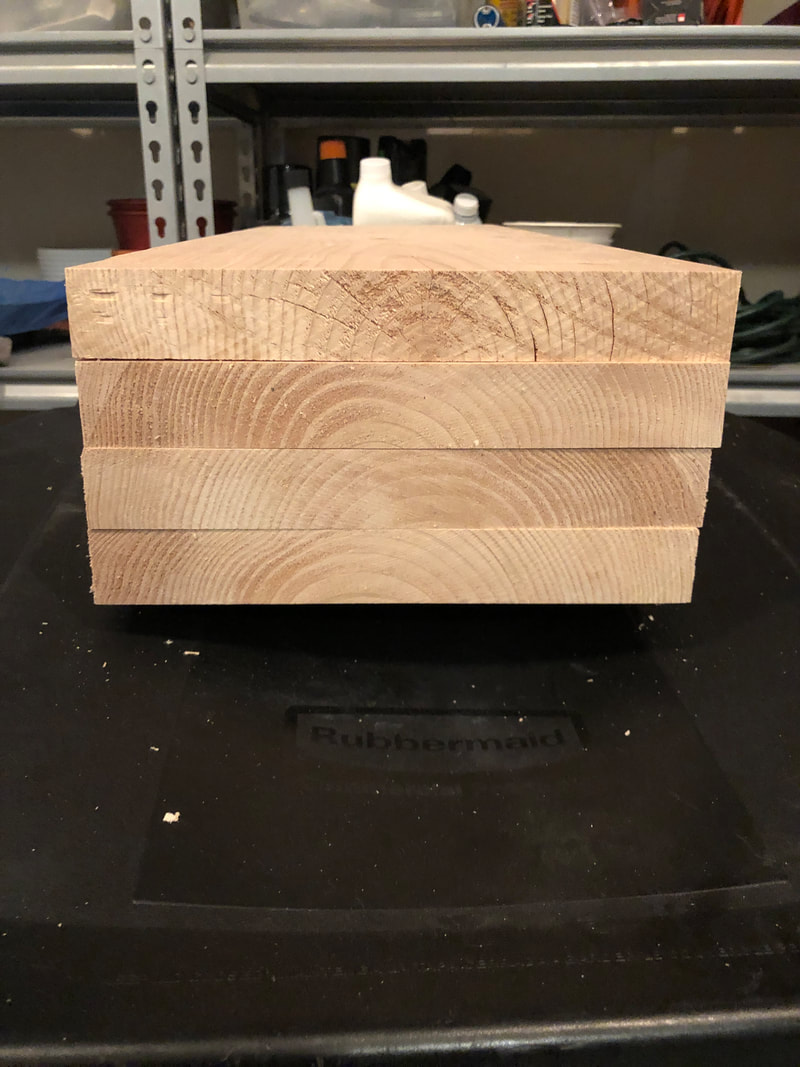
As stated in several of my other DIY instructions, the point of these instructions is to give you some ideas and show you how to put them together. I will skip the details on how to cut, glue, sand and stain the wood tops. You can can check out some of my other project for more details and there are a lot of experts out there on the internet that can help you. My son wanted the coffee table to be 44" long x 24" wide x 19" tall. Since I recently made the media table you see on this site, I was able to look at an example that was similar. I needed to figure out how far off the ground the shelf should be, which drives how much space between the shelf and top there will be. I decided on 3". I try to design my pieces to use wood the most efficiently. 44" was a good dimension since I could use 8 foot boards and cut them in half. I used 2x8 and 2x10 pine boards to get the width he wanted, with the 2x8's on the outside and the 2x10 in the middle. I now run all my boards through a planer and it makes things much easier. The boards align to each other much better, since they are the same thickness after planing, and there is less sanding because the surfaces were cleaned up with the planer and because the boards align better when gluing. After cutting the boards I noticed they were cupped. After running them through the planer you can see in the photo below that the stack of wood is pretty flat and uniform. I can't stress enough how much better this makes your glue-ups.
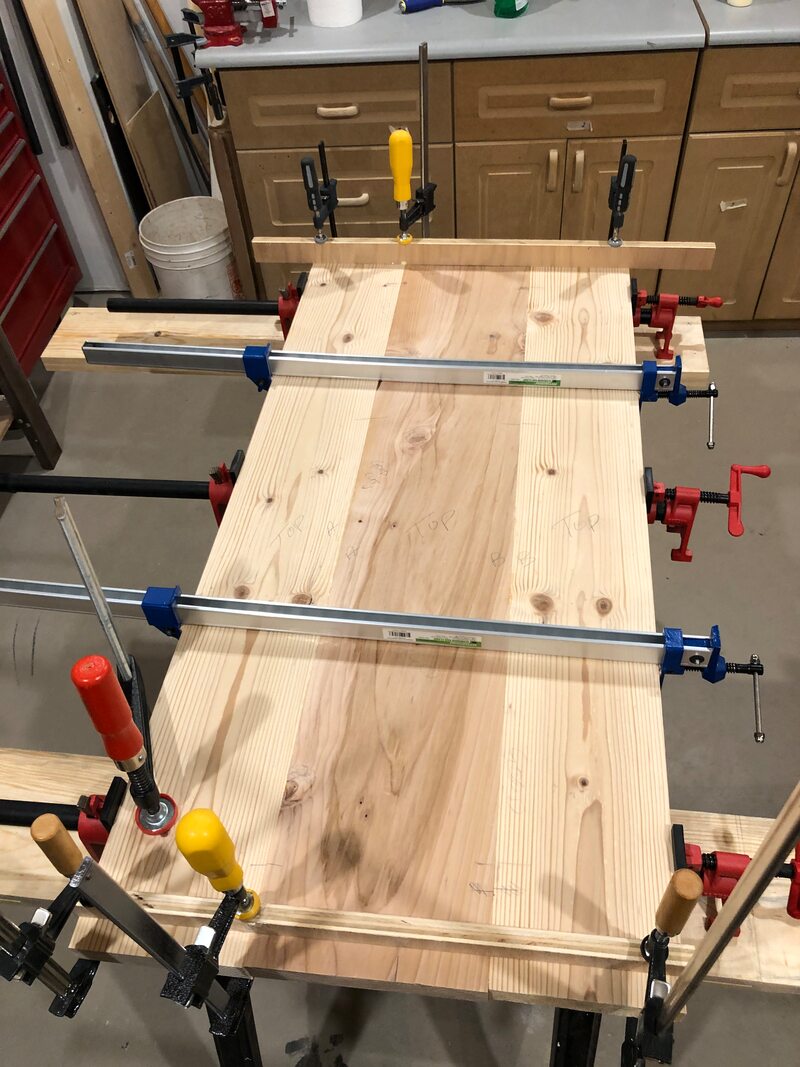
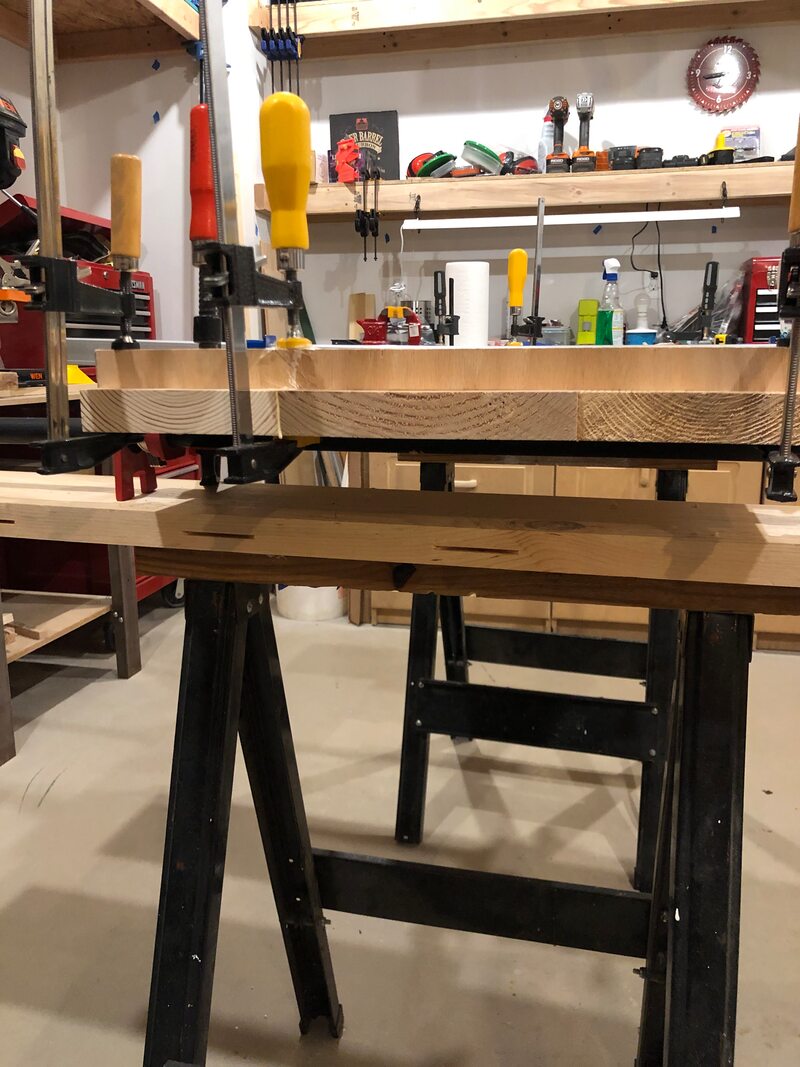
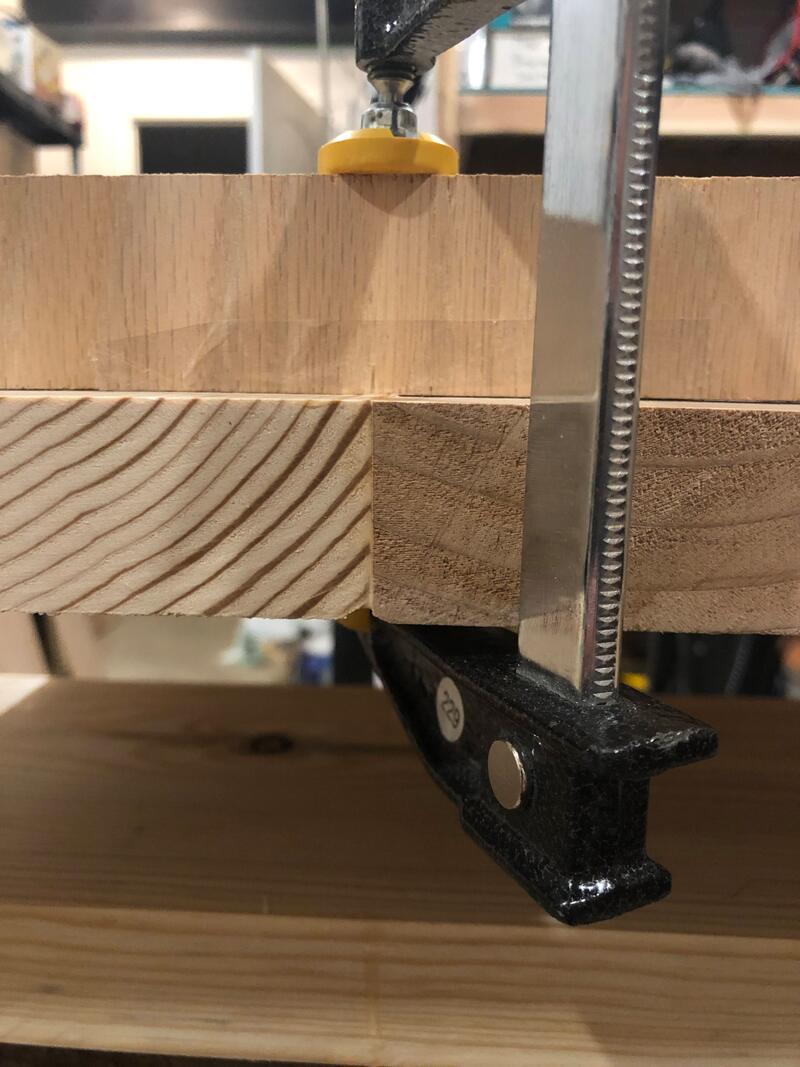
I did not take pictures of this part of the process but I did add biscuits before gluing the boards together. I find that it helps align the boards to each other. I glued up both the top and bottom and got all the pipe parts ready for assembly. The best part was since I was making this for my son, he had to clean all the pipes and fittings! You can see that the table top is pretty flat from the get go. This is not how my previous builds were and there was a lot of sanding. Not as much sanding this time. In fact, I did not need the belt sander at all. I just used a random orbit sander.
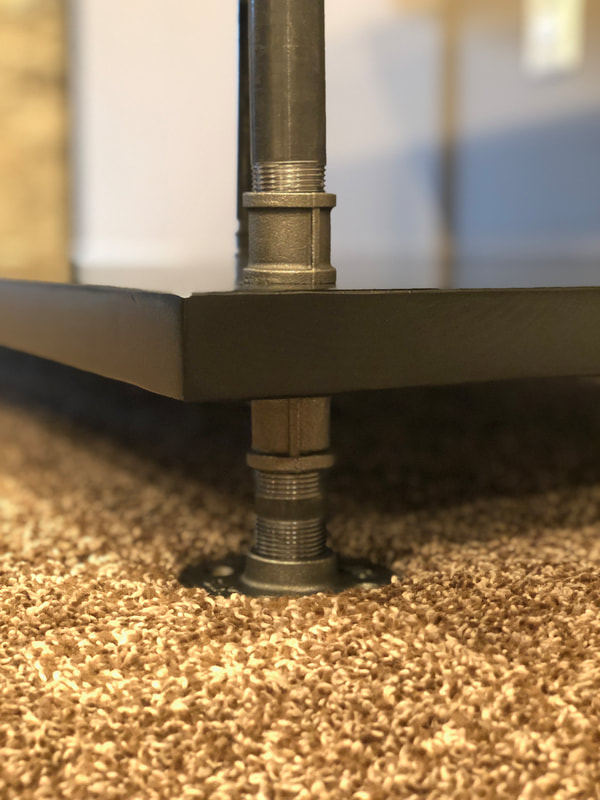
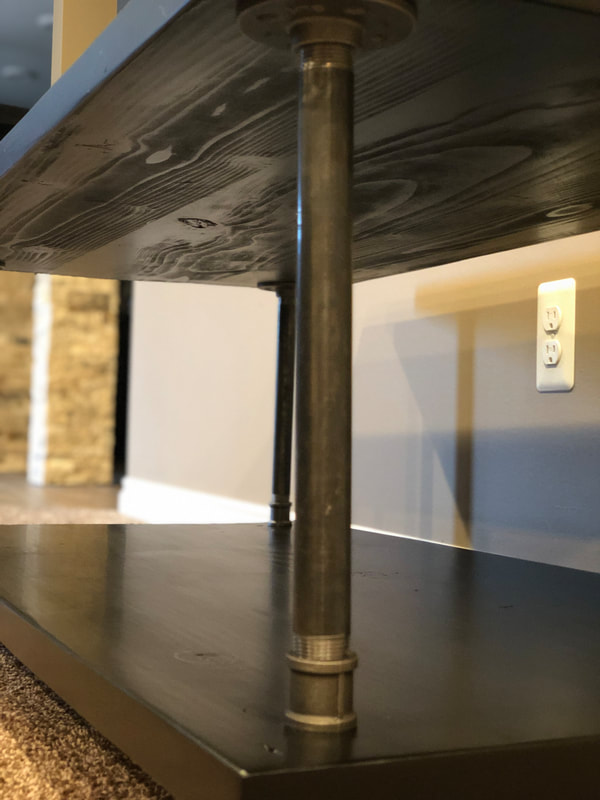
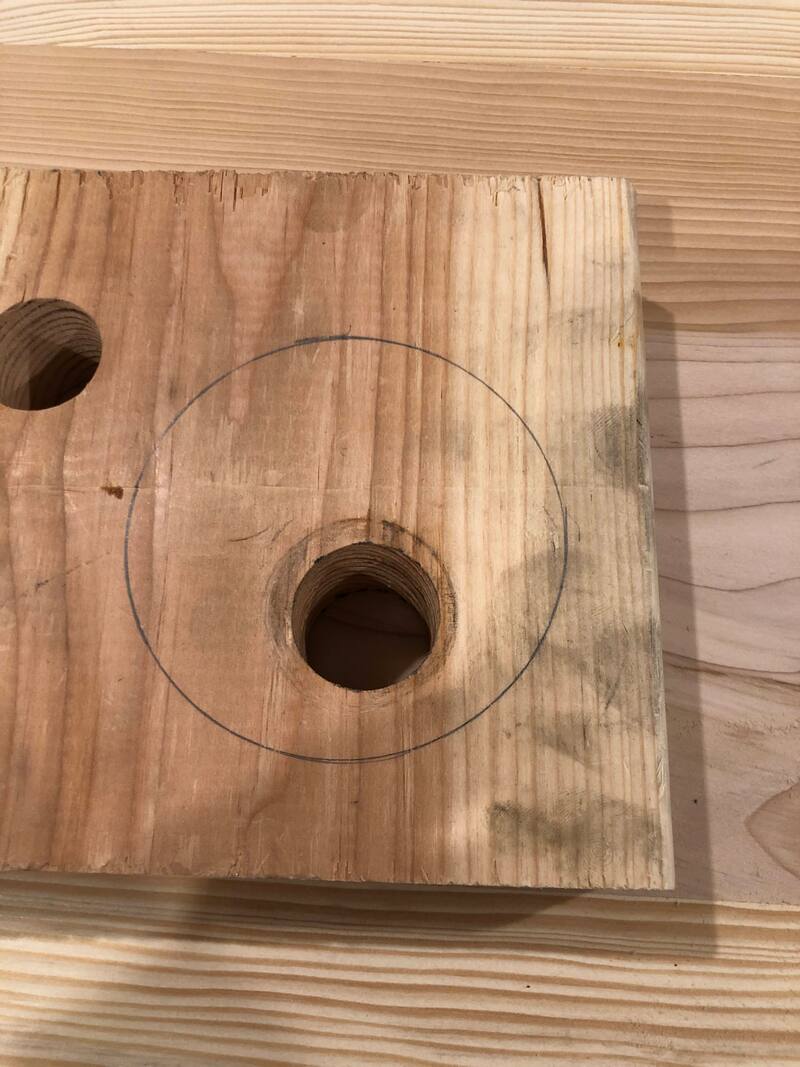
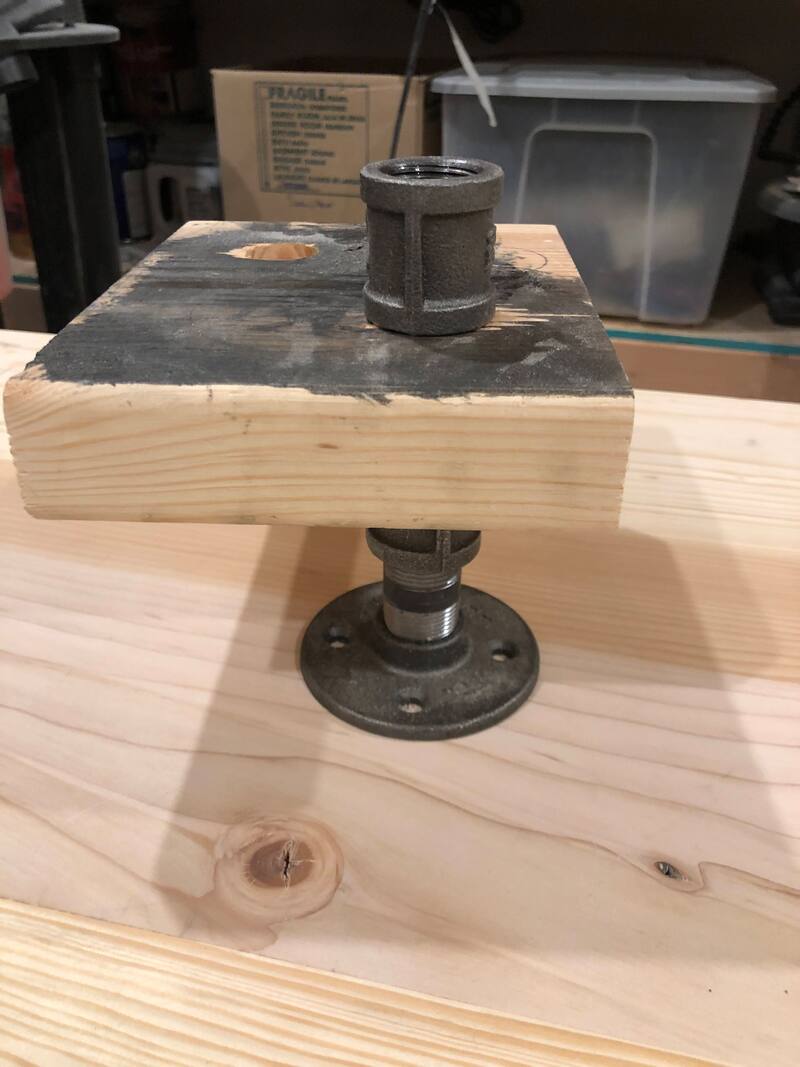
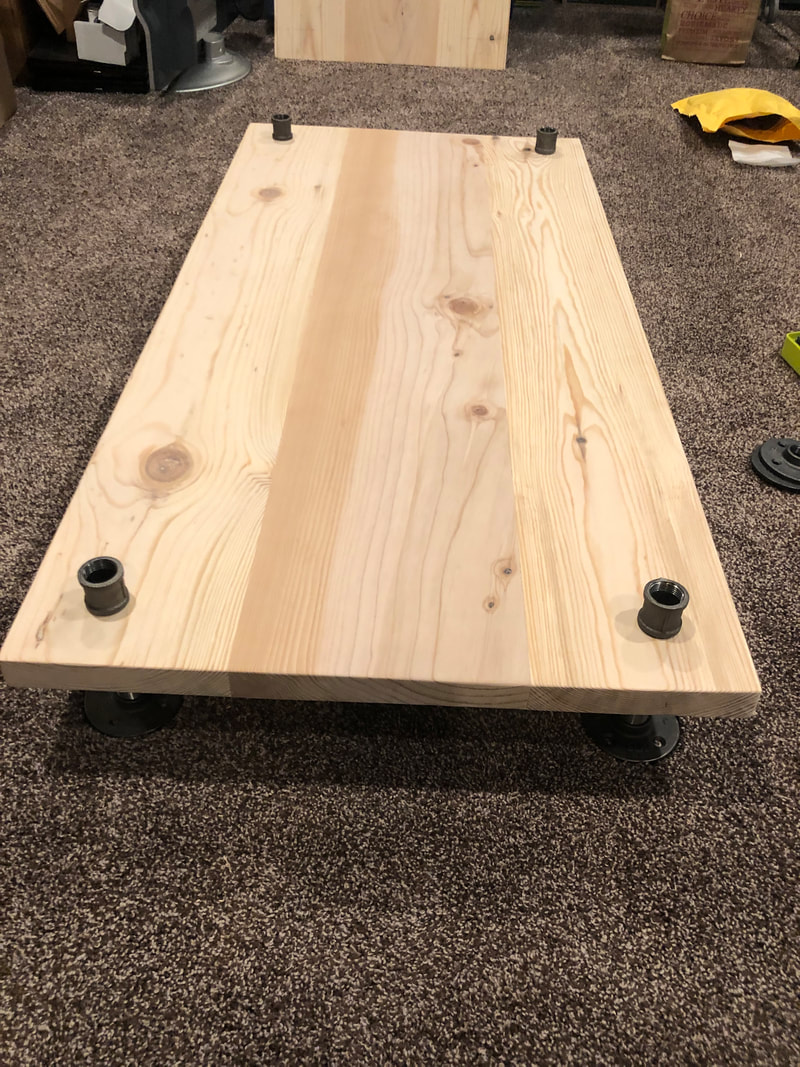
I was going to try something new regarding the legs and needed to run some tests. My plan was to run the legs through the shelf and hold them in place with couplers. I drilled a 1" hole on a piece of scrap 2x with a forstner bit and the pipe did not fit. I drilled another with a 1-1/8" bit and the pipe fit perfectly. I had bought a few size nipples since I did not know which would work the best with the couplers (1.5", 2" and 2.5"). It ends up that the 2.5" nipples work the best where the couplers can be screwed snug against the shelf to hold the leg tight.
I needed to drill 4 holes in the bottom shelf for the 4 legs. I used a combination square to accurately position the hole in the same location at each corner. Once again, I used a forstner bit to drill the holes as this leaves the cleanest hole. However, I wanted to reduce the tearout from the forstner bit so I drilled the hole partially from one side. Used a small drill bit to locate the center and drill through to the other side so I could find the center of the hole. I then finished the hole from the other side. The holes were nice and clean but on one hole I must have had the drill angled a bit because the holes from each side did not line up. It was off by just a bit and I knew the couplers would hide any imperfection with the hole.
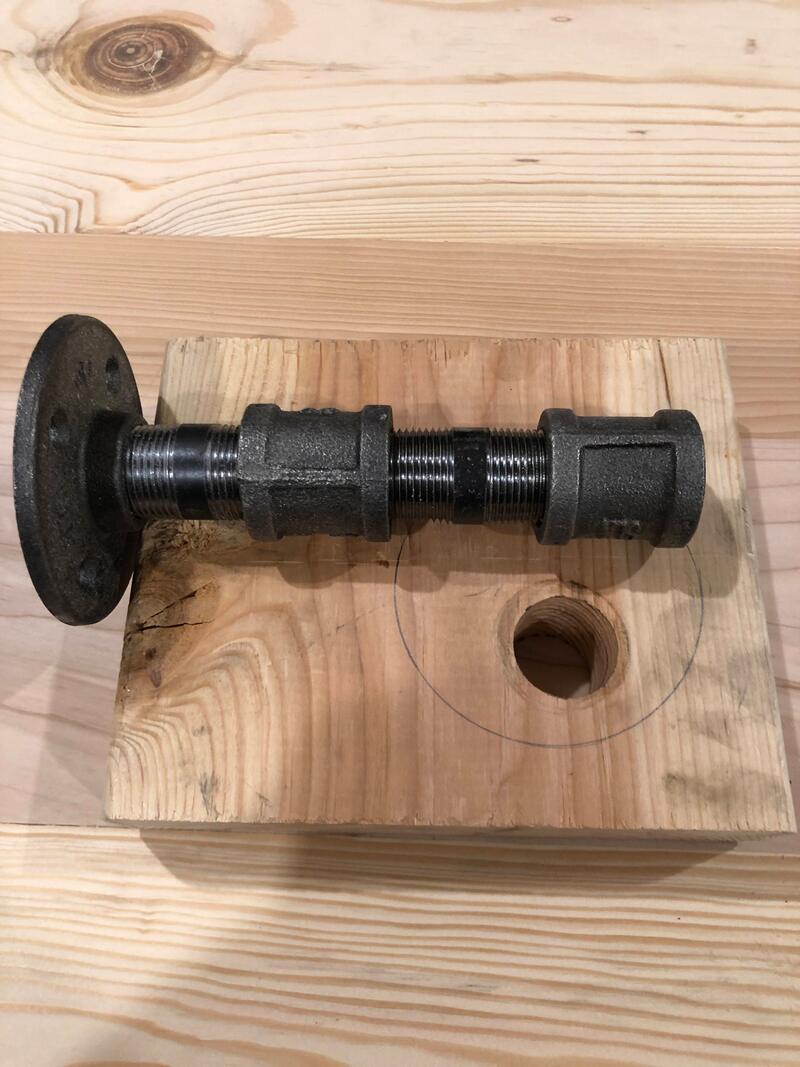
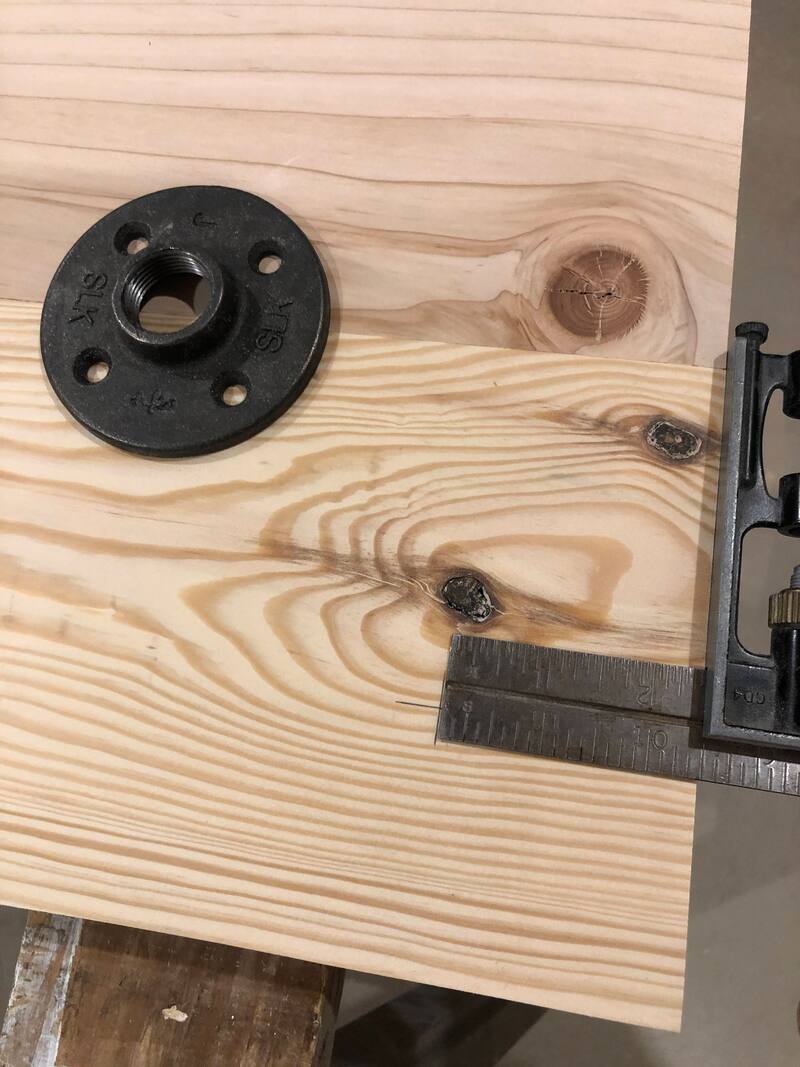
One other thing I did a little differently this time is buy some of the pipe fittings online from Amazon. I bought the couplers (see link below) and the flanges, and they were cheaper than the big box stores. However, the flanges were not as "beefy" as the big box store flanges and I did not like them (They has 3 mounting holes instead of 4 and the diameter was smaller). The couplers were a little bit smaller as well, but I thought they still looked good.
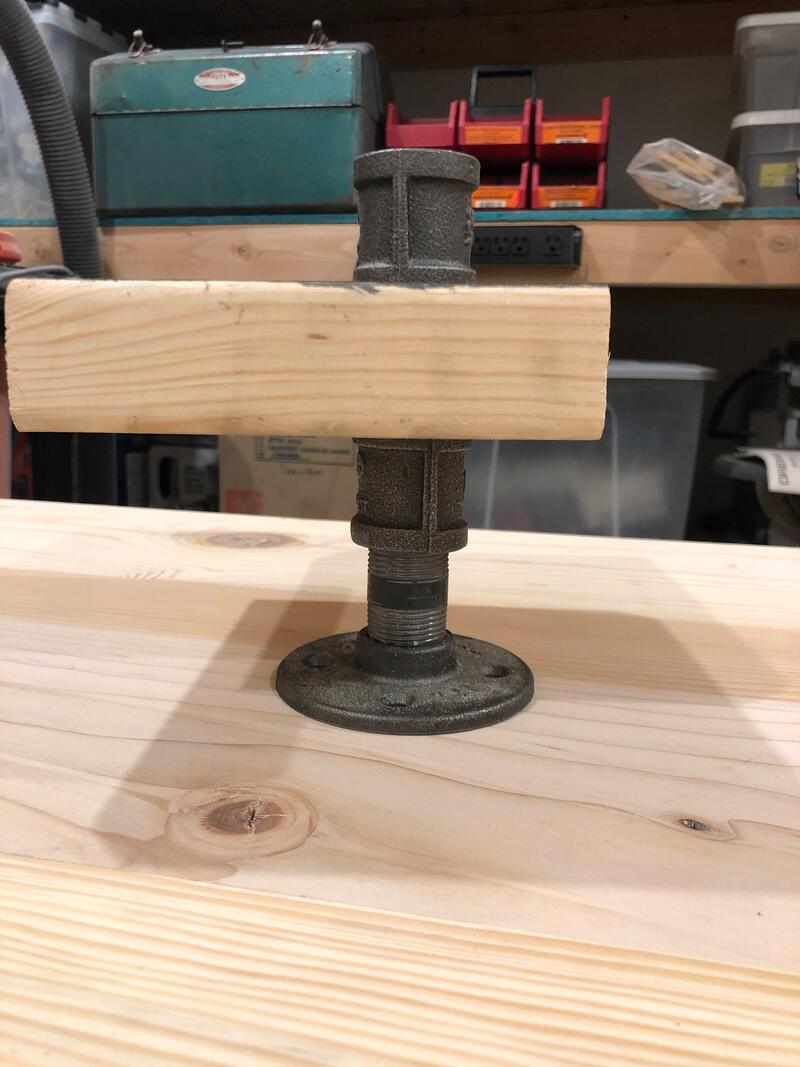
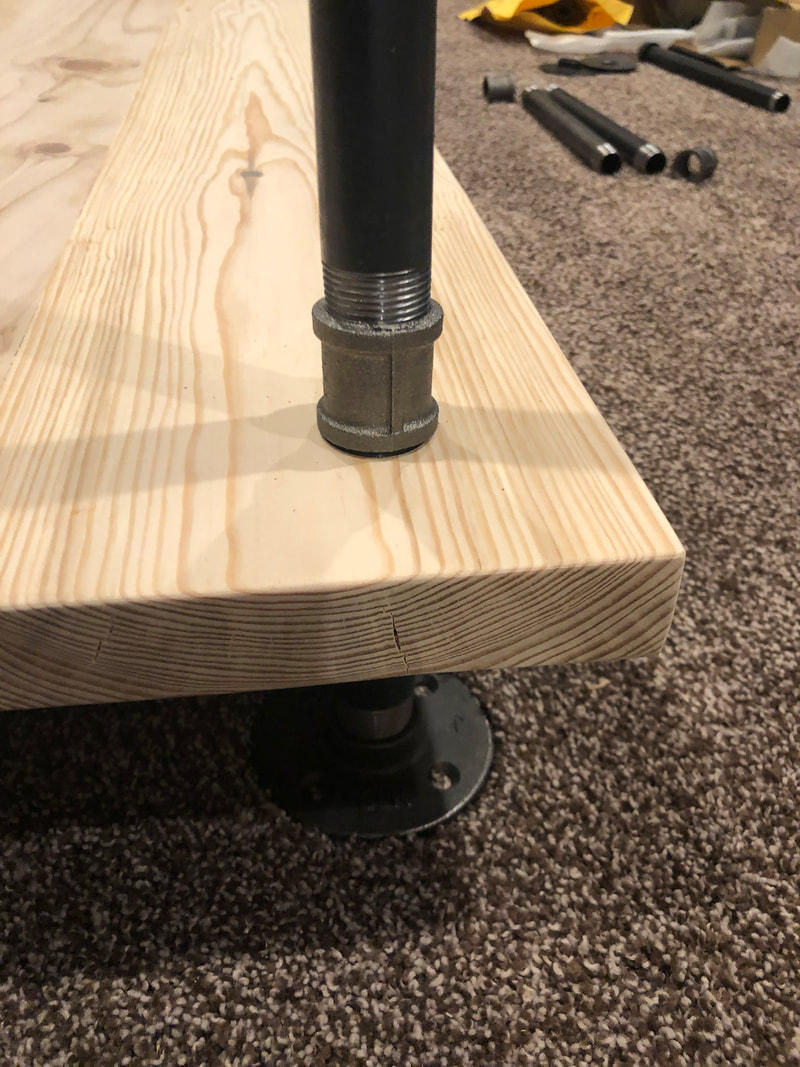
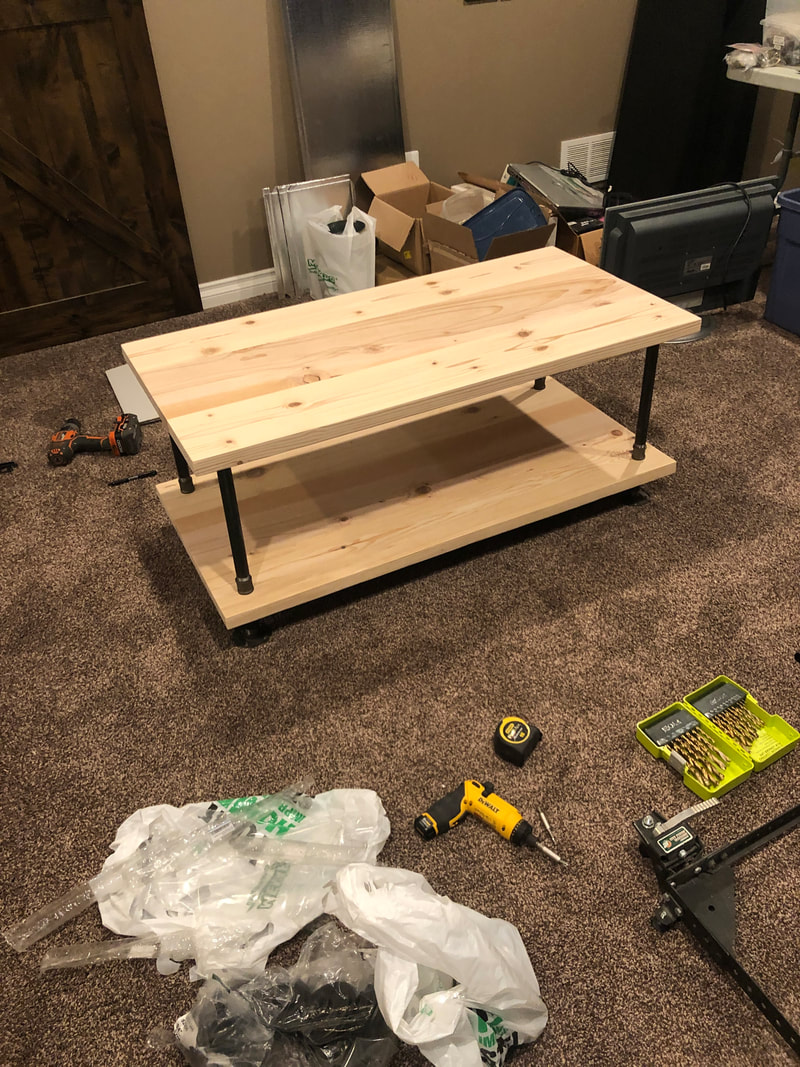
.As always, I assemble the table completely before staining. I was really happy with how the couplers sandwich the shelf on the leg. Looks awesome! The table is now ready for finishing and final assembly