This site contains affiliate links to products. A commission may be received for purchases made through these links.
Part 1: Wood Top & Bottom
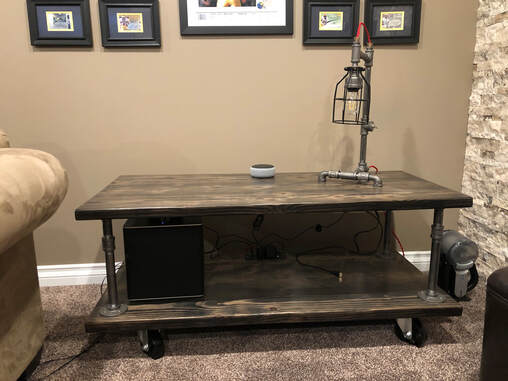
So, I have to be honest when I say I was not sure what to call this thing. Media table...media console...console table.....not sure. I decided on media table since it is holding a bunch of, well......media stuff. At any rate, I needed a place in my basement to put a streaming box, a subwoofer, and an occasional Playstation or Xbox. I also wanted a built-in power strip since these items require power, and I wanted this thing to be on industrial looking casters.
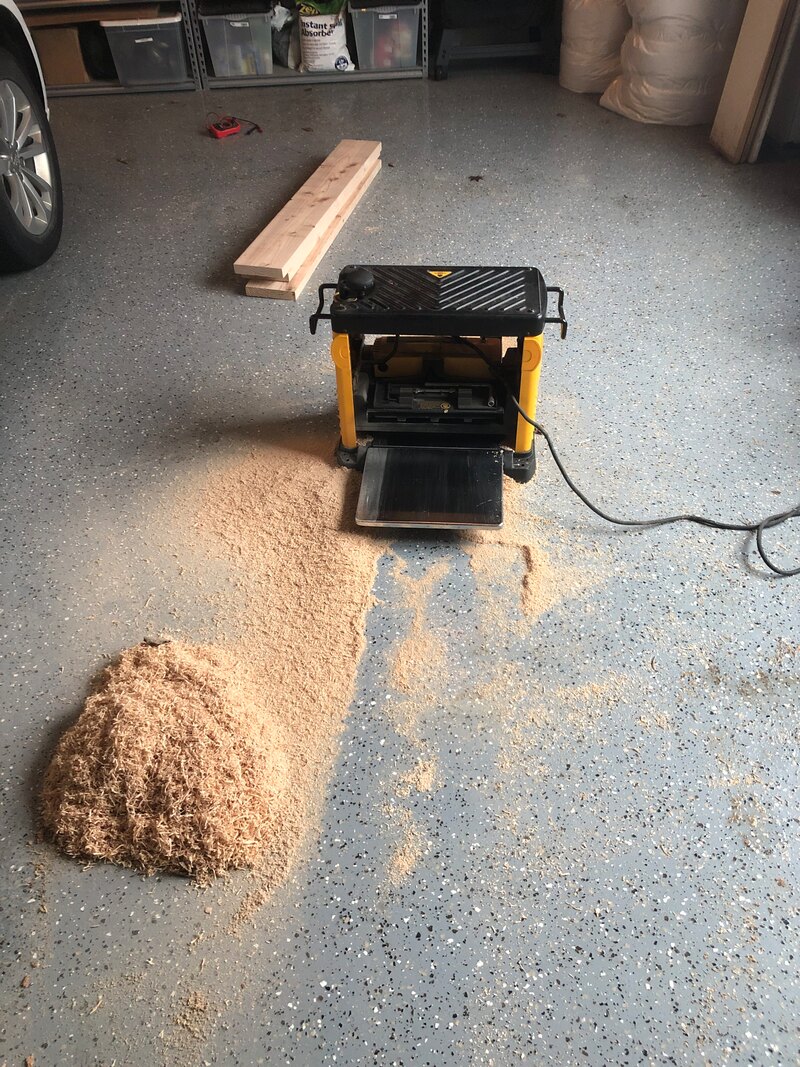
The point of these instructions is to give you some ideas and show you how to put them together. I will skip the details on how to cut, glue, sand and stain the wood tops. You can can check out some of my other project for more details and there are a lot of experts out there on the internet that can help you. I designed my media table to be 45-1/4" long x 20-1/4" wide x 19-3/4" tall (It is 12" between the shelves). I cut the 8' wood boards in half and ran them through a planer. This was the first time I used a thickness planer. I borrowed one from a friend and I have to tell you......they are awesome. I believe this will be my next big tool purchase as this helps reduce the amount of sanding required (If you are patient and use it correctly).
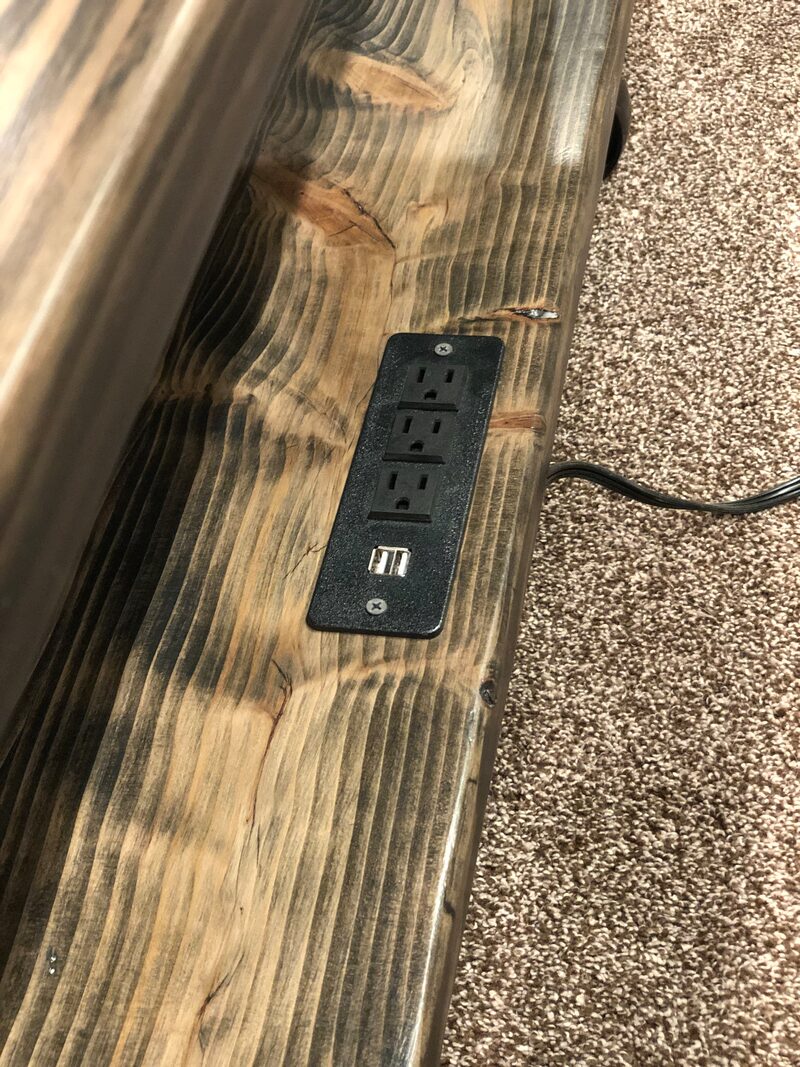
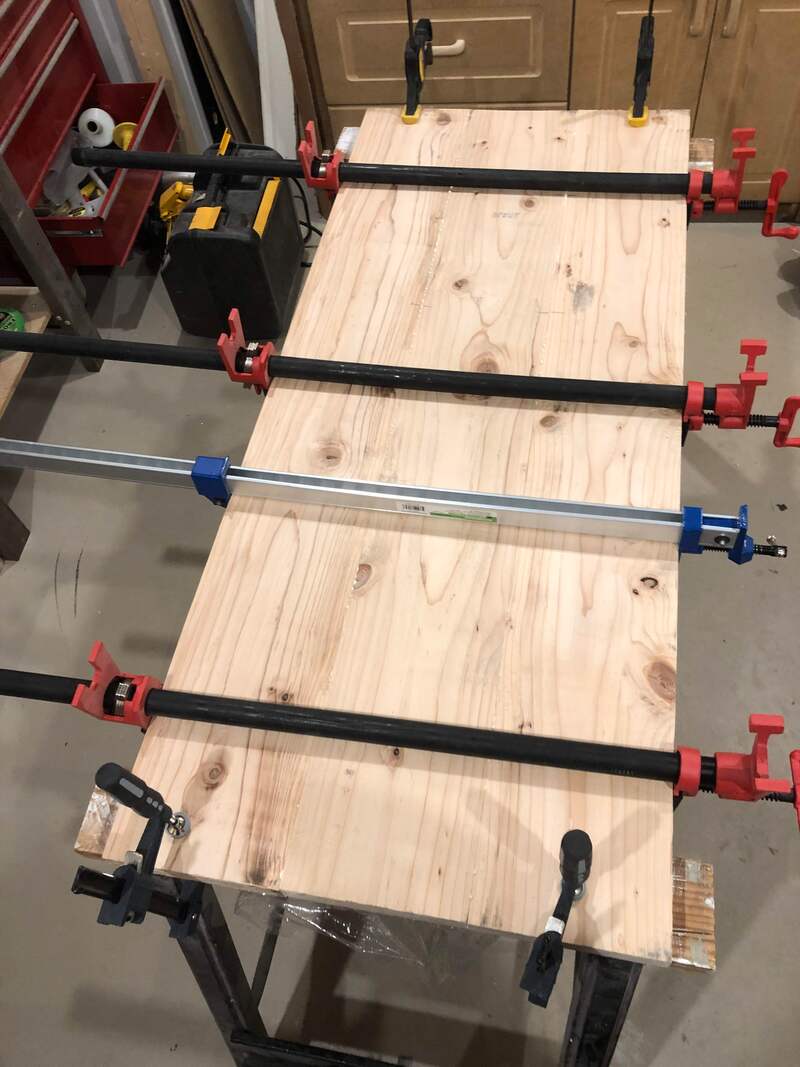
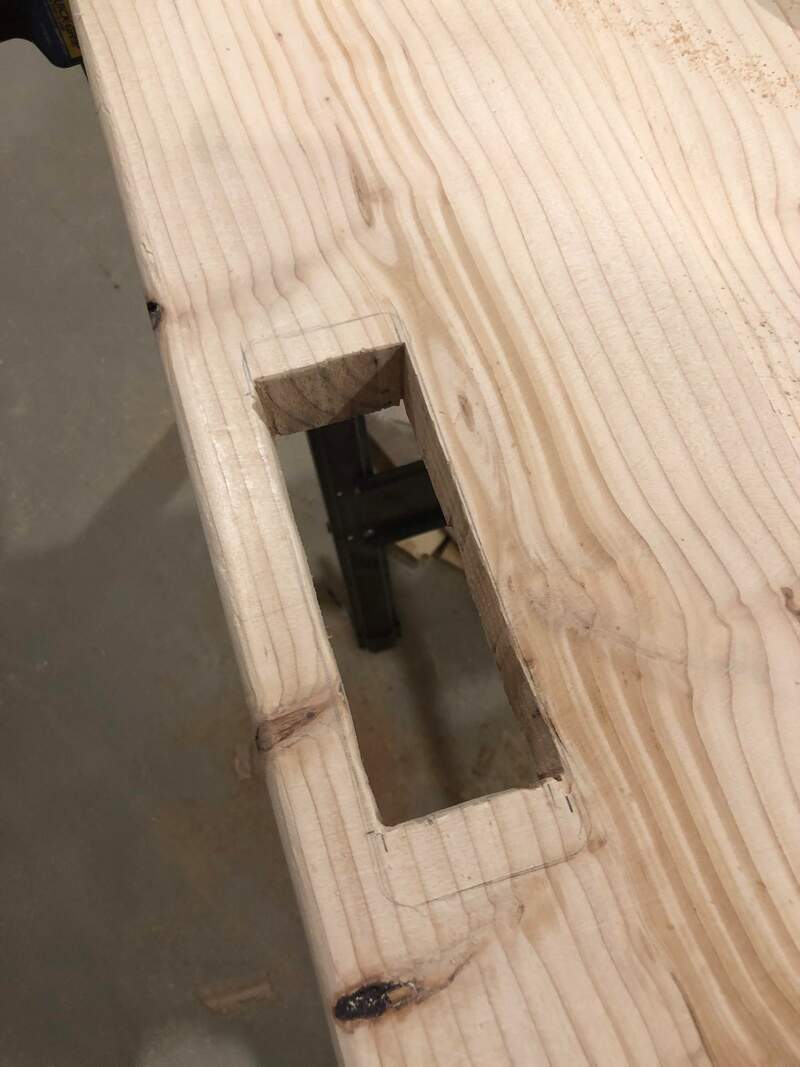
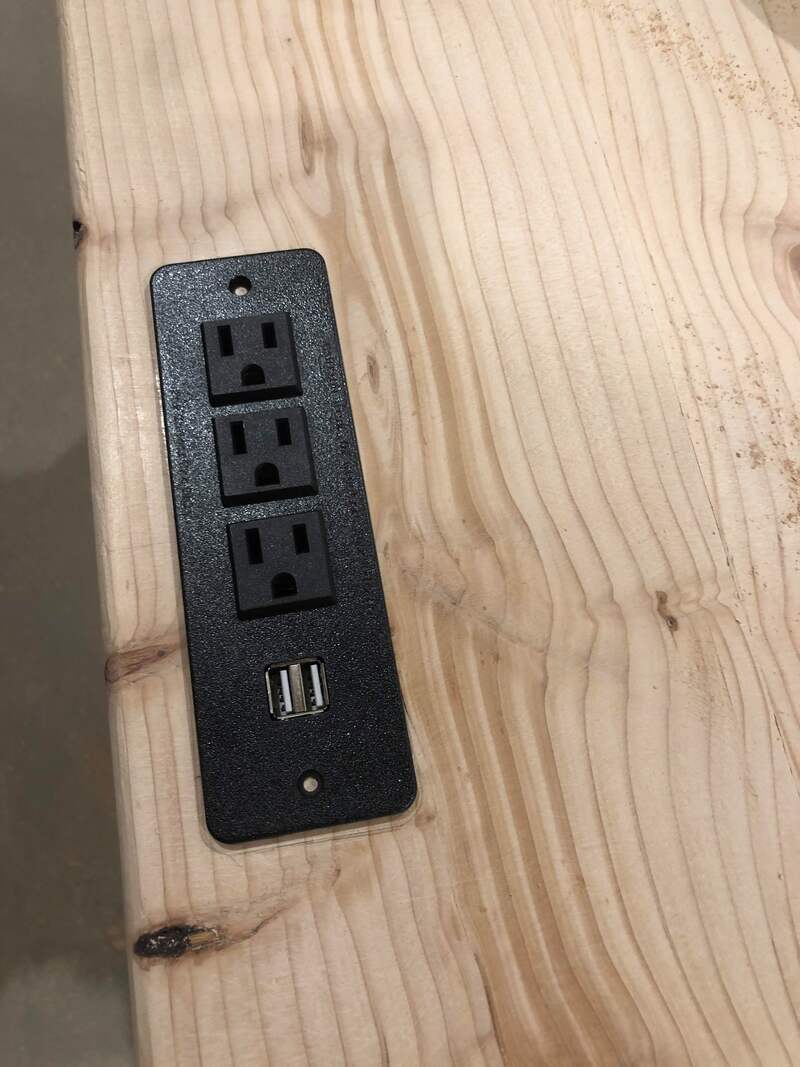
I glued up both the top and bottom and got all the parts ready for assembly. I wanted the outlet strip on the bottom shelf so it would not be seen. I measured the bottom of the power strip that would have to fit into the table and traced out the opening. I drilled holes in the corners and used a jigsaw to cut out the opening. I was not too concerned with how the hole looked since it would be covered by the power strip. The power strip I purchased is shown below.
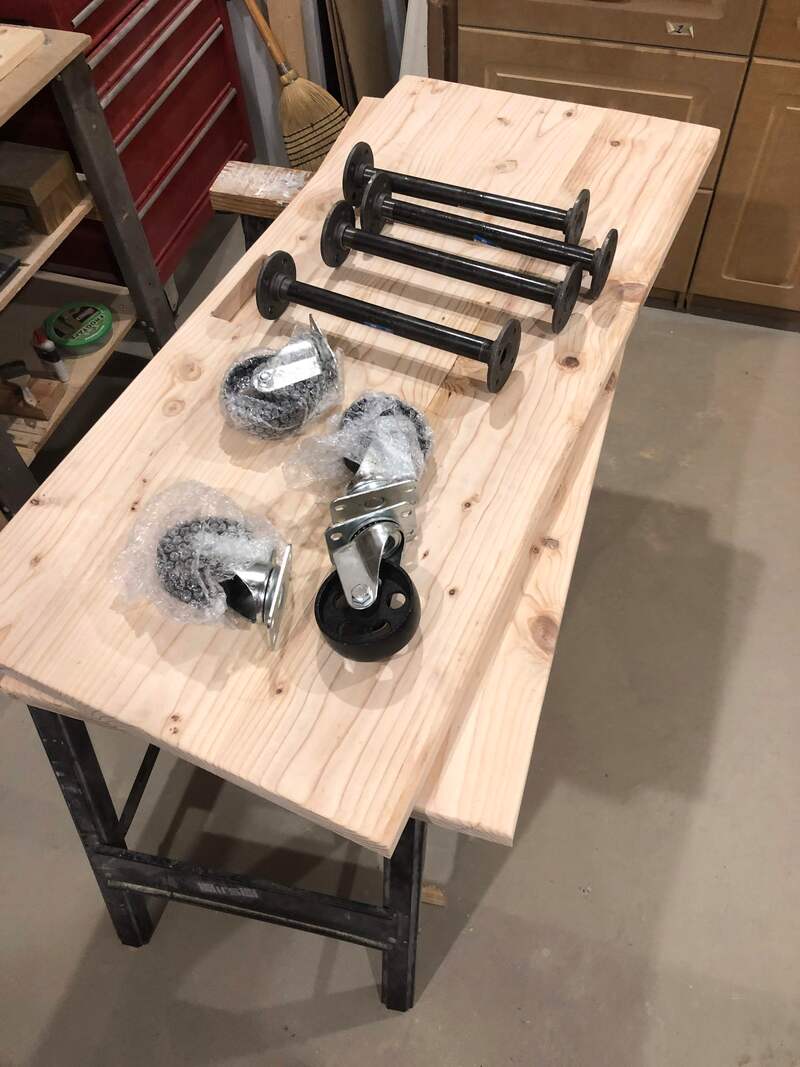
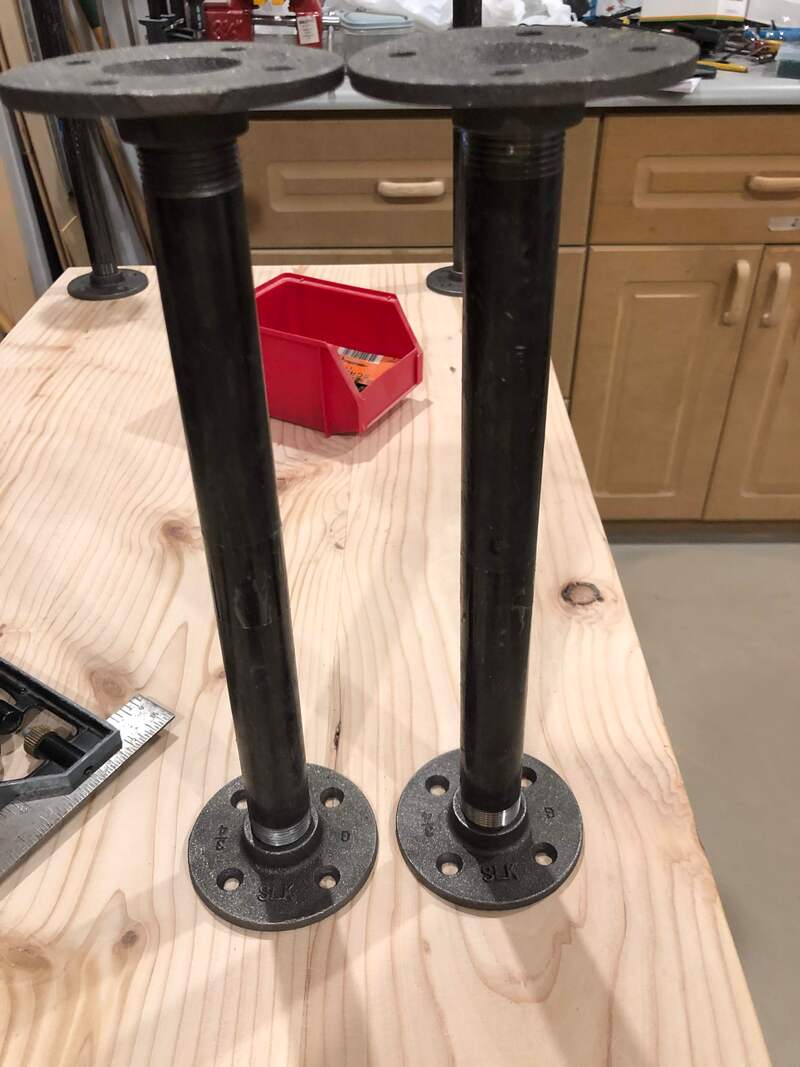
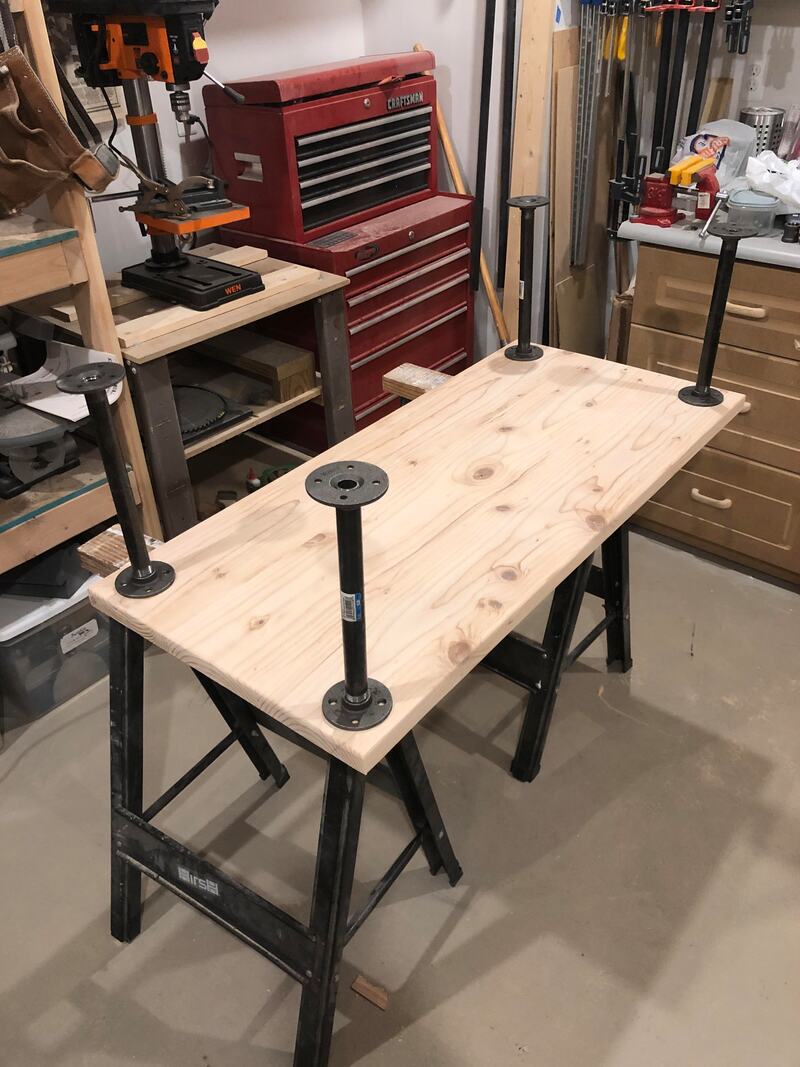
always assemble the piece I am making before I stain it, in case I need to change something. I put the legs togethers, making sure they were the same length. You can change the length be either tightening or loosening the pipes. It's ok if the pipes are not completely tight when you assemble them on the table. It is more important that the legs are the same length.
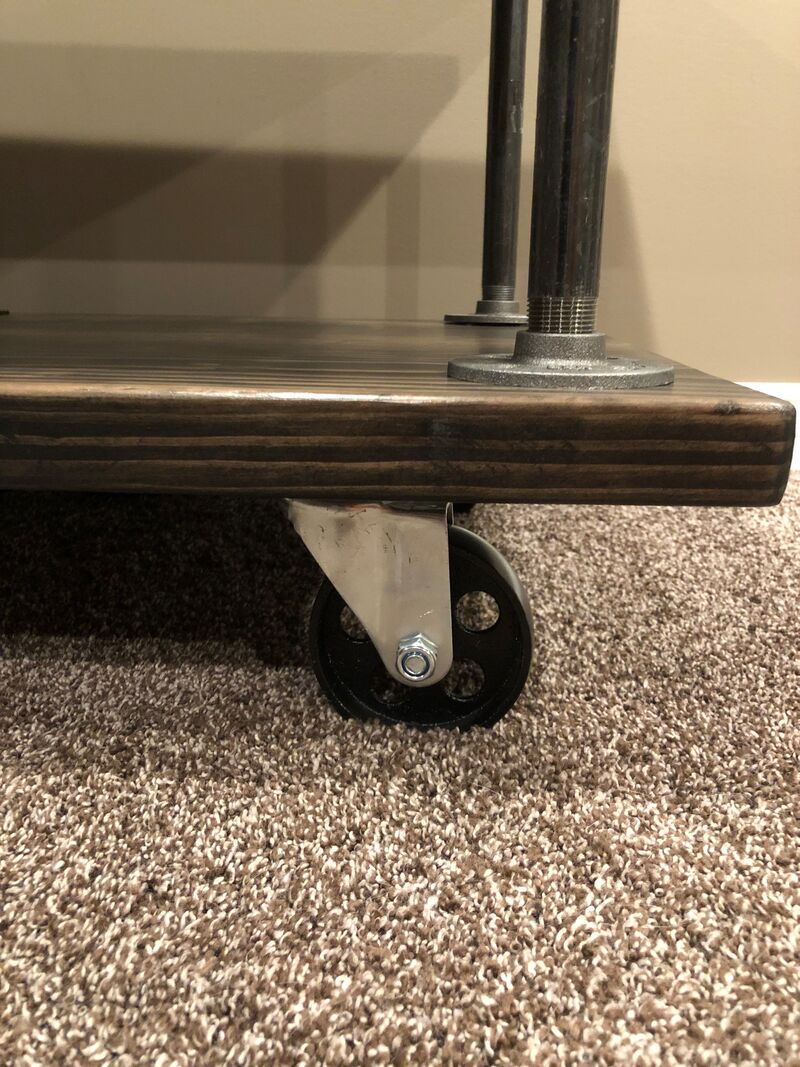
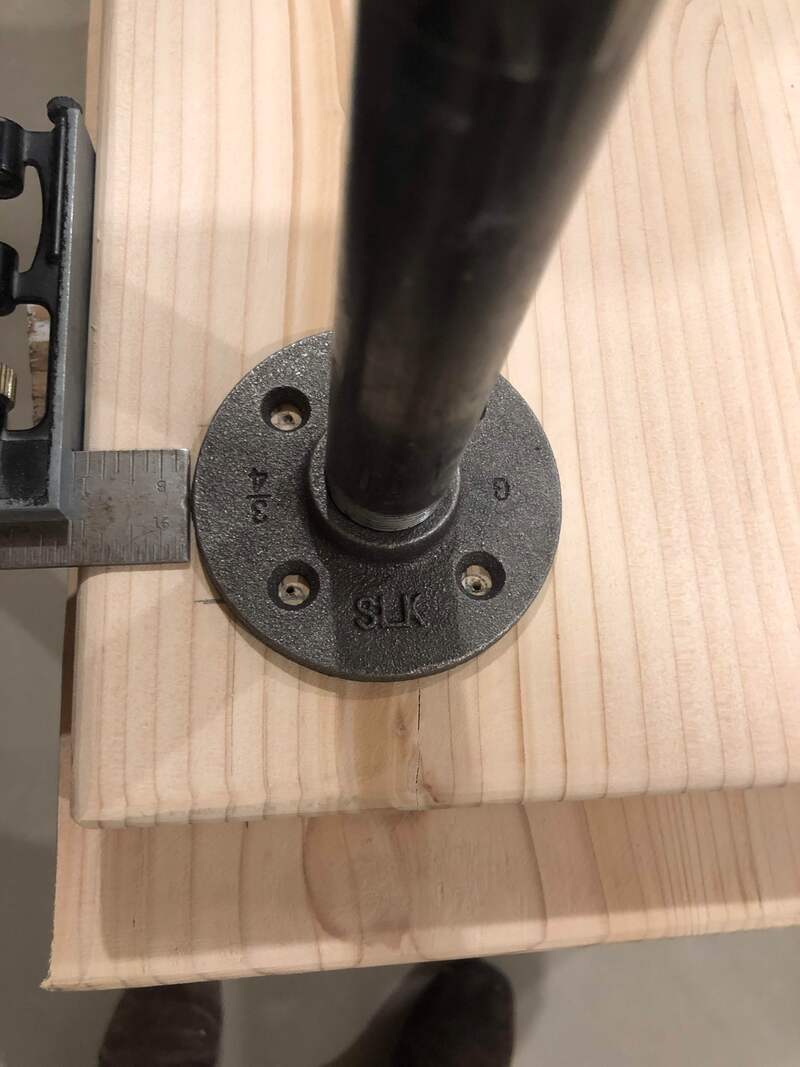
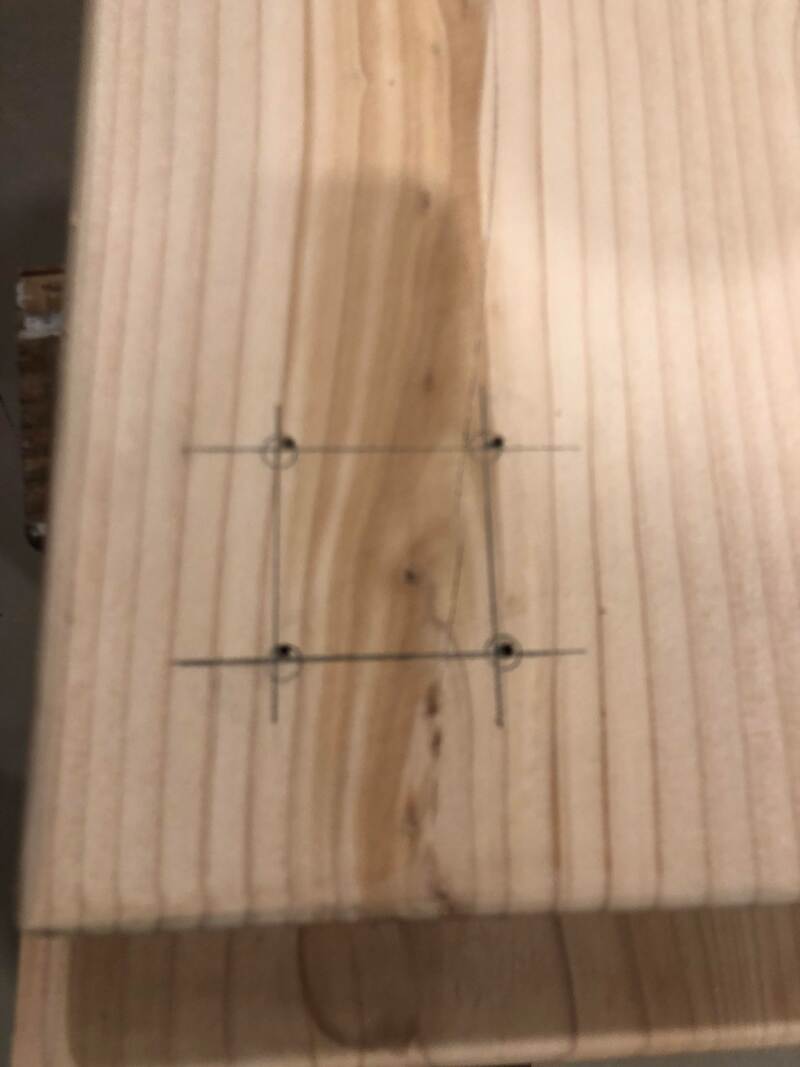
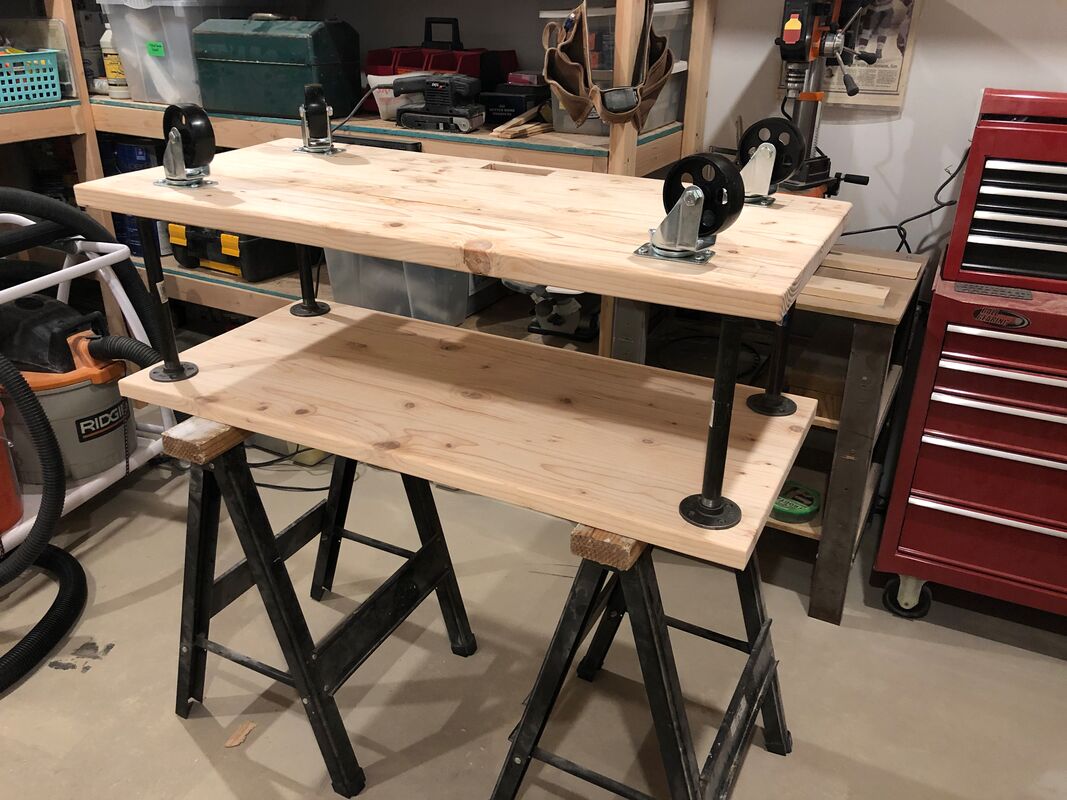
To install the legs where I wanted them, I needed to position the flanges about an inch from the edges of both shelves. I marked each flange location using a combination square and drilled the holes. Make sure the flanges are all oriented the same way before you drill the holes. I installed the legs on the top shelf first and then placed the bottom shelf on the legs and screwed them in. Don't screw the legs in tight when you are assembling the table. It makes it easier to line up the flanges with the holes. Now the bottom was facing up and I could install the casters.
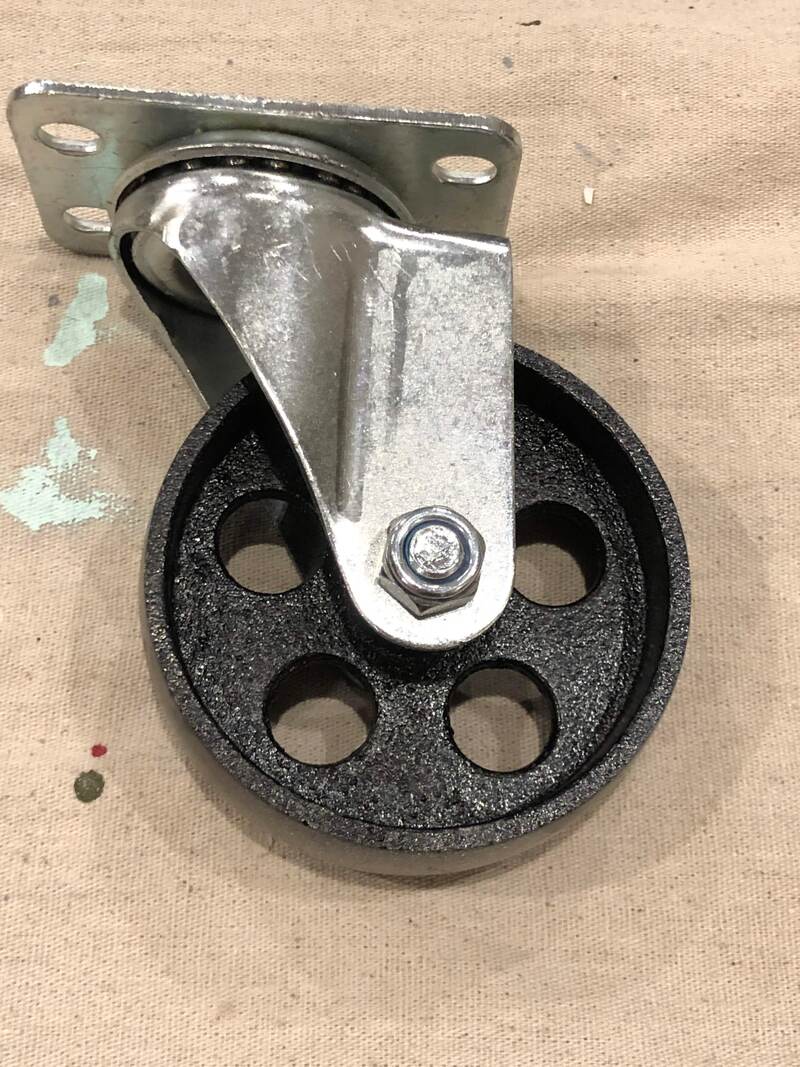
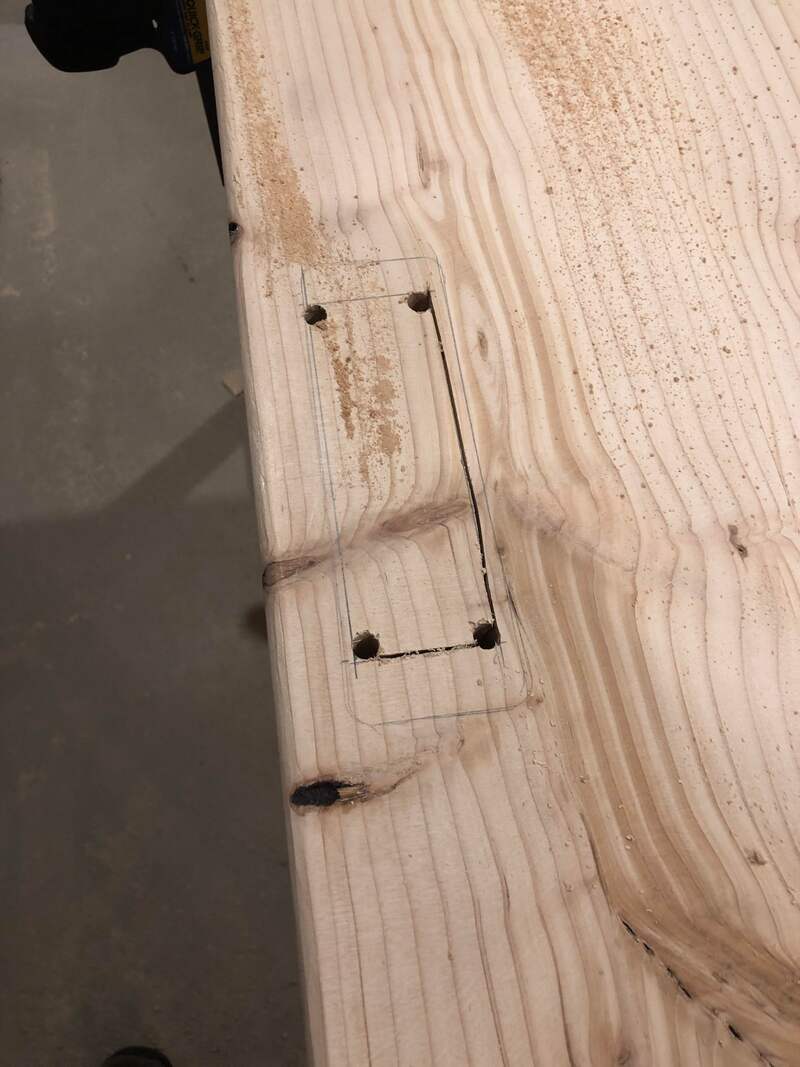
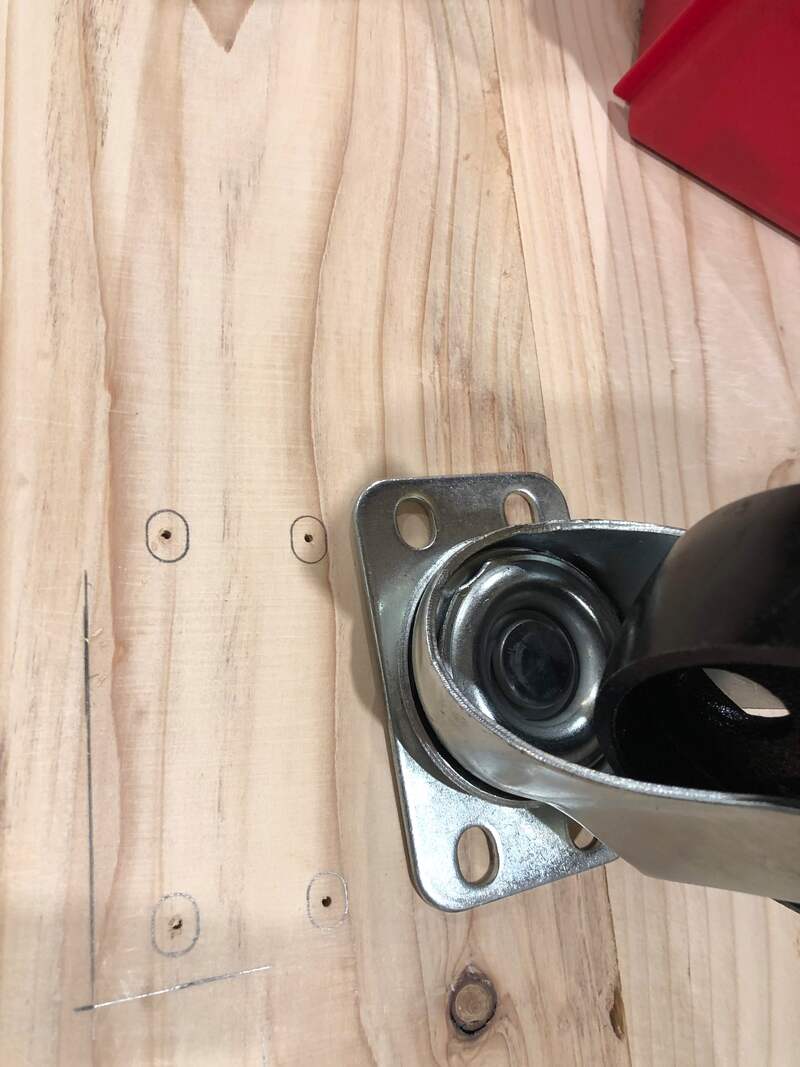
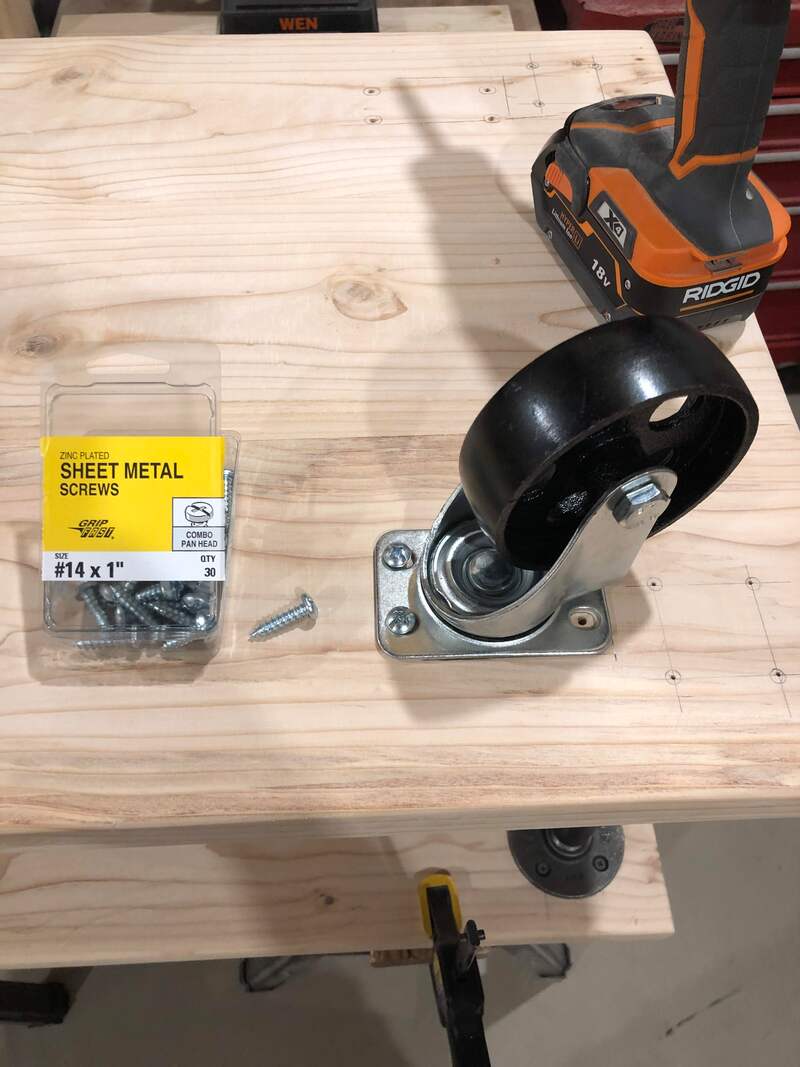
I positioned the casters on the bottom shelf so if the wheel rotates, it does not stick out beyond the perimeter of the shelf. I marked and drilled the holes and secured the casters with #14 x 1" screws. Once the table was completely assembled and looked good, I then took it all apart for sanding and finishing. You can see from the middle picture below that I drilled the holes for the legs on the wrong side of the bottom shelf. Luckily, the mistake was on the bottom where it is not seen and I can fill and sand them before staining. This is why I assemble before staining!
Everything looked good so I took it all apart. Now, onto finishing and final assembly