This site contains affiliate links to products. A commission may be received for purchases made through these links.
Part 2: Finishing and Assembly
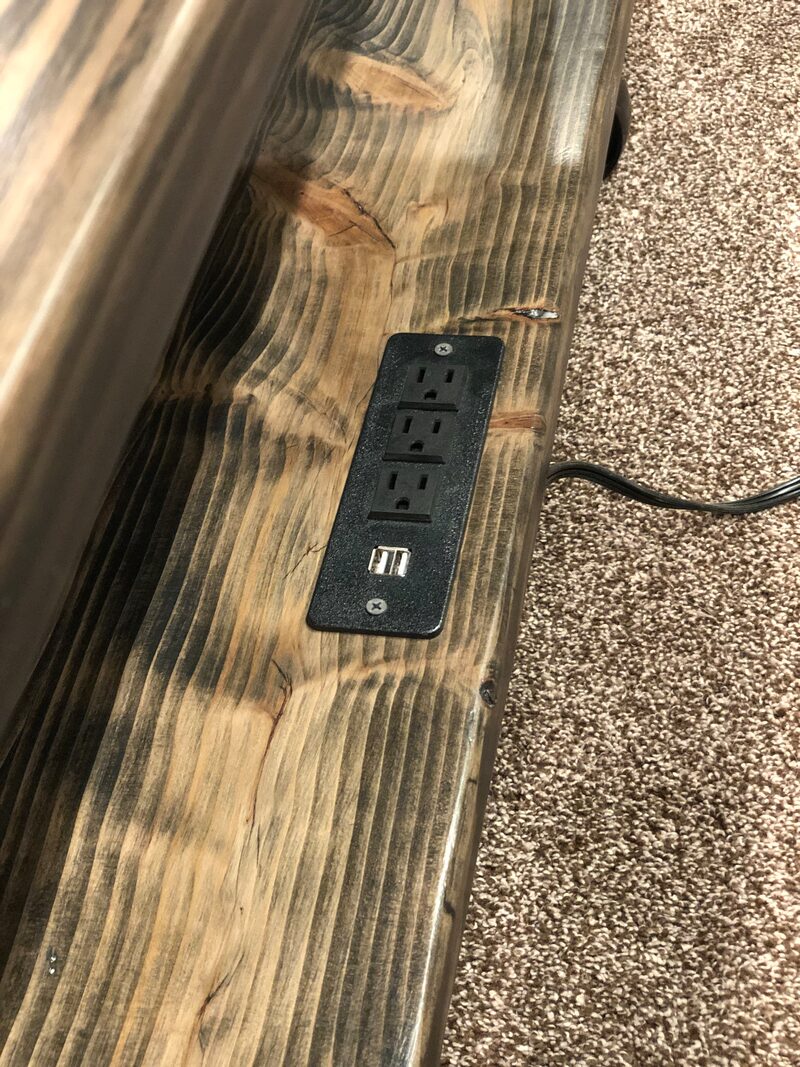
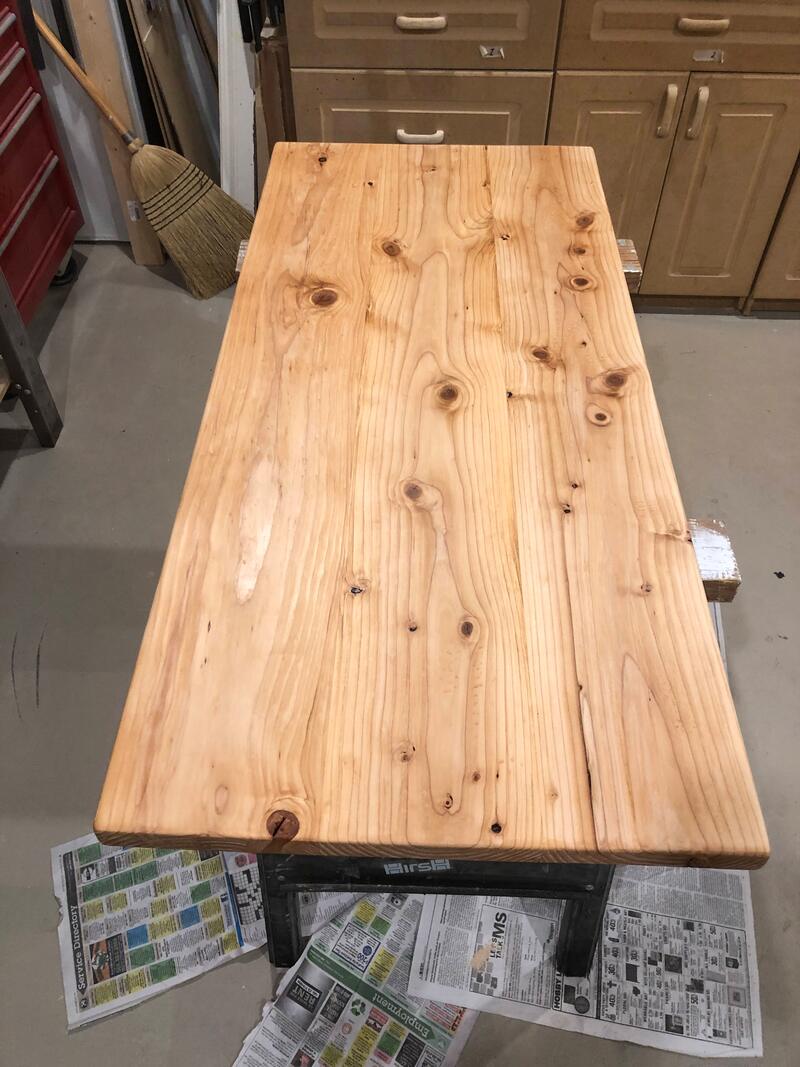
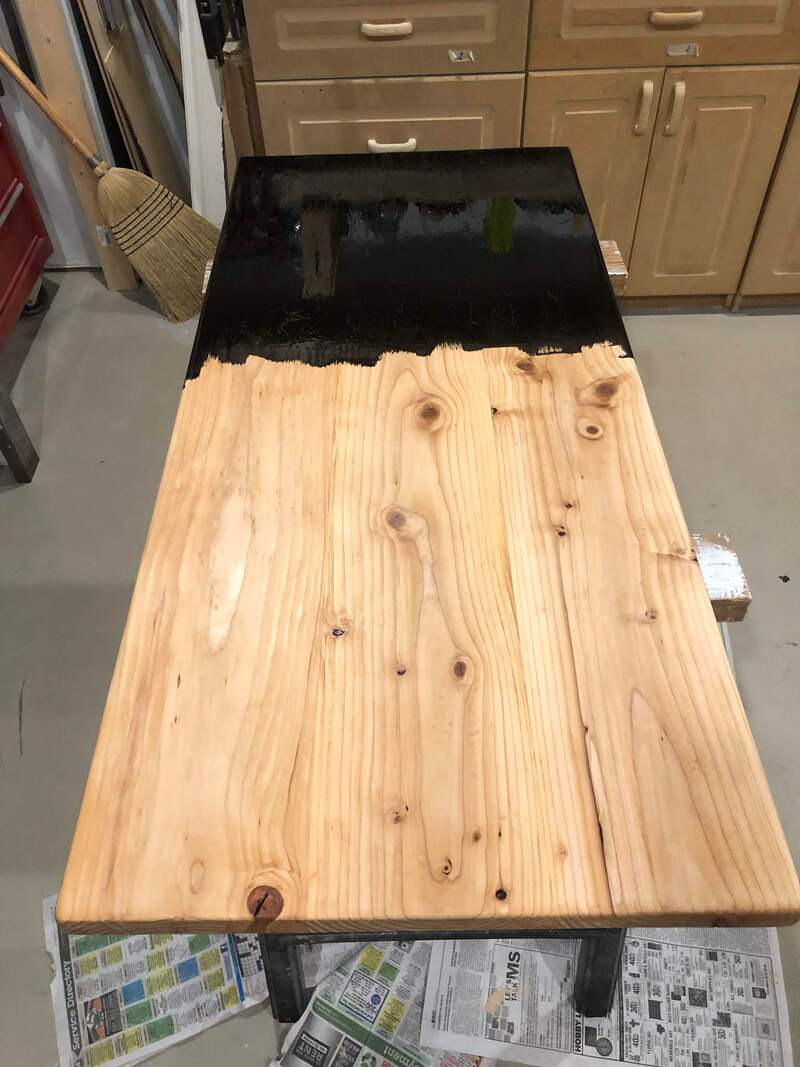
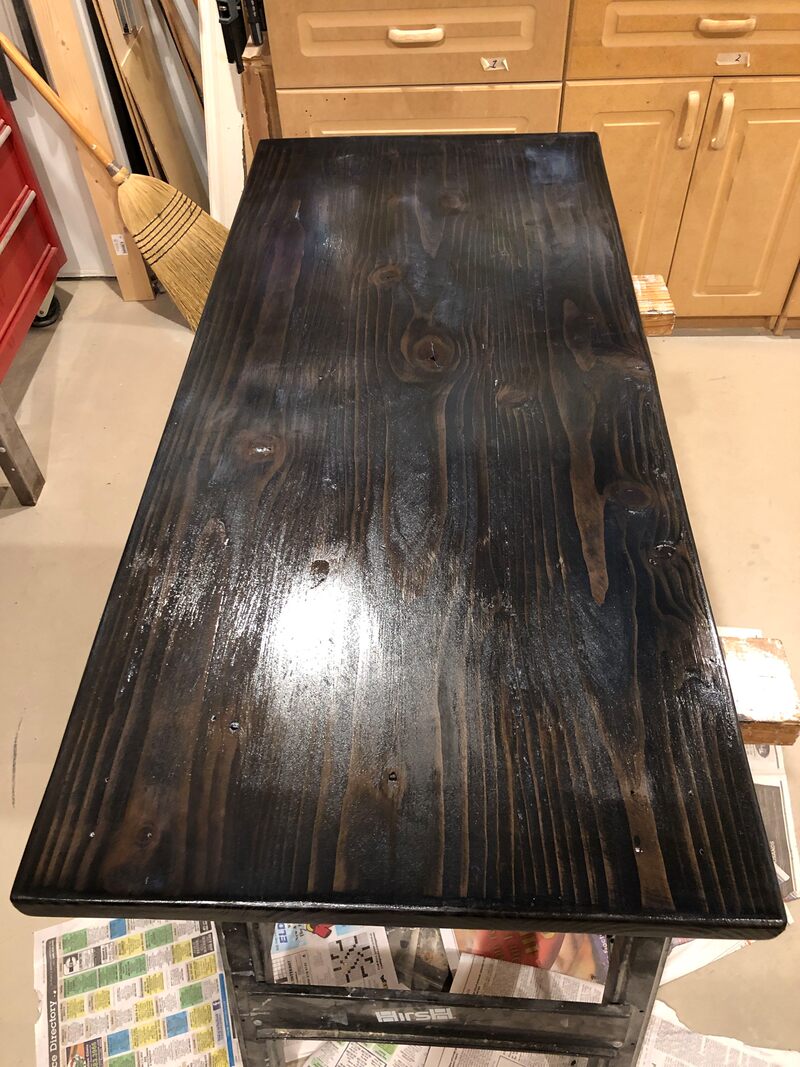
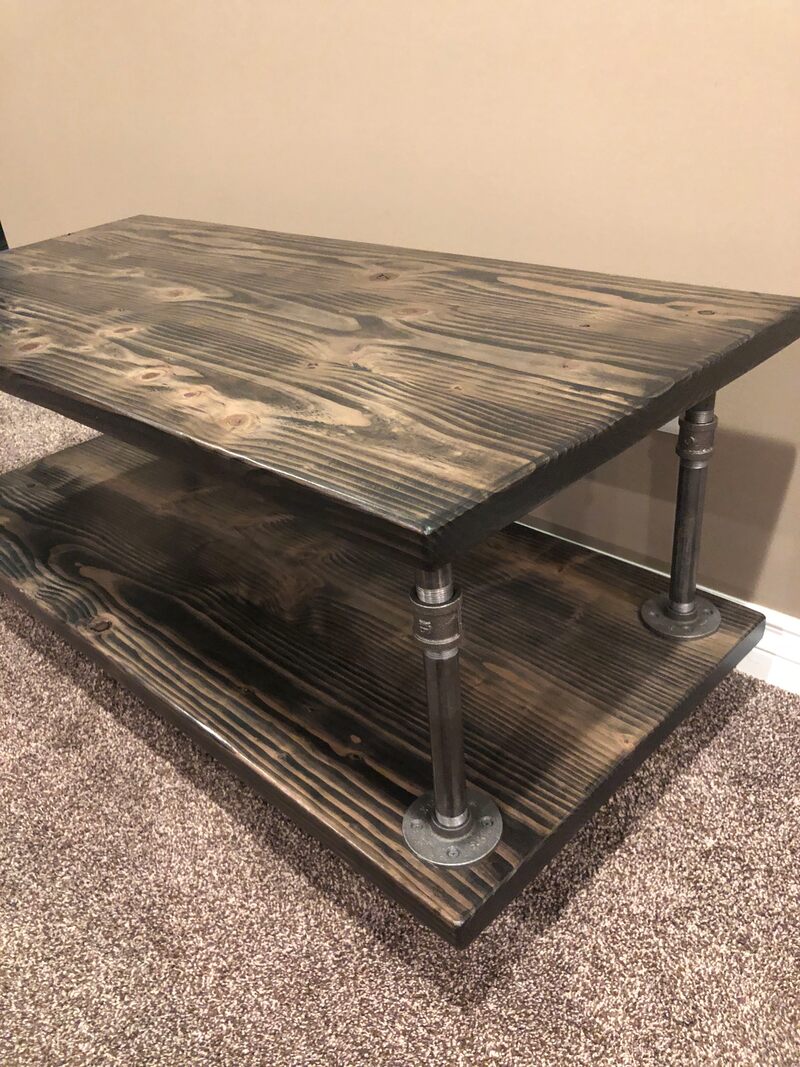
I use a pre-stain wood conditioner and apply two coats of stain. I apply only 1 coat of stain to the underside of each shelf. I apply 2 coats of satin polyurethane to the tops and 1 to the underside of each shelf.
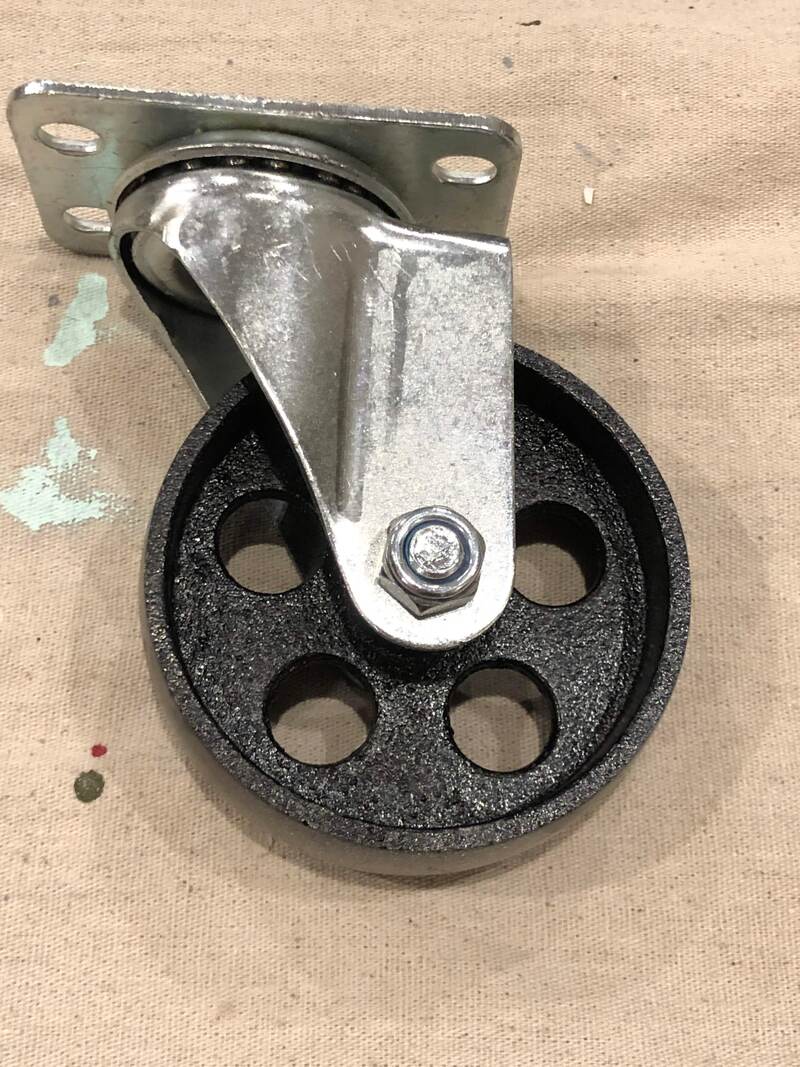
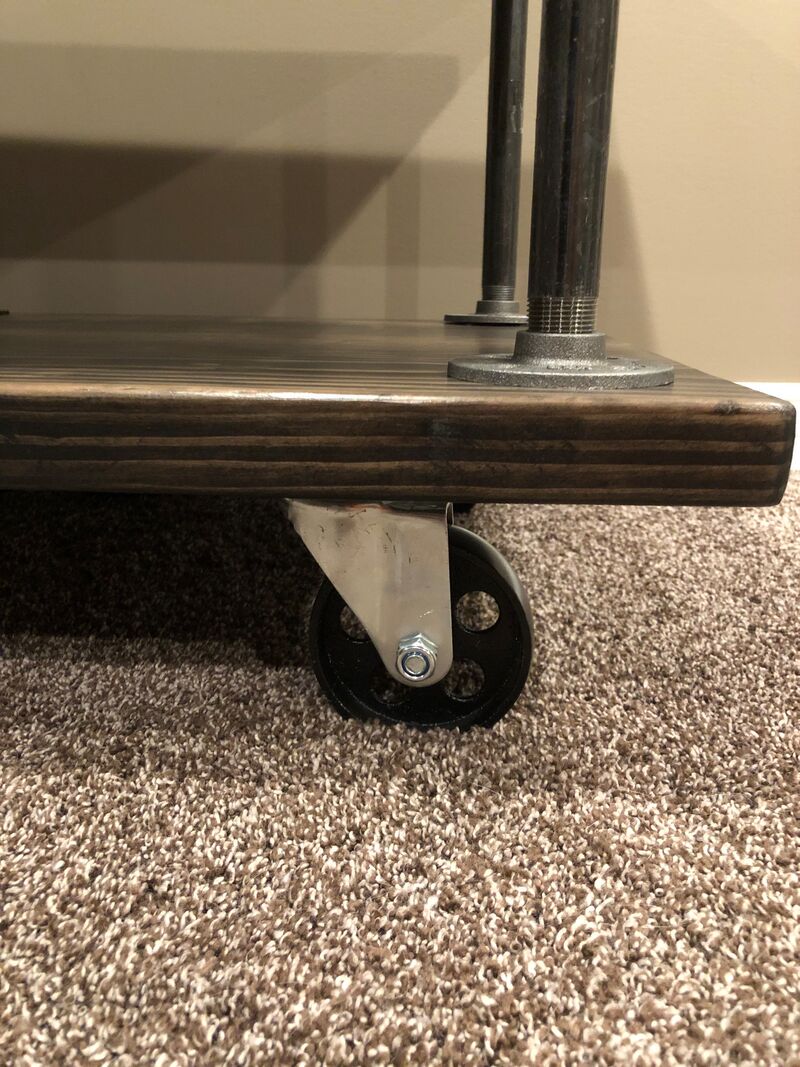
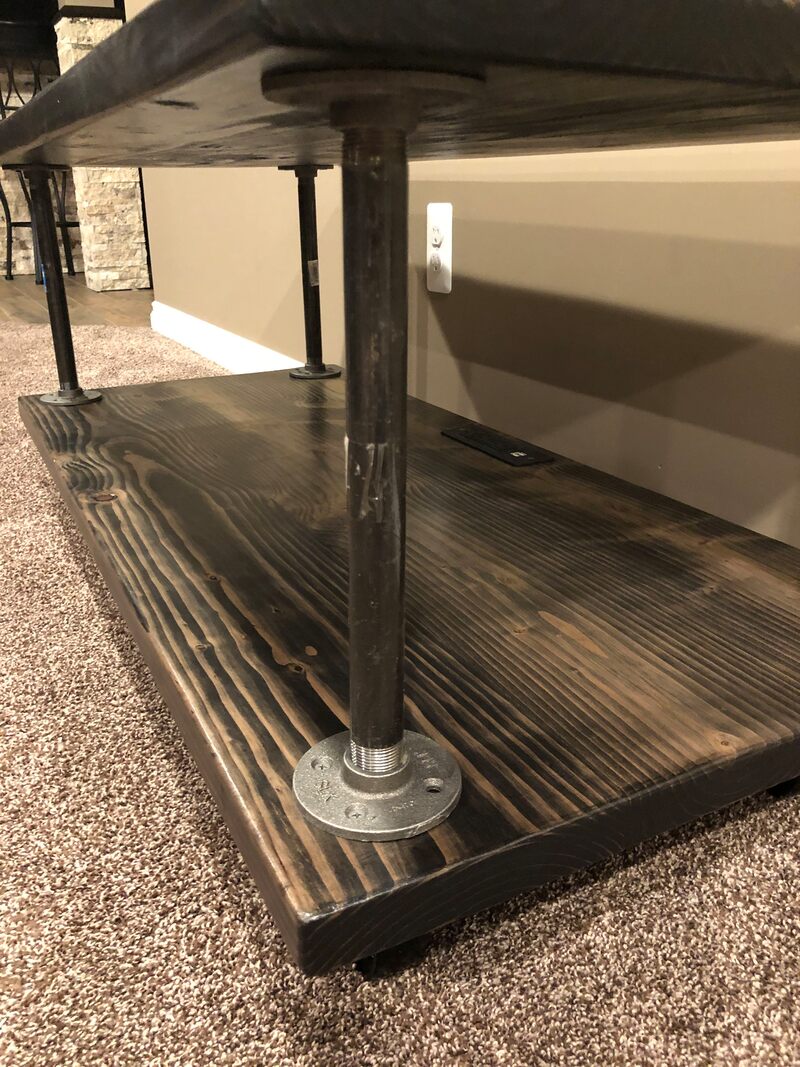
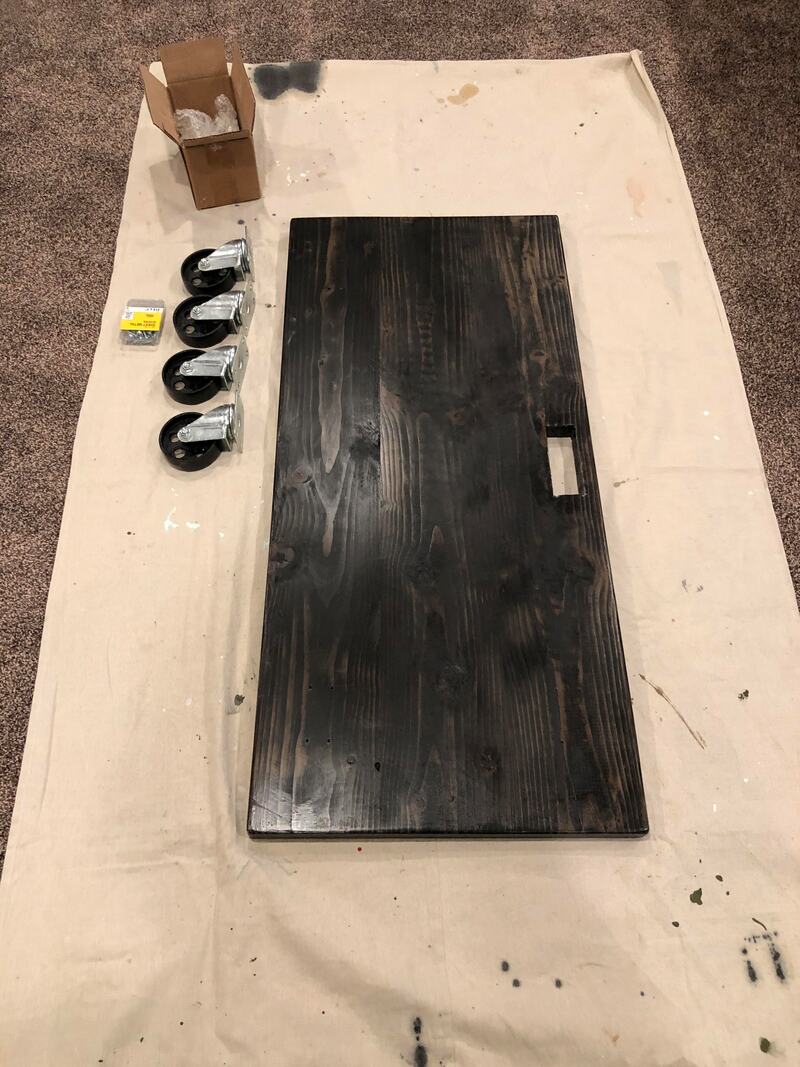
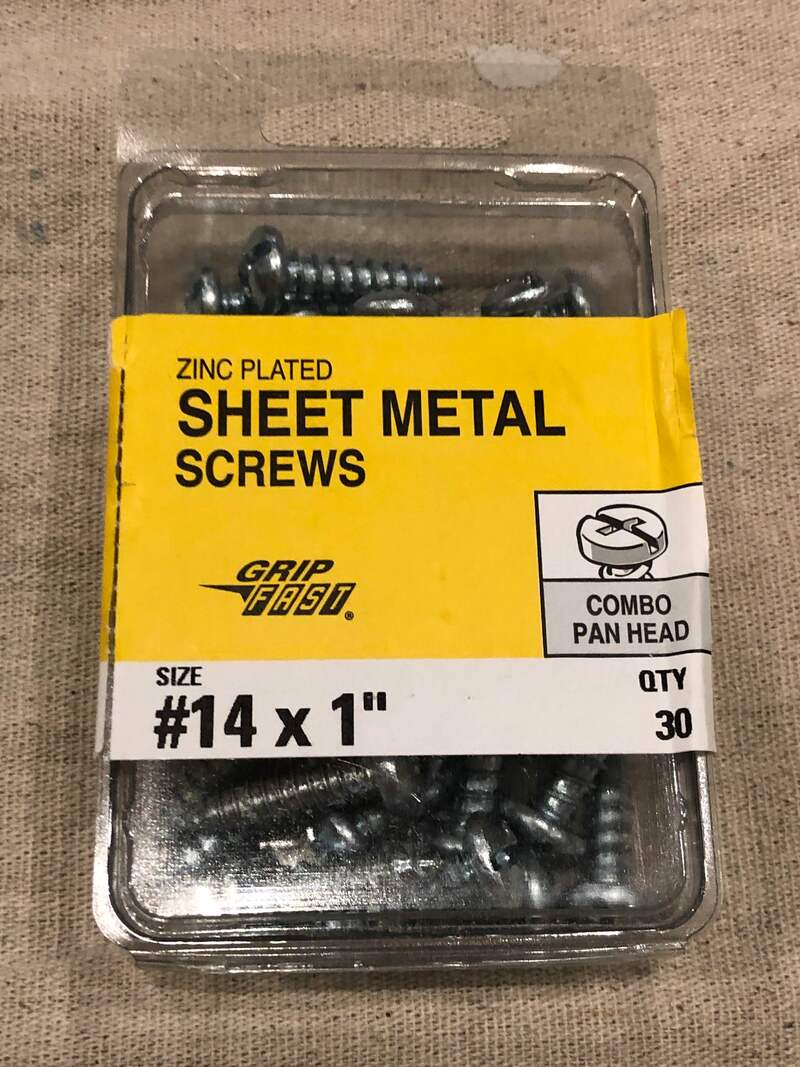
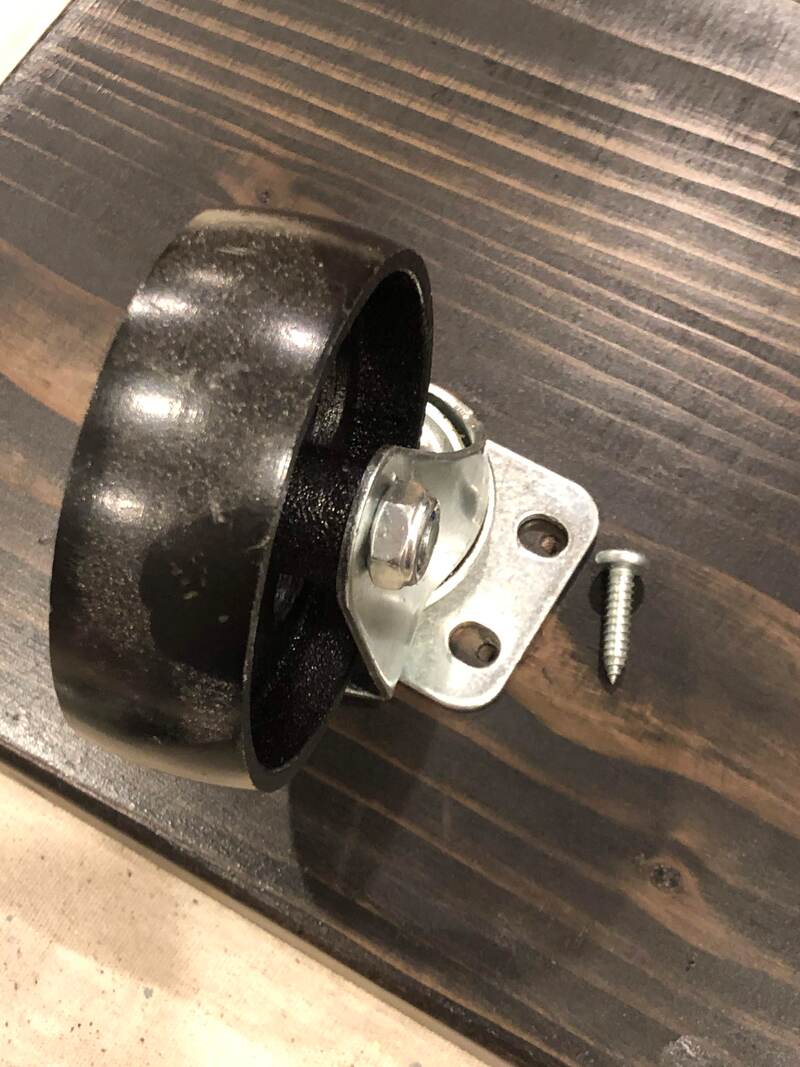
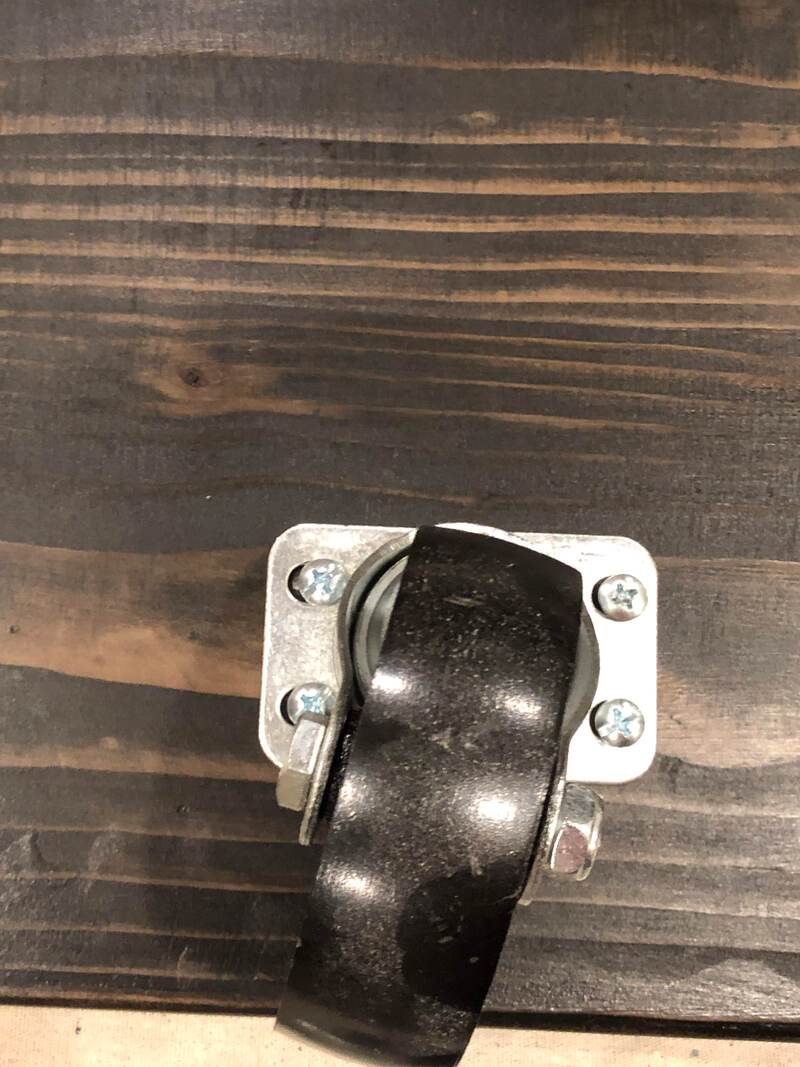
I let the polyurethane dry 24 hours and then the unit was ready for assembly. I laid the bottom shelf upside down on a tarp so I could install the casters. The holes were already drilled so this part was easy. I had to make sure I had big enough screws that were also not too long so they would go through the shelf. I found a pack of #14 x 1" screws at the local big box store.
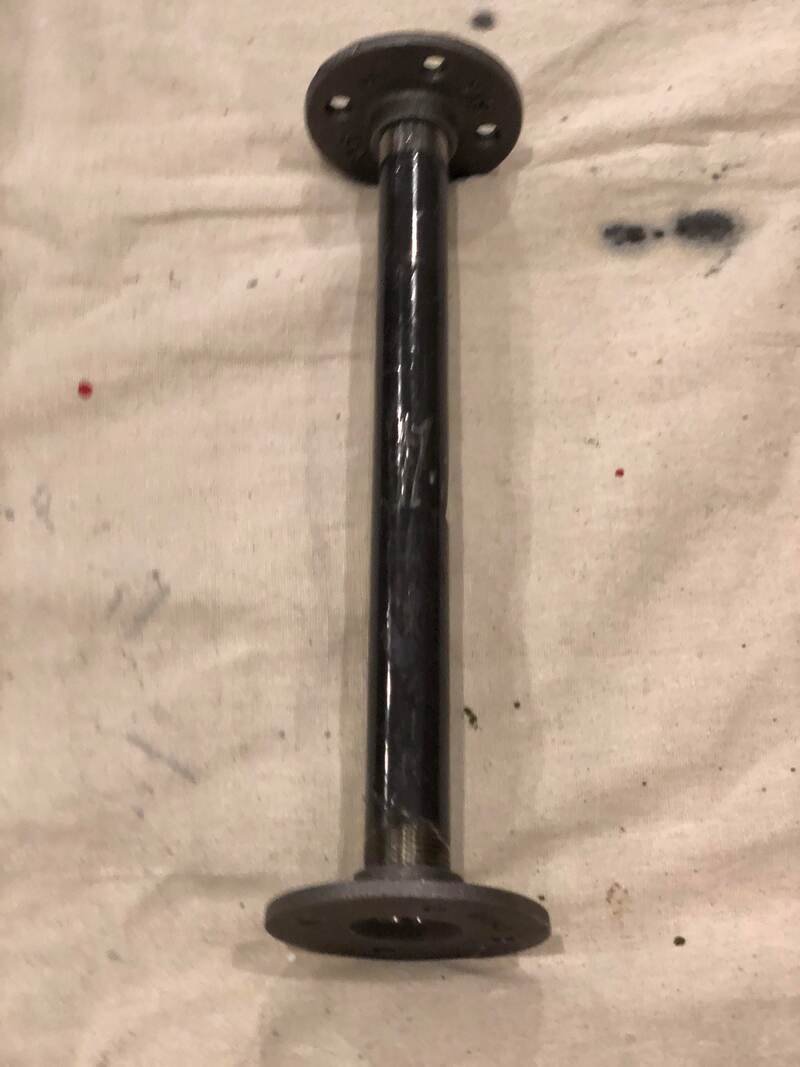
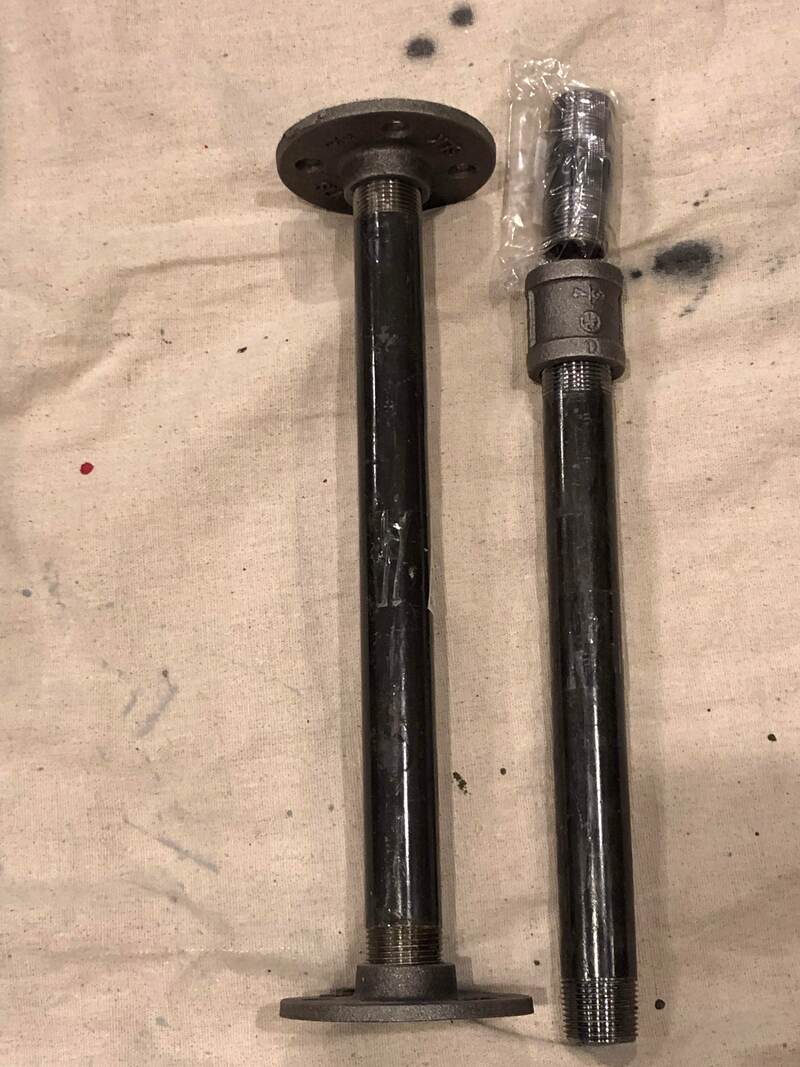
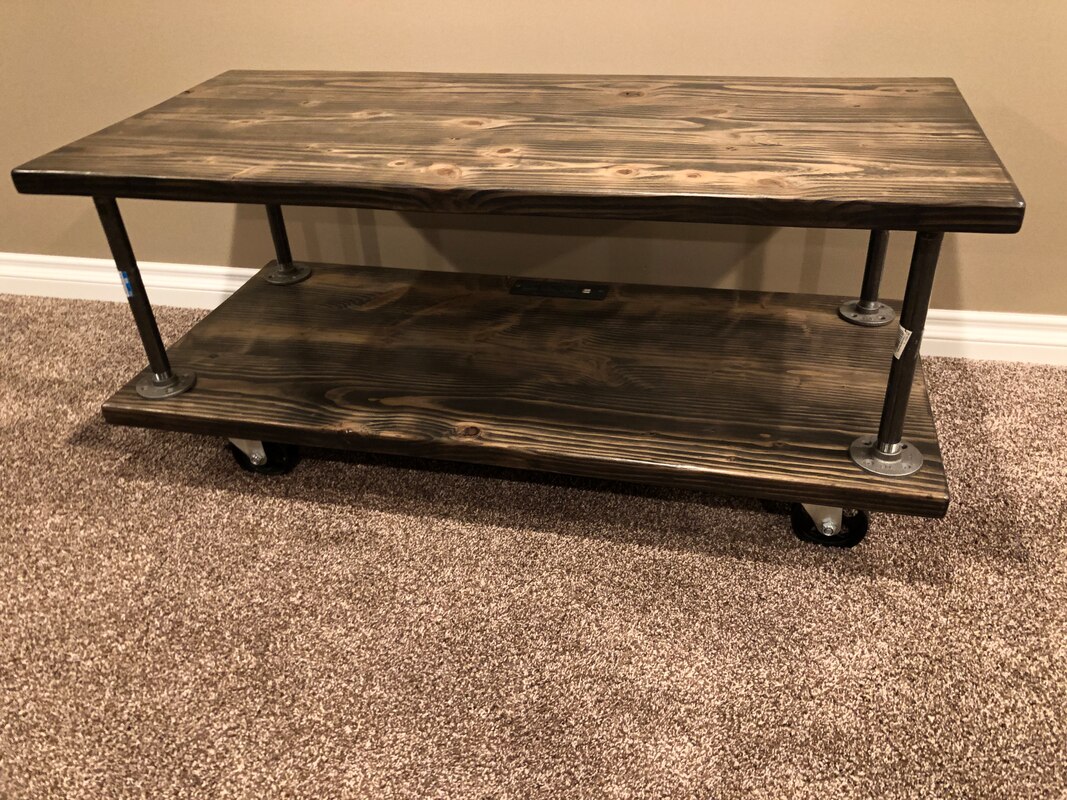
I started to install the legs and it was at this point that I decided to make a change. When it comes to building pipe furniture, the more fittings you have, the more cost you will have.....it's that simple. However, more fittings usually make the piece more interesting. I thought a leg with one straight piece of pipe looked boring. So, I changed it to two straight pieces and a coupler. I added roughly $8 to the project, but it was well worth it. It just looks better with the extra fittings.
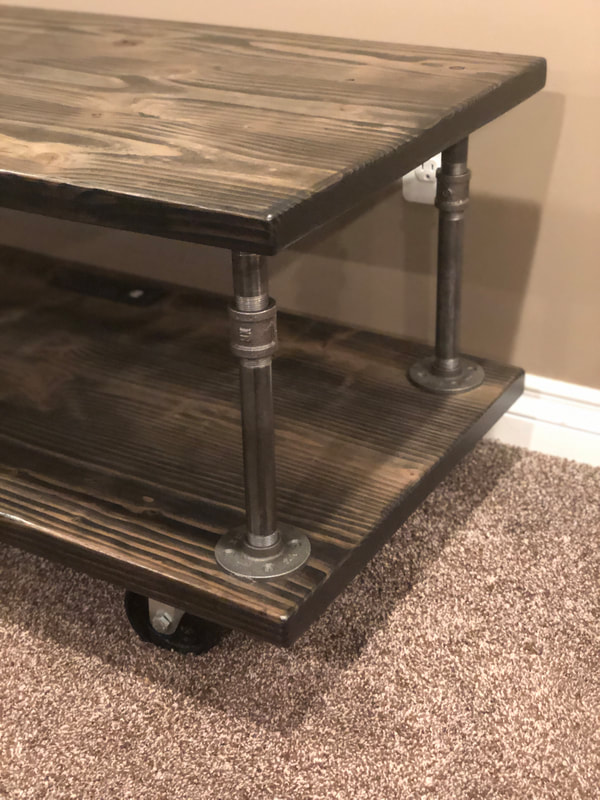
As I explained earlier, when installing the legs, don't tighten the screws down completely until you have all four legs in place with at least 2 screws in each flange. Assembled pipe parts are not usually straight so you will need to line everything up and get screws in them before you tighten them down. Once assembled, you can see from the pictures below, the extra fitting and pipe just looks better!
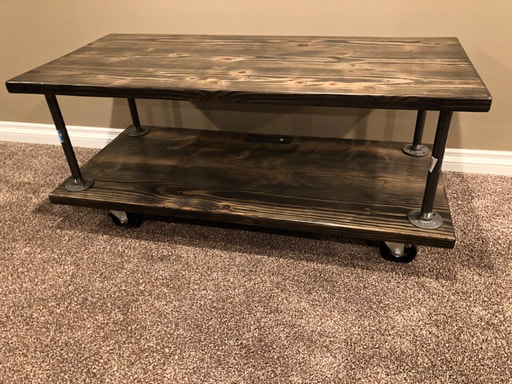
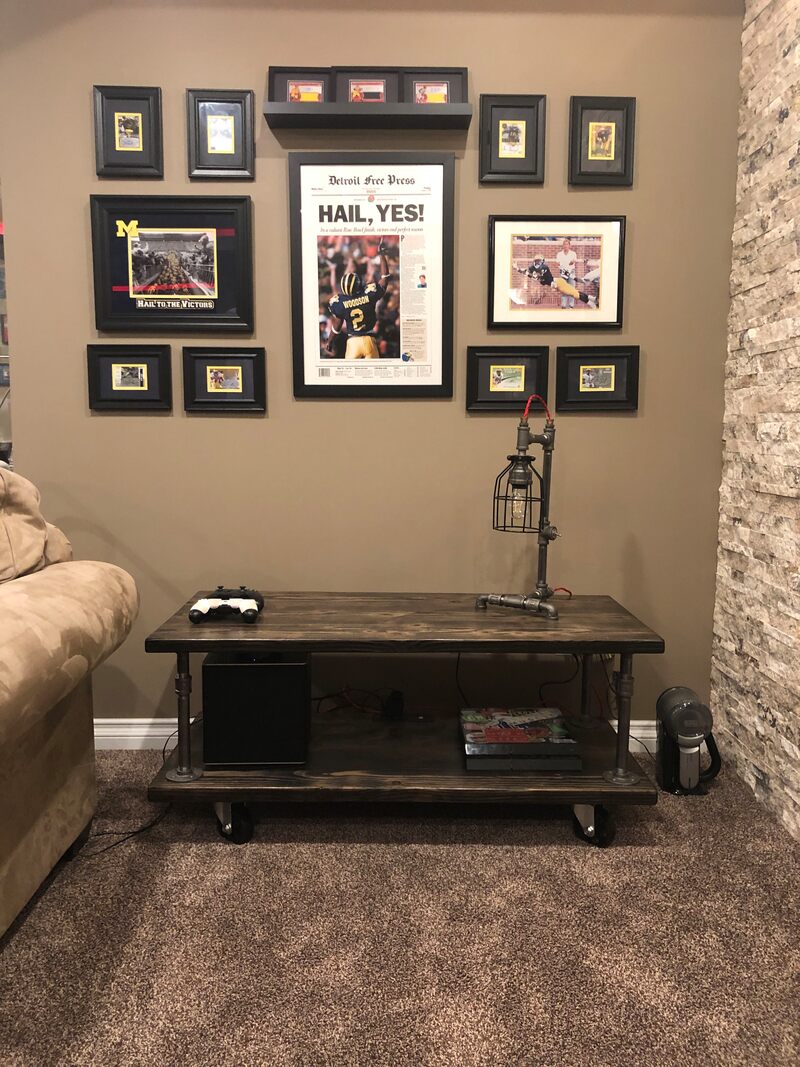
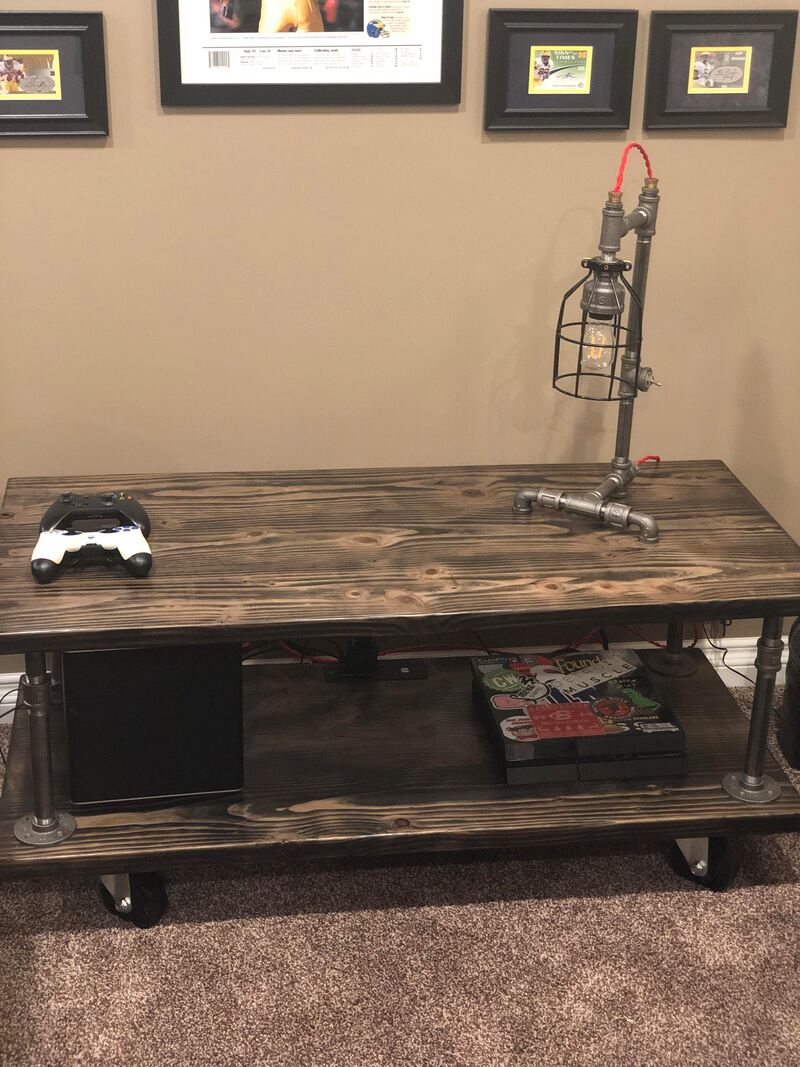
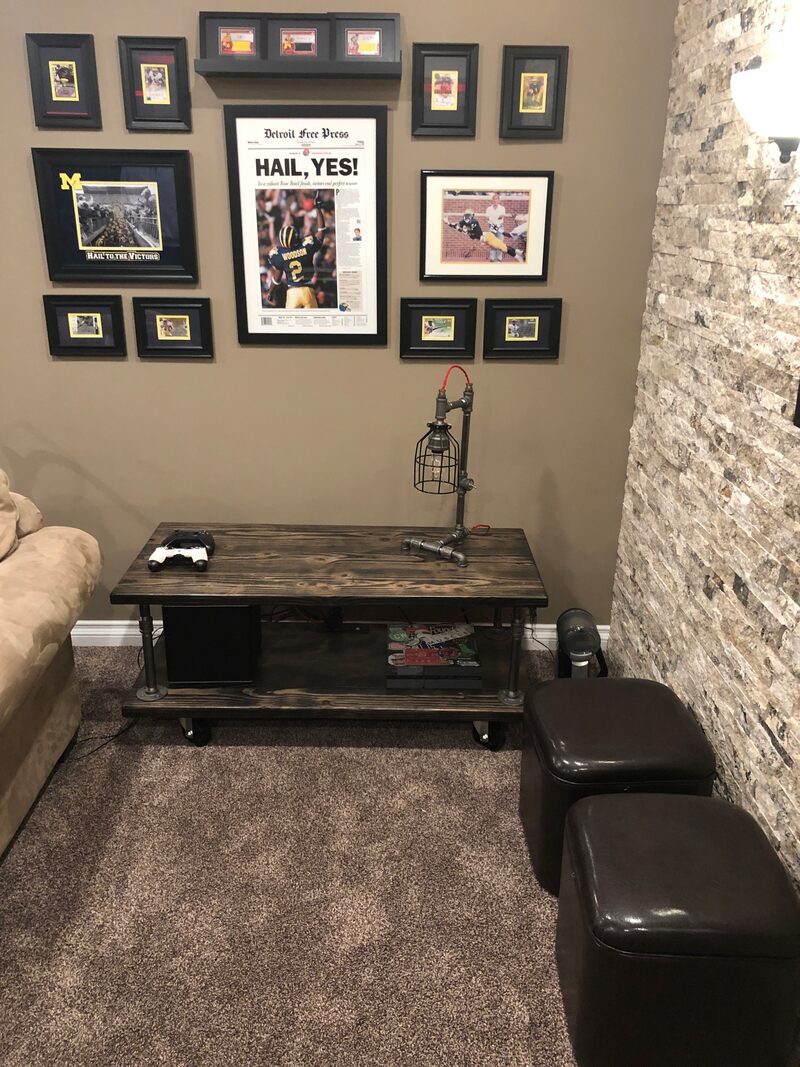
The media table is in its final place and already being used. For information on how to make the pipe lamp in the picture, check out my Pipe Lamp pages.
Please see page 3 for details on dimensions, bill of materials and cost to build this media table.