This site contains affiliate links to products. A commission may be received for purchases made through these links. This site is also a participant in the Amazon Services LLC Associates Program, an affiliate advertising program designed to provide a means for us to earn fees by linking to Amazon.com and affiliated sites.
For the switch to work, the valve stem needs to rotate freely inside the valve. You can accomplish this by either removing the threads from the stem or the threads from the bonnet. I have tried it both ways and I believe it is easier to drill out the threads from the bonnet.
Put the bonnet is a vice to secure it while drilling. I did not plan on drilling out all of the threads in one try so I picked a drill bit that is just bigger than the diameter of the threads. I then used a bigger drill bit to eliminate the threads. Test the valve stem in the valve body to make sure you removed enough of the threads so it rotates freely.
You will need a rotary canopy switch that will need to be glued to the valve stem. I could only find these locally at Lowes. HD and Menards do not carry them. They can also be purchased online at Amazon for a little bit less.
The switch will sit inside the valve and needs to rotate freely. I filed the switch down a bit so it would fit inside the valve easier and have more room to rotate. I'm not sure if this is really necessary, but it does not hurt.
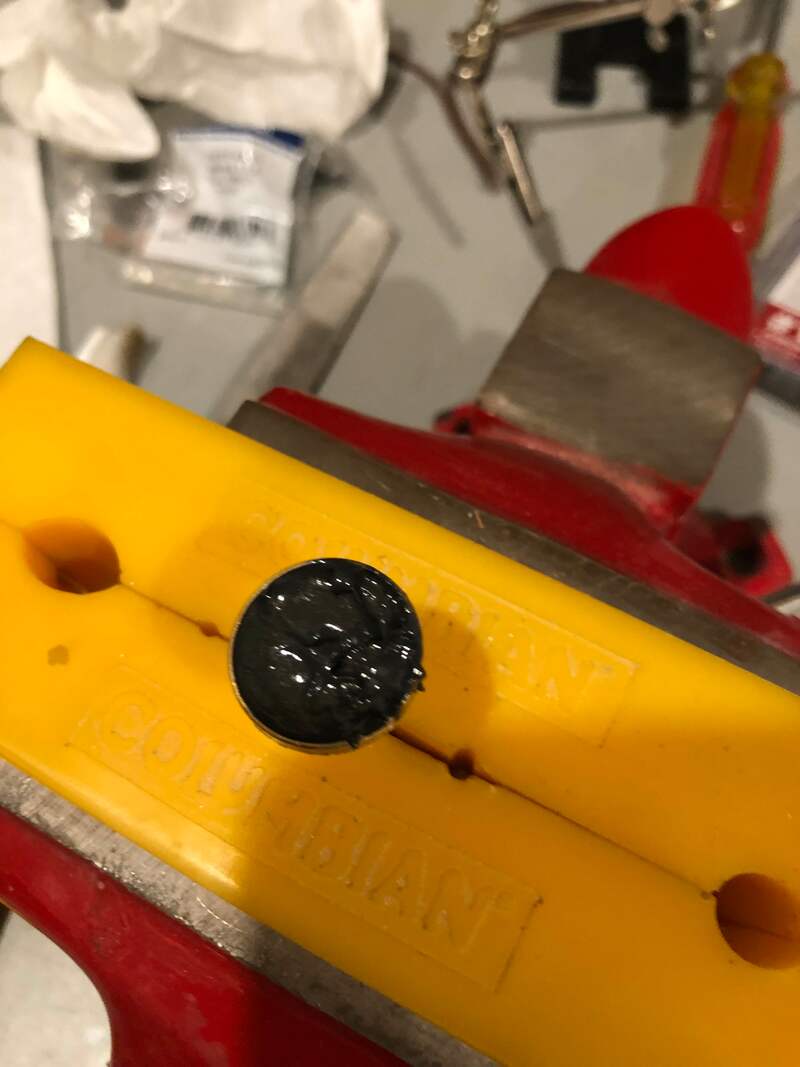
The switch will need to be glued to the valve stem. I used JB Weld but any epoxy like this can be used. Here is a tip; lay some masking tape down on your table and mix the JB Weld on the tape. When you are done, peel it up and throw it out. No mess!
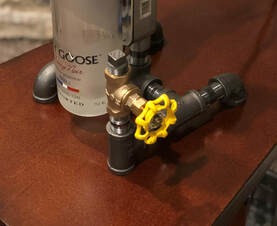
Put the valve stem in a vice, apply the epoxy to the valve stem, place the switch on the valve stem. Make sure the switch is centered on the valve stem and let it cure overnight. Your valve stem switch is now ready to install into the valve body.